Customize course space settings
Last updated: July, 2026
This article will guide you through the options for effectively managing course space configurations.
Access course space settings
You can access the course space settings through the course management page.
Click Courses on the left sidebar and select Courses.
Click the More actions (three dots) icon on a course entry and select Edit course.
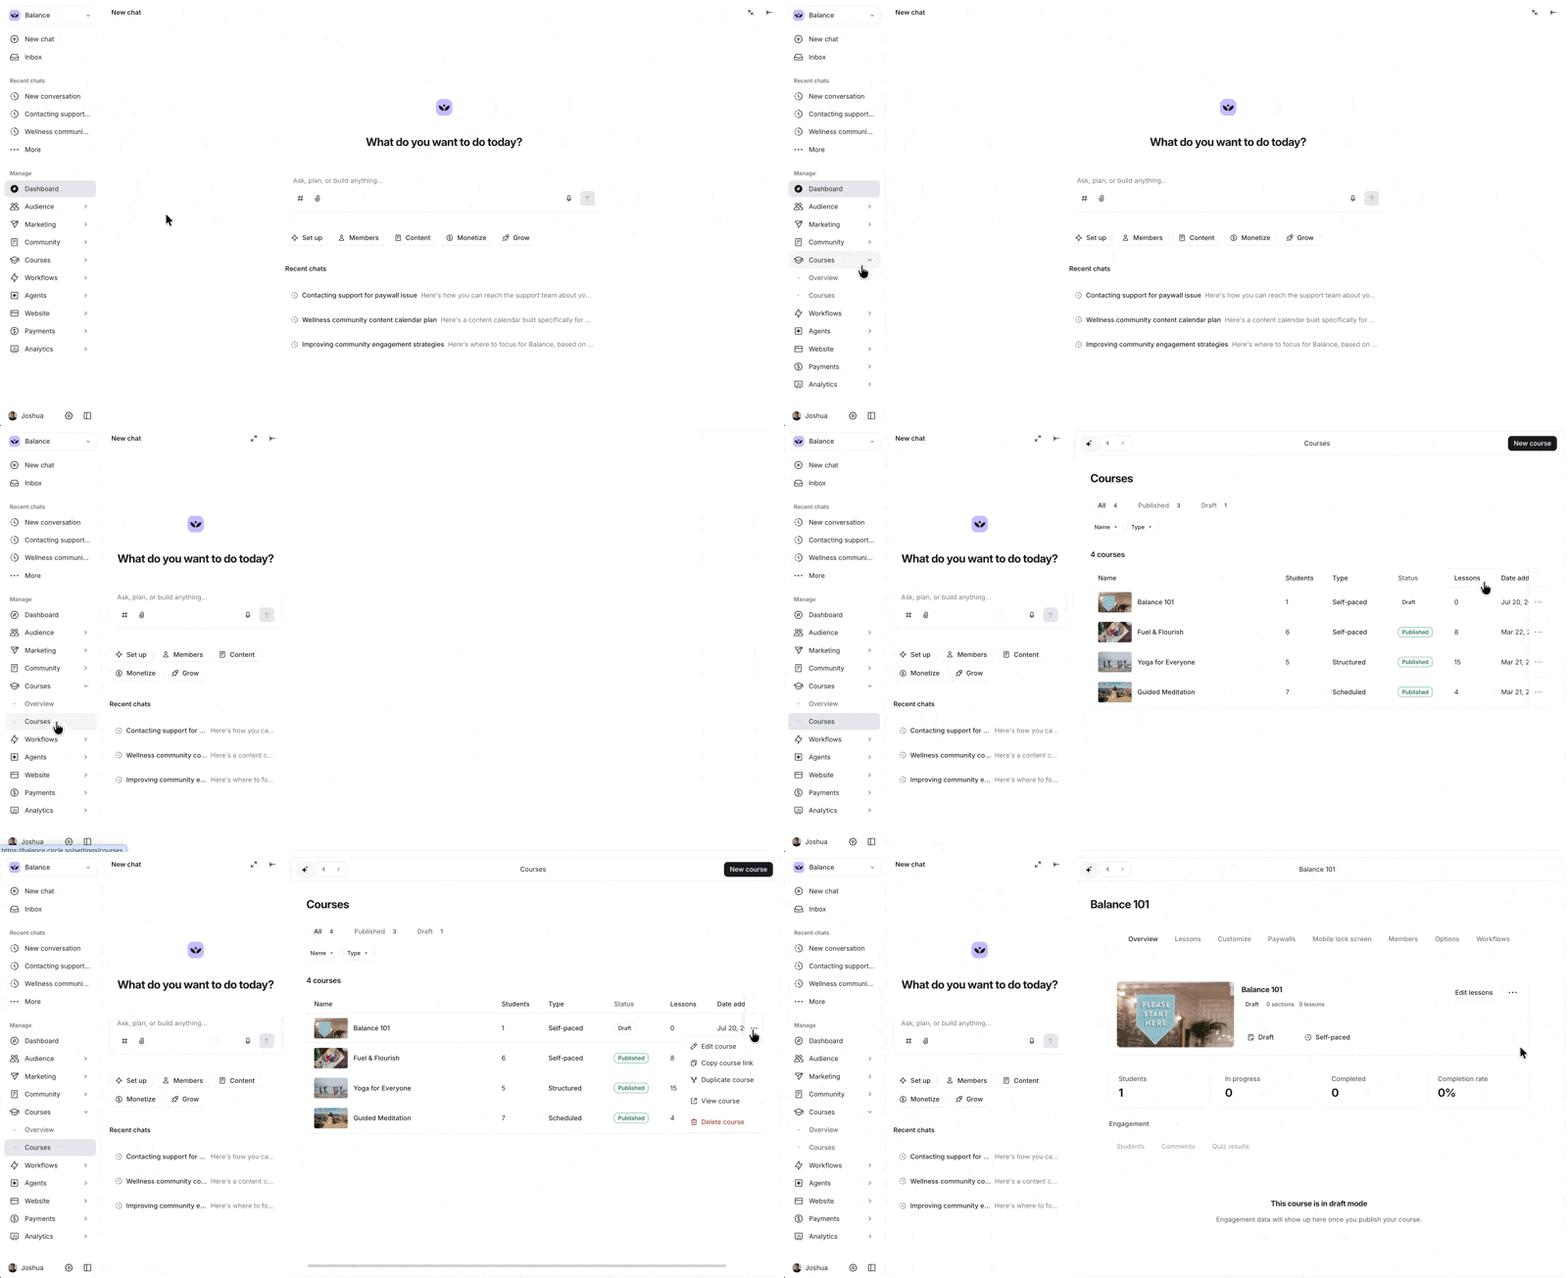
You can also access course settings directly from the space:
Navigate to the space from the sidebar.
Click the Space settings (three dots) icon in the top-right corner of the space.
Hover over Settings, and select Customize or Options from the menu.
Lessons
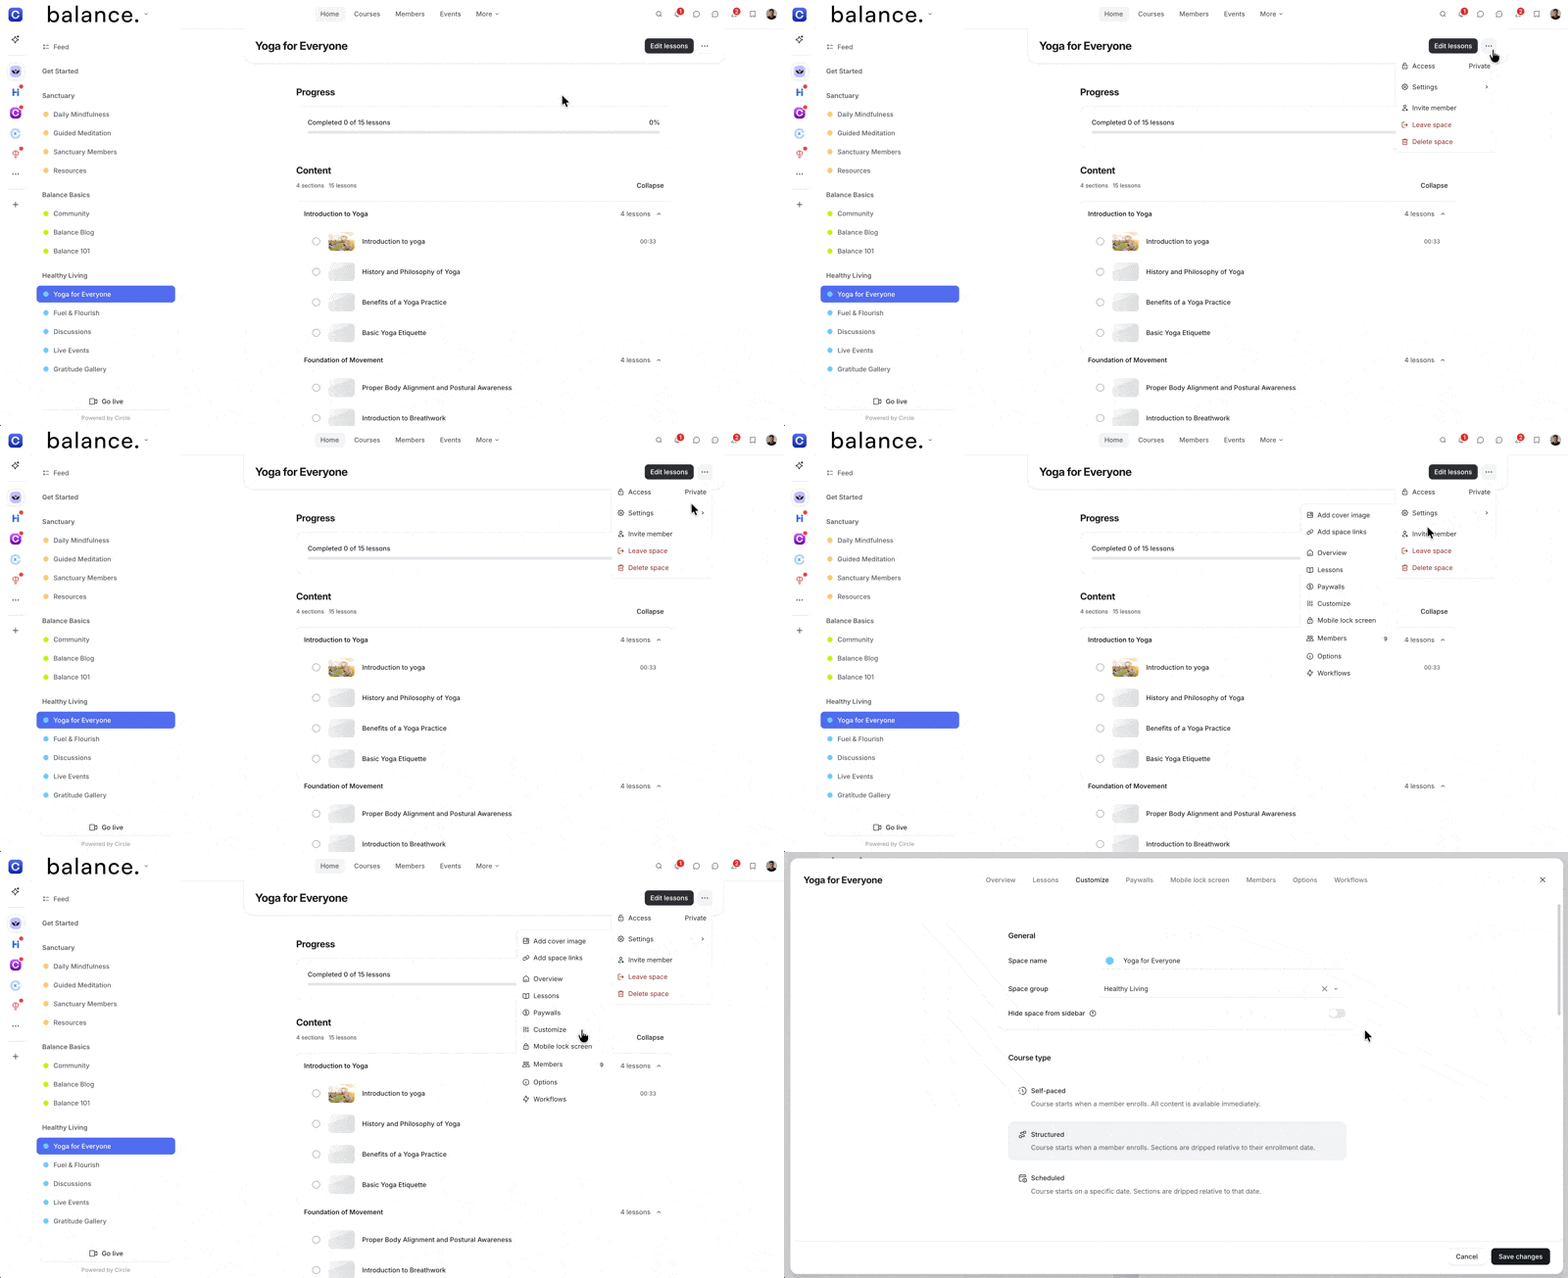
The lessons tab contains the course curriculum, where you can build and manage lessons, quizzes, and course sections.
📚 For more information about the course editor, see the following articles:
Customize
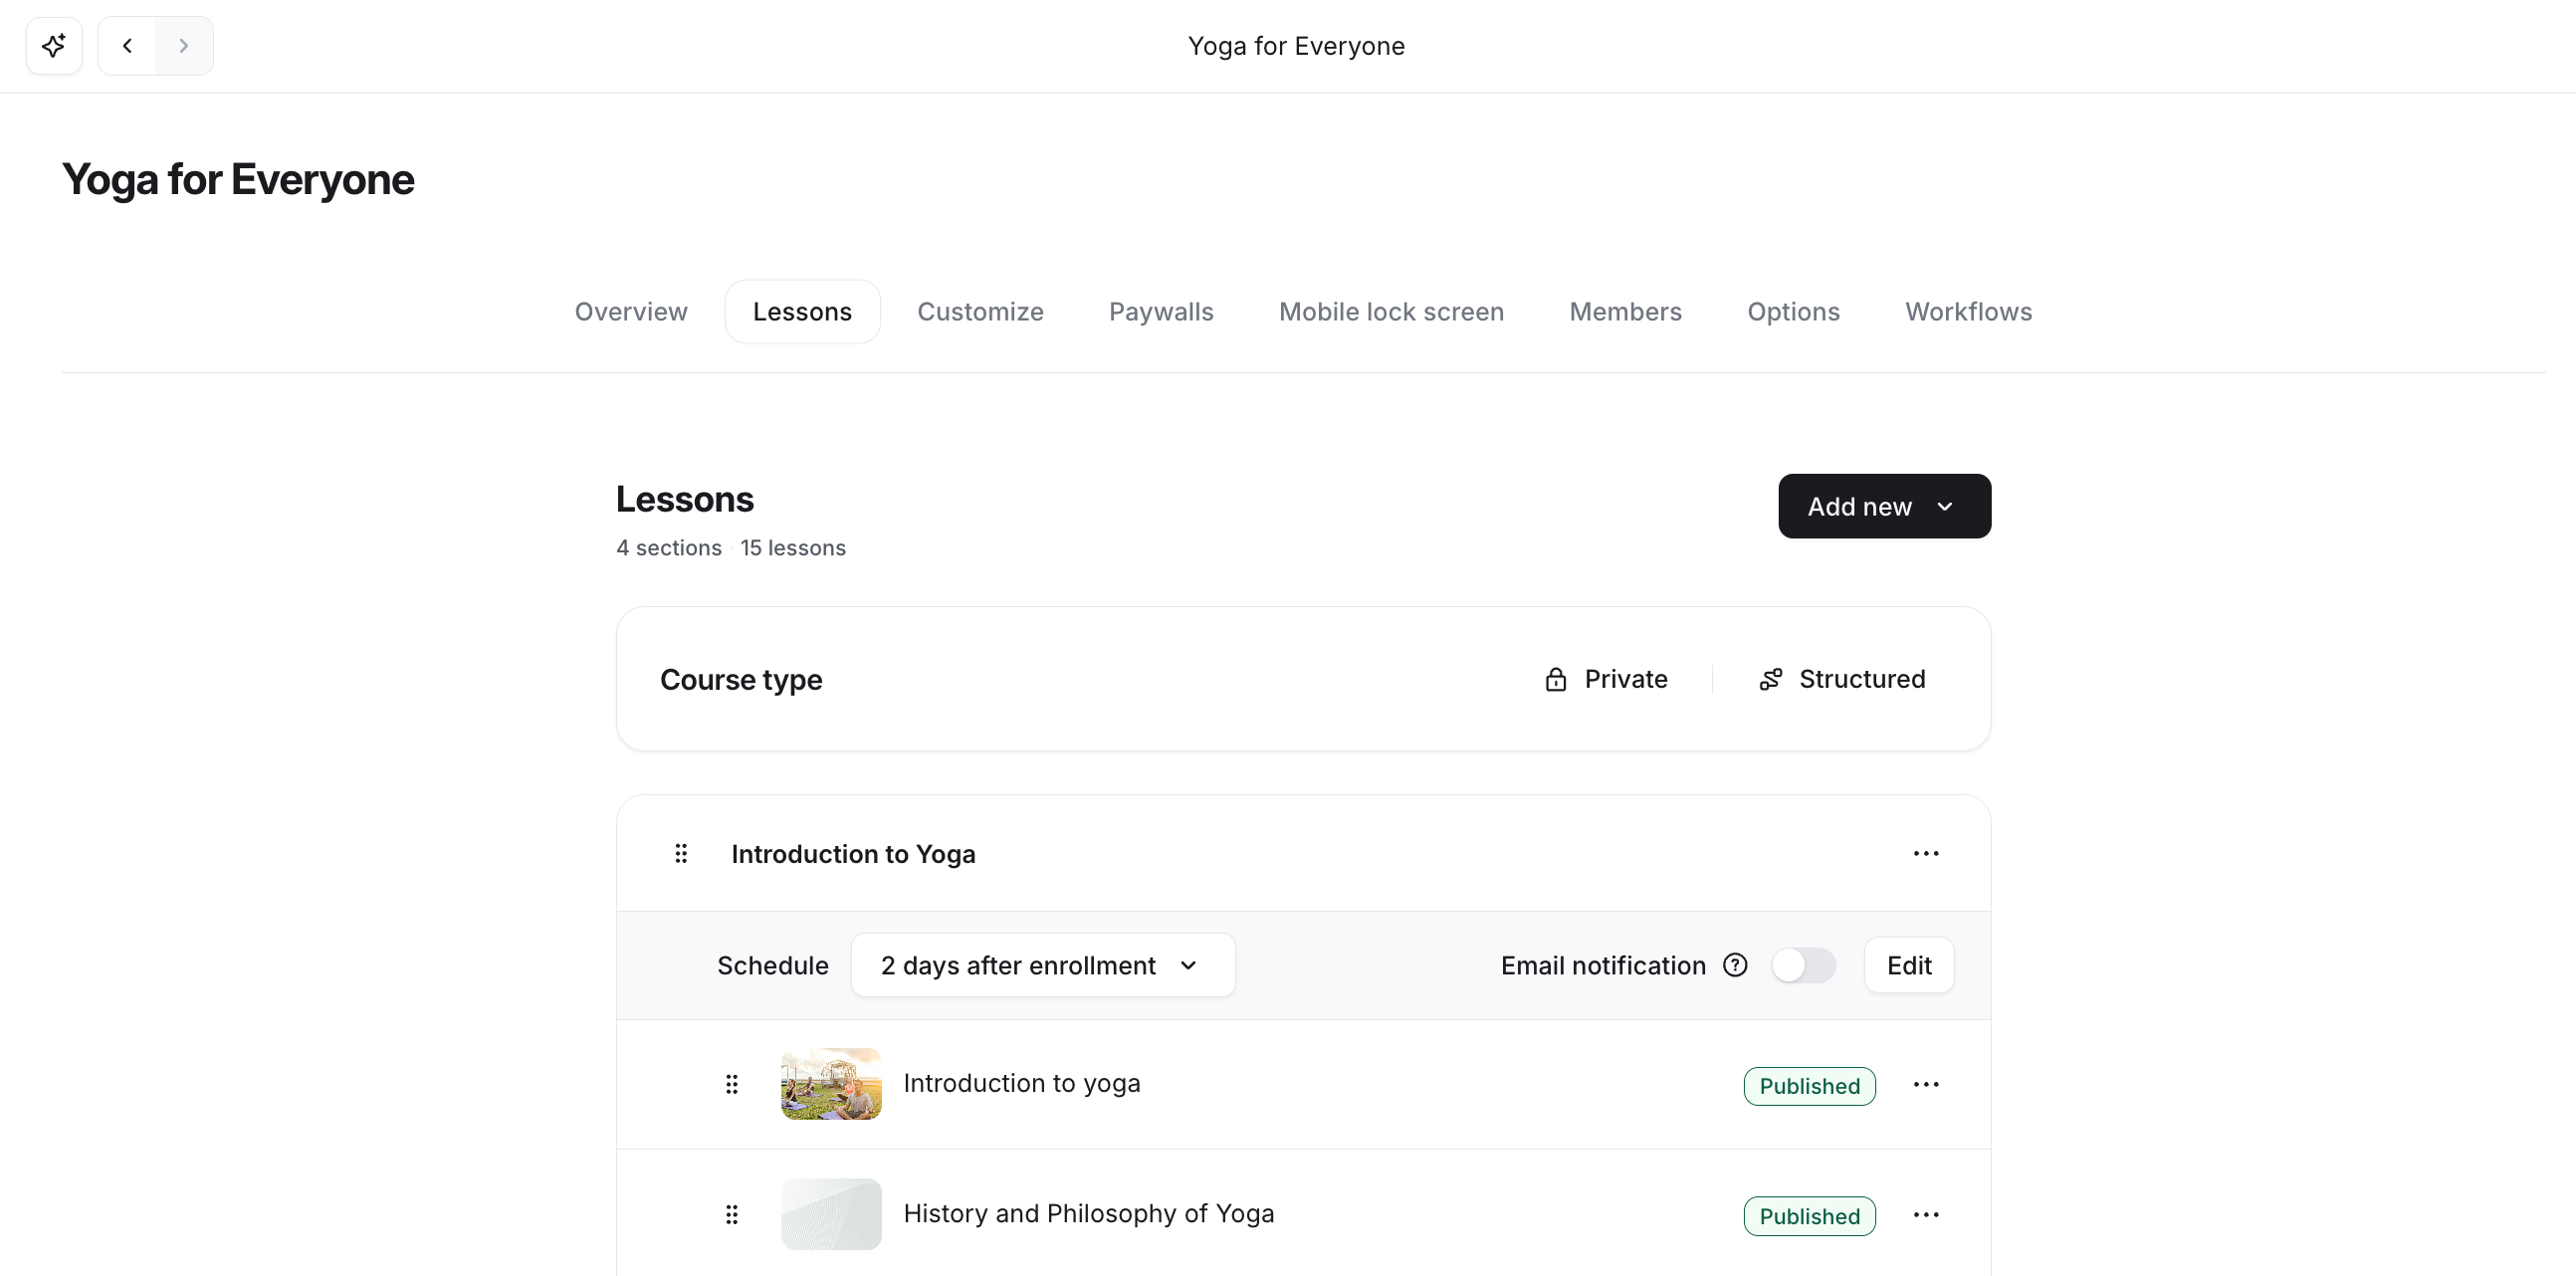
You can use the Customize tab to make changes to general information and space access.
Update general information
You can update the course space icon, name, and space group location in this section.
Hide space from the sidebar
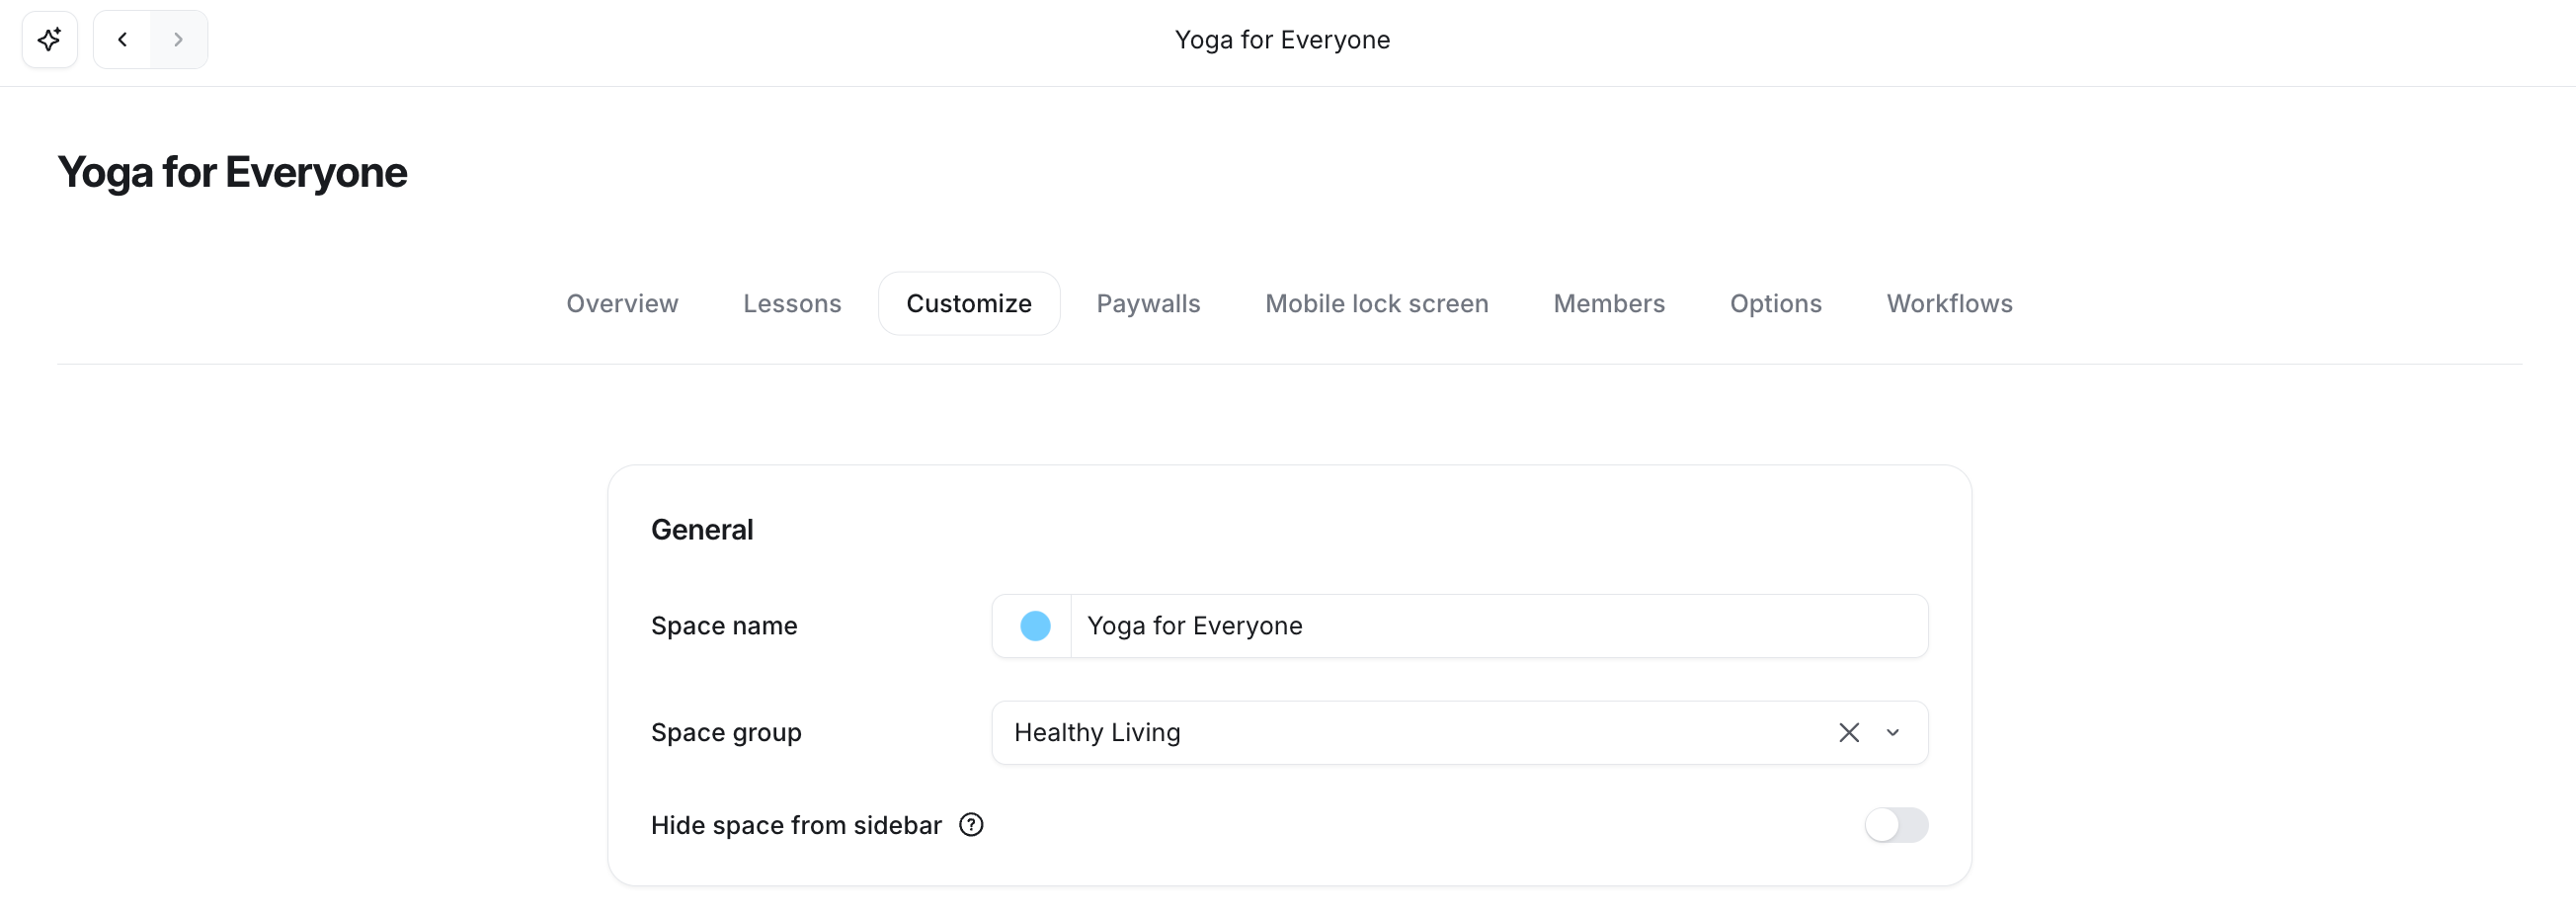
You can hide the space from the sidebar, which allows you to declutter it while keeping only the essential ones visible.
When you enable the Hide space from sidebar toggle, the space will be completely hidden from the sidebar for everyone, including you and other community admins. However, you, your members, and visitors can still access the hidden space via its direct URL.
❗ Important: Access to the space's content is determined by the space's access configuration and whether the individual is a member of the space. For instance, if you hide a private space from the sidebar in a public community, non-members or visitors who attempt to access it via a direct link will encounter a lock screen instead of the space's content.
📚 To learn more about this setting, please see Managing space access and visibility.
Course type
Select from three course delivery methods:
Self-paced: The course starts when a member enrolls, and all lessons are available immediately. Members can complete the course at their own pace.
Structured: The course starts when a member enrolls, and sections are released gradually over a specific duration from that date.
Scheduled: The course starts on a fixed date, and sections are released on specific dates relative to that start date.
📚 To learn more about dripped courses, see Utilizing the drip feature for structured and scheduled courses.
Manage space access
To manage access to your course space, we offer three access options you can choose from:
Open: This option allows anyone in your community to join the course space without restriction. This is an ideal option for providing free and open access to the space.
Private: With private access, only community members who are added by the admin or moderator, or those who have purchased paywall access, can join the course space. We recommend this option when you intend to restrict access to paying members.
Secret: With this option, keep the space hidden by default for all the non-space members. Only the space members can see and access the secret course space.
Furthermore, instead of displaying the space icon that you have set, you can choose to show a lock icon to non-space members. This allows you to effectively communicate the privacy status of the space to non-members. To do this, toggle on the Show lock icon to non-members of this space option.
📚 To learn more about space access, see Managing space access and visibility.
💡 Tip: You can quickly see the current access status and directly navigate to this section by clicking the dropdown icon beside the space name in the header and selecting Access.
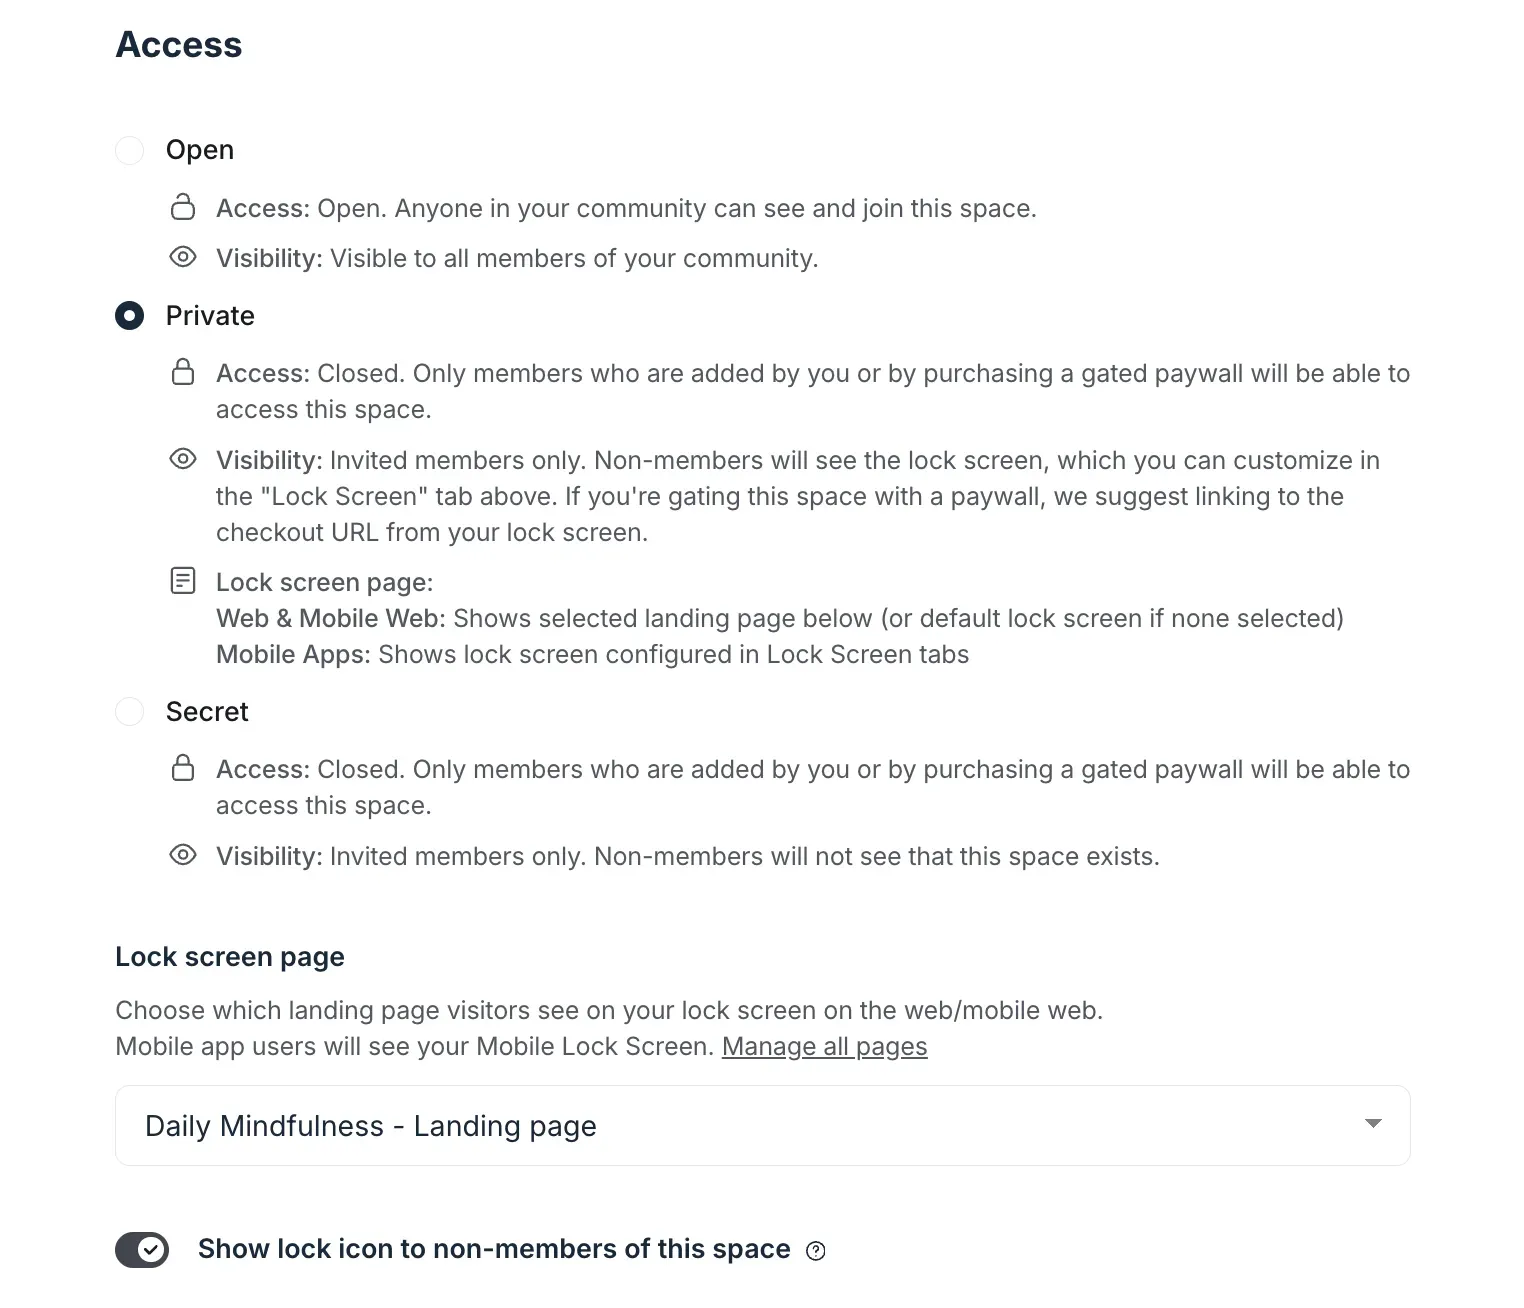
Lock screen page
When you set a space to private, you can choose your own landing page to display to non-space members and visitors in web browsers or the Circle desktop app. This page can feature hero sections, testimonials, pricing blocks, and more, making it perfect for highlighting the space’s value, promoting memberships, or guiding visitors to take the next step.
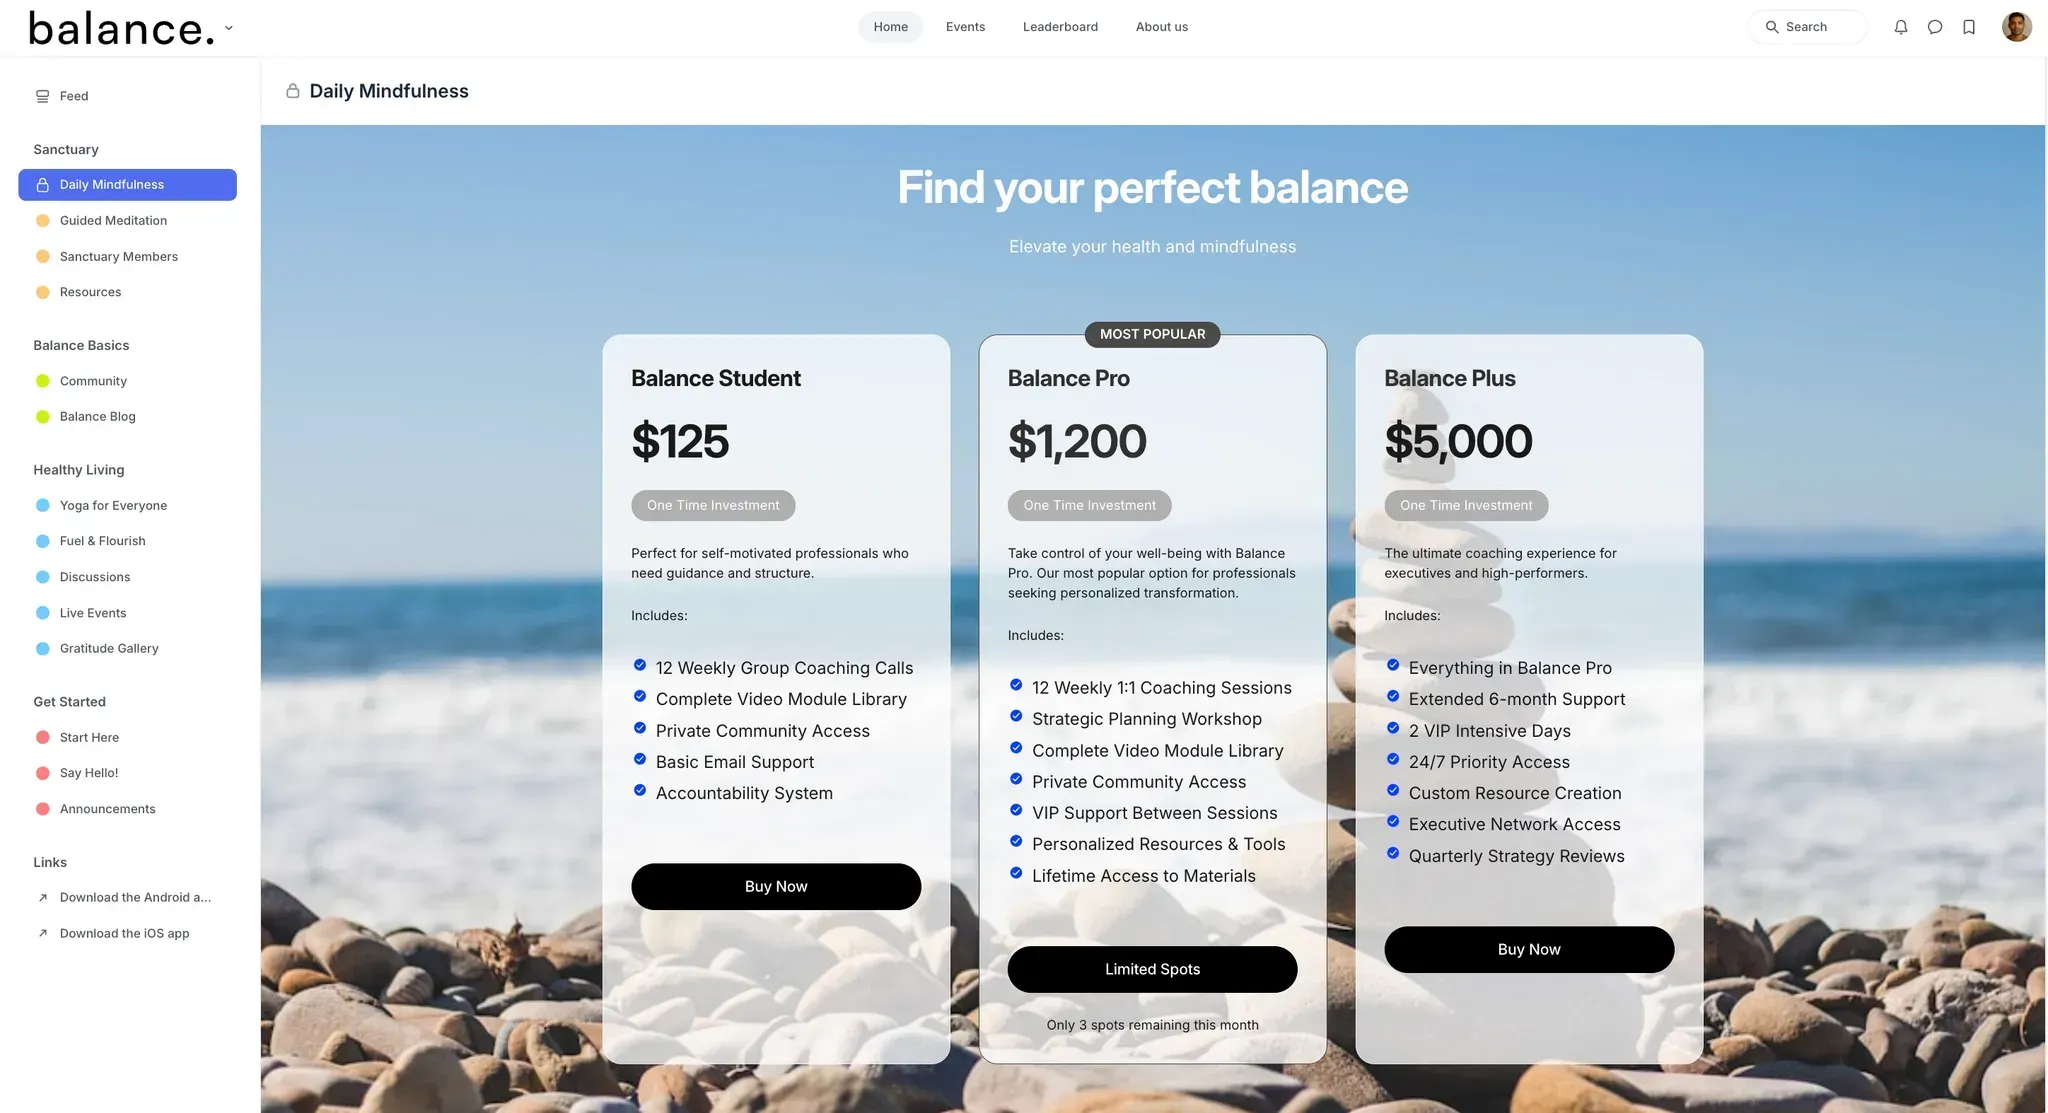
📚 Learn more about how to set up a lock screen page.
Manage topics
Topics make it easier for members to discover courses that align with their interests or educational goals within the directory.
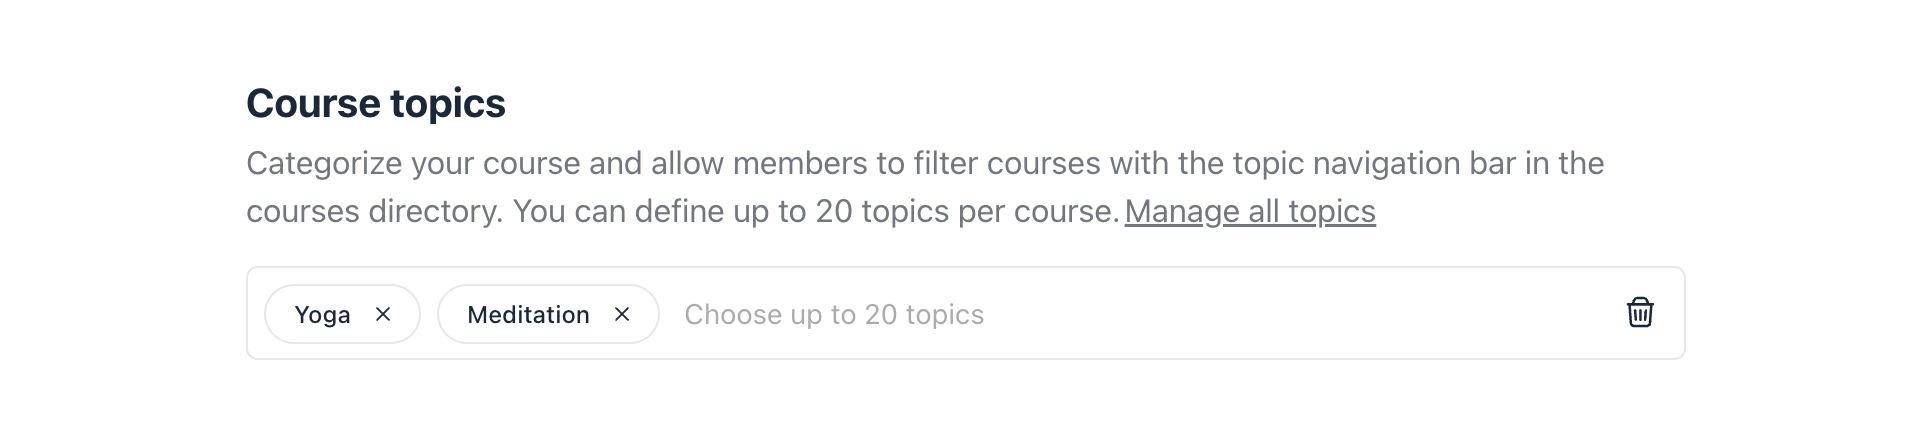
In the Course topics section, you can assign up to 20 topics to help you organize this course within the course directory. When you assign a topic here, it will appear on the topic navigation bar at the top of the course directory. Going forward, this course will appear when the directory is filtered by topics assigned to it.
In the Course topic section, you have the following options to manage your topics for this space:
Add a topic: To add a topic, click in the field or type the topic's name and select it from the list.
Remove a topic: To remove an existing topic, click Remove (X icon) next to the topic you want to remove. To remove all topics from the space, click Remove all (🗑️ icon).
Create a new topic: To create a new topic and add it to the space, type the name in the field and select the Create topic option.
📚 For more details on topics and configuration settings, please refer to our guide here.
Add a course space mobile thumbnail
Adding a mobile thumbnail will let you display a thumbnail on the course card in the course directory.
To upload the image, go to the Images section, and next to the Mobile thumbnail option, click Upload.
📷 Recommended image size: 16:9 aspect ratio with minimum image dimension 800x450 px.
📚 For more information about the space thumbnail and space directory, see the following articles:
Paywalls
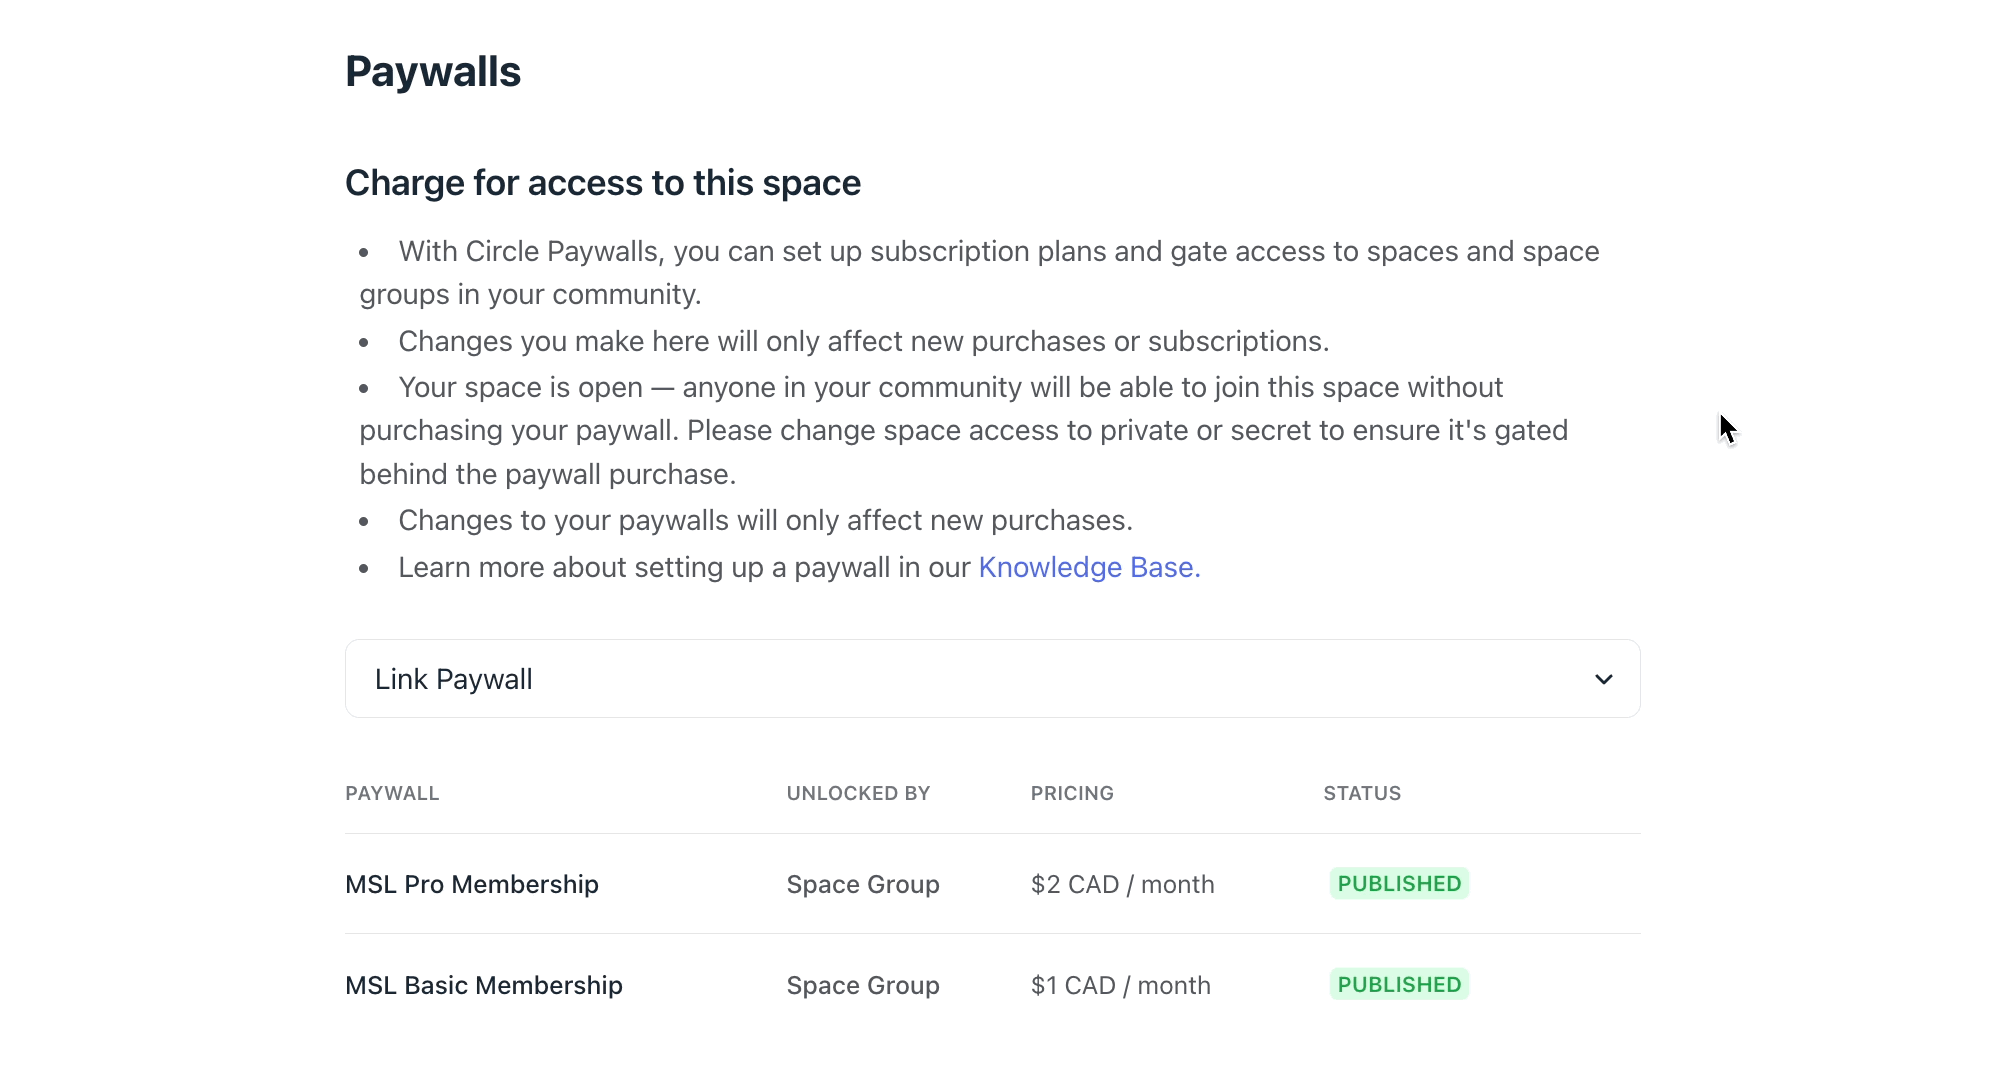
You can directly link your course space under one of your existing paywalls or create a new paywall for the course space.
To add this space to your paywalls, click the Link paywall dropdown and select a paywall from the list. Alternatively, you can create a new paywall for this by clicking on Create a paywall from the dropdown list.
📚 For more information on restricting access to your space using a paywall, see Gate spaces behind paywalls.
Mobile lock screen
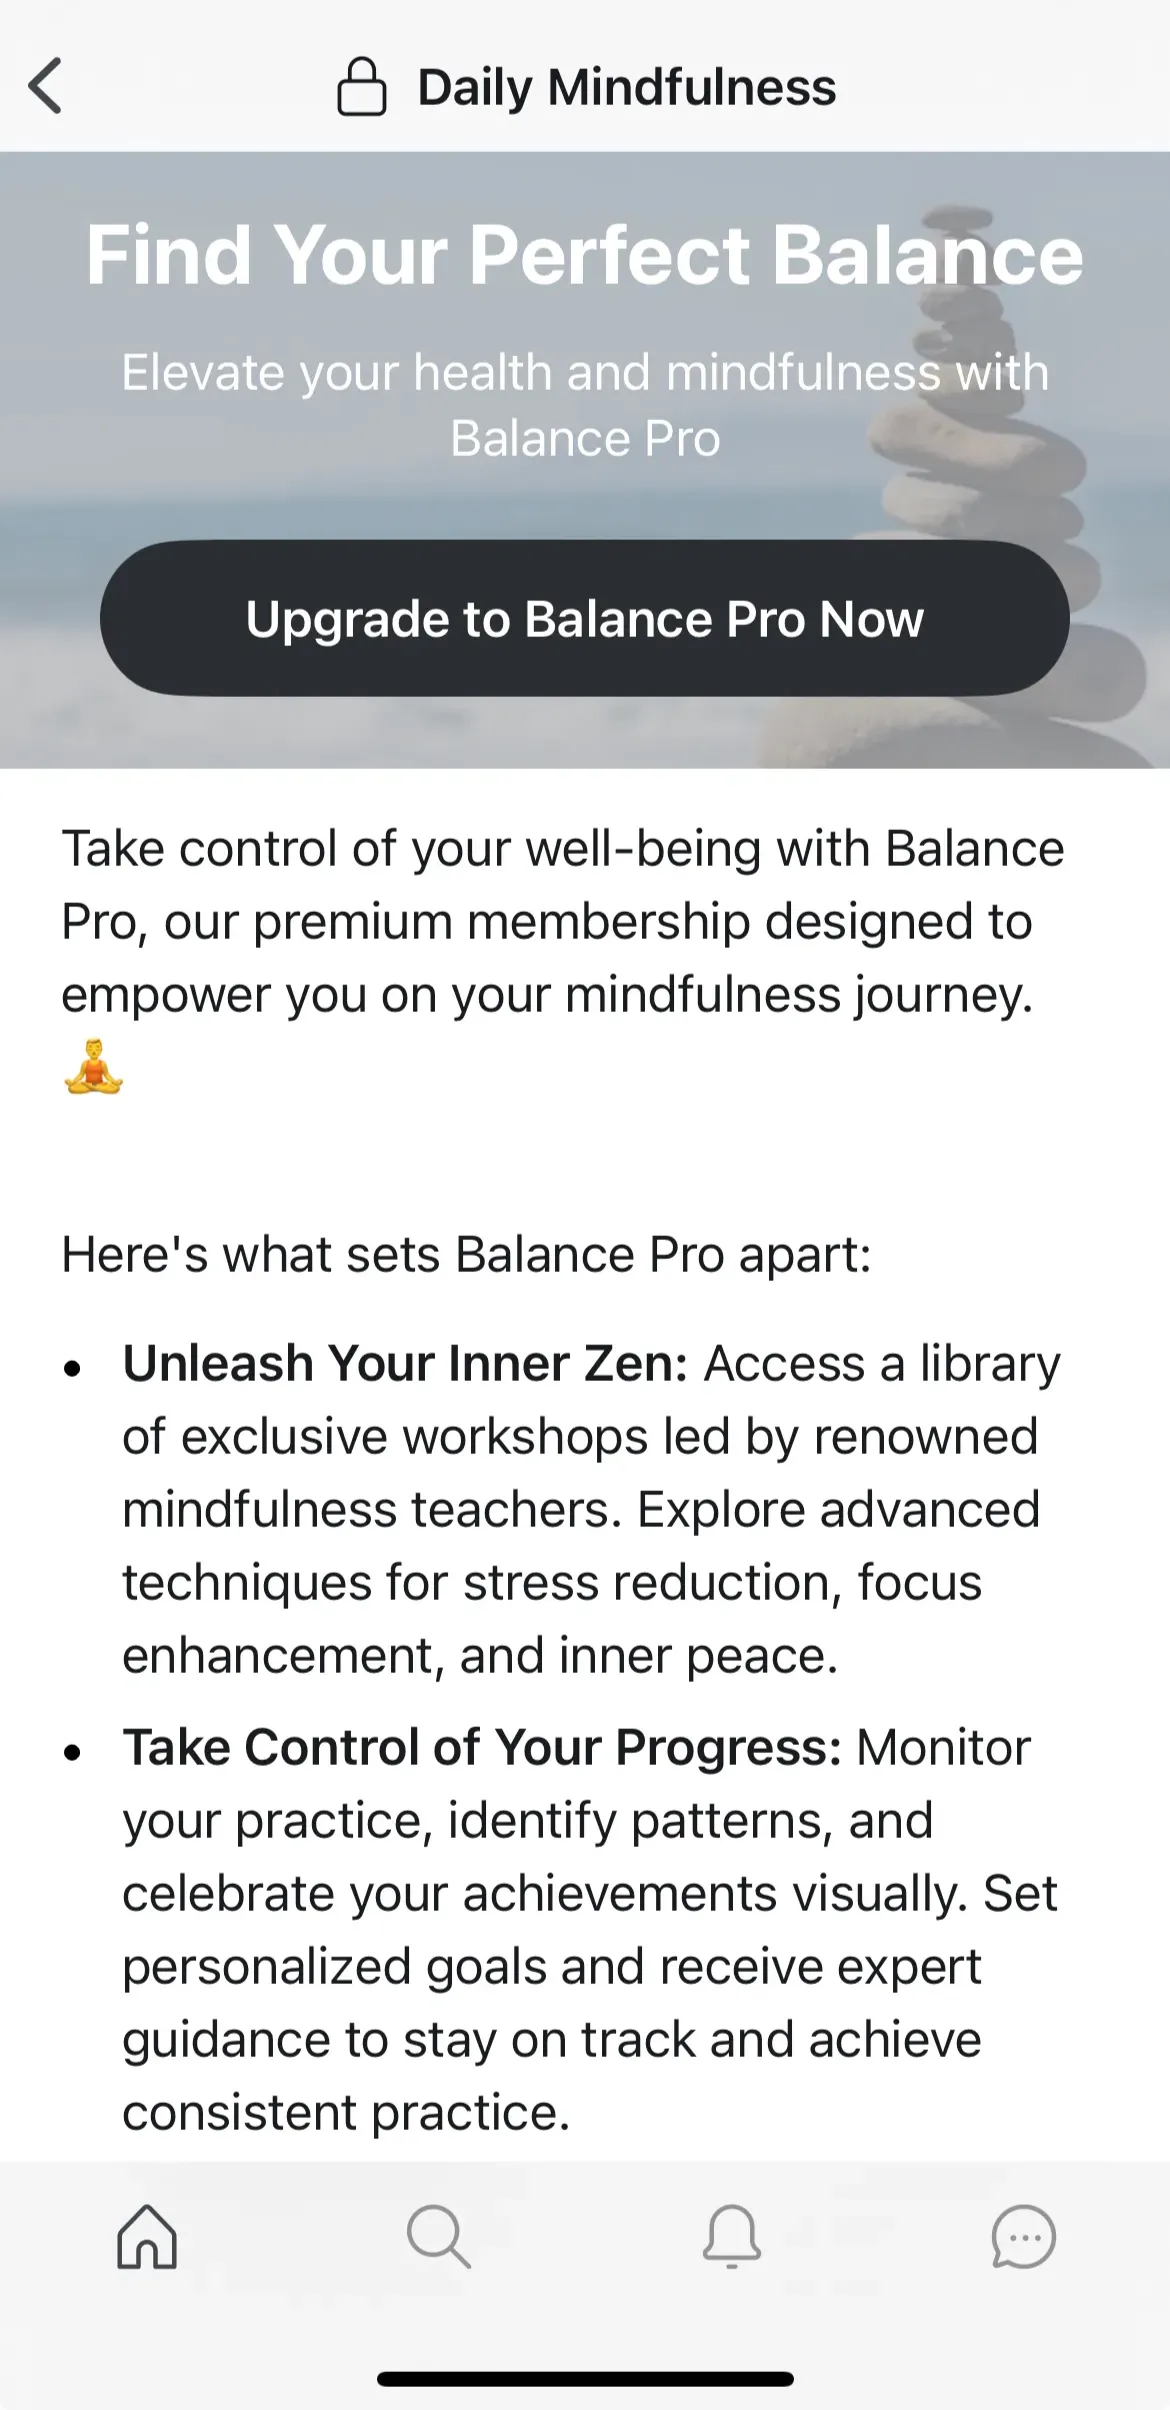
This section lets you configure the lock screen visible on Circle’s mobile apps when a space is set to private. This is particularly helpful if a paid membership is required to access the space, as the lock screen can guide potential members through the process of joining.
On the mobile lock screen, you can display a concise message with a banner, description, and a call-to-action button that links to a custom URL such as a paywall or sign up form.
❗️Important: If no lock screen page has been set for web and desktop, the mobile lock screen will be displayed by default on web browsers and the Circle desktop app.
To get a visual idea of what this lock screen looks like, take a look at the example below:
📚 To learn about the mobile lock screen setup in detail, see Setting up a mobile lock screen.
Members
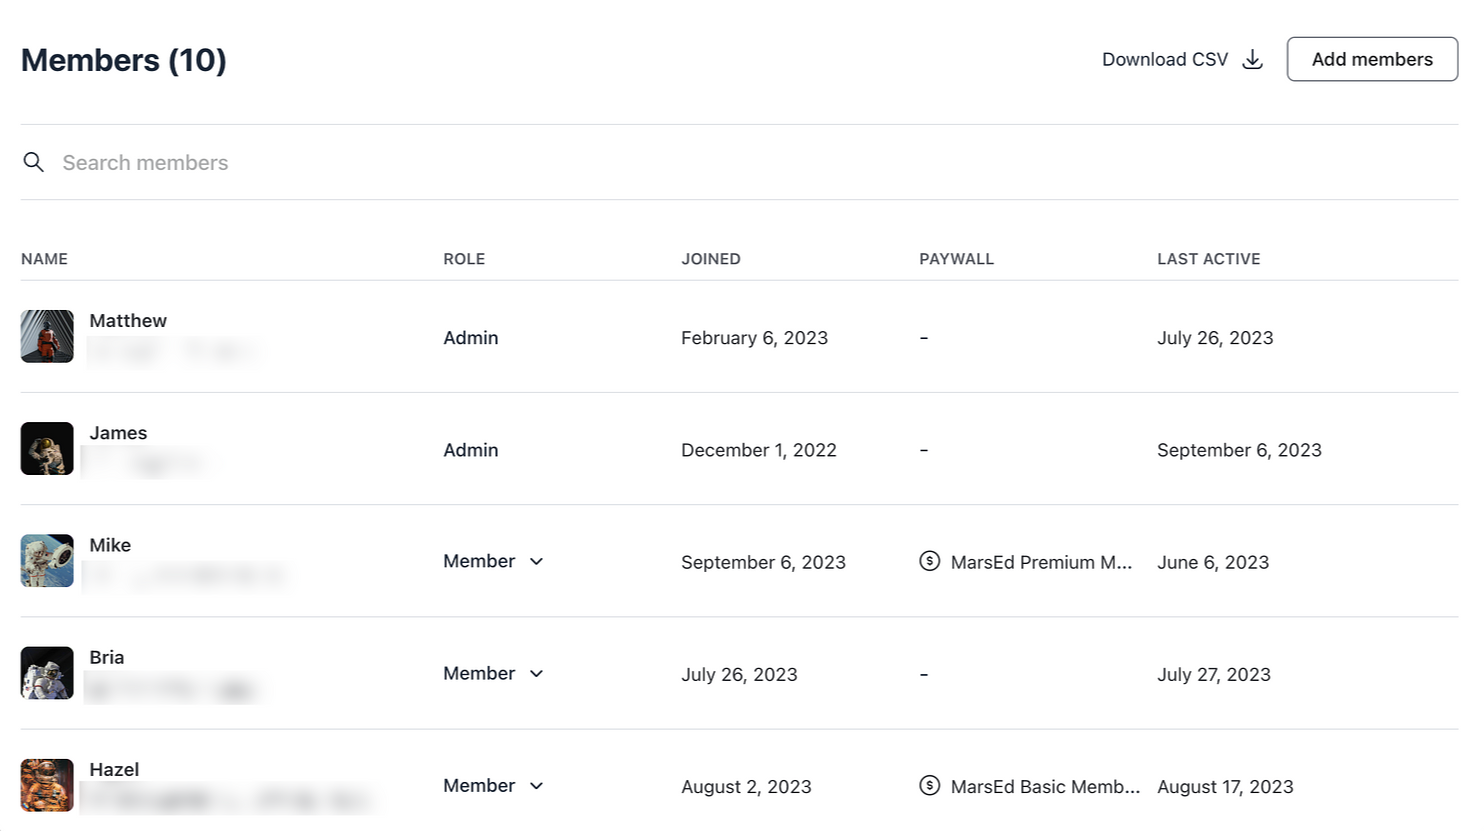
Manage members of this space by adding, removing, or giving them moderation privileges using this tab.
💡 Tip: You can also use the invite member option directly from the space settings menu by clicking the dropdown icon beside the space name in the header and selecting Invite member.
You can also see when members joined the space, the last time they were active in the space, and if they got access to this space via a specific paywall.
🚨 Important: Please note that when you directly add members to spaces and space groups, they will be added using the invite access method and will have lifetime access to these spaces until they leave voluntarily or are removed by admin.
ℹ️ Note: We save each student’s course progress even when they leave or are removed from the course space. When they rejoin the course space, their saved learning progress will be restored so they can continue learning from where they left off. However, please note that the course progress will be removed if their member account is deactivated.
📚 For more information, see Manage members within spaces and space groups.
Add to waitlist (when course space is in draft mode)
You can add members to the course waitlist when the course is in draft mode. Members on the waitlist cannot see the course space until you publish the course.
Members can be added to the waitlist via paywalls, invitation links, bulk invites, or manually using this tab.
Options
Configure additional options for the course space from this tab.
Lesson order enforcement
Ensure your members follow the curriculum sequence by enabling the Lesson order enforcement toggle. This feature requires students to complete each lesson in the order before progressing to the next.
When enabled, all lessons except the first will be locked. Members must complete the first lesson to unlock the next one. This process continues sequentially, with each subsequent lesson becoming accessible only after the previous lesson is completed. This helps maintain a structured learning path and ensures that students build on their knowledge progressively.
ℹ️ Note: You can utilize the lesson order enforcement option for all types of courses. For scheduled or structured courses, the same behavior will apply: students must complete the previous lesson before accessing the next one, even if the lesson is already dripped.
Notifications
You can enable in-app notifications to be sent to all admins and moderators of the course space whenever a new comment is posted in the lesson. To manage this notification, toggle Notify course admins about new lesson comments.
Permissions
To hide the member count button from the space header, turn on the Hide member count toggle.
Course labels
You can override the global Lesson and Section headings to better fit a specific course’s content.
You can choose from the labels below to match your course structure:
Sections can be labeled as Chapter, Level, Module, Part, Path, Phase, Section, Stage, Track, Unit, or Week, or kept as the default label, Section.
Lessons can be labeled as Activity, Assignment, Challenge, Class, Day, Exercise, Lecture, Lesson, Session, Topic, Tutorial, or Workshop, or kept as the default label, Lesson.
SEO
To optimize your course space for SEO:
-
Customize the course space URL slug.
Please note that changing the URL slug of a space won't free up the previous slug for use in any other space. We maintain a record of the old slugs for a space and redirect any attempts to access the space via the old slug to the new one. This prevents one URL slug from pointing to multiple spaces, ensuring clarity and accuracy of your community's content.
As a result, when you try to use the old slug already associated with a space in any other space, we will append a unique identifier to the end of the slug. This practice is a safeguard to preserving the integrity of your community's content organization.
Add meta title and description.
Add Open Graph information to preview your space content when sharing links.
📷 Recommended Open Graph image dimension: 1200x630 px with a 1.91:1 aspect ratio.
Workflows
You can create new workflows directly from this tab to automate actions based on dynamic events or perform bulk actions for specific members. Here, you also have access to all your existing workflows within the community.
To create a new workflow, click New workflow in the top-right corner. You can choose from one of the templates or set up a custom workflow to meet your specific needs.
📚 For more information on workflows, check out our guides here.
Ready to build your course curriculum?
📚 Check out the following article to learn more about building your course curriculum: