Set up a custom bulk action workflow
Last updated: September, 2026
Bulk action workflows make it easy to perform multiple actions for a selected audience in your community based on configured entry rules. They’re designed to help you efficiently manage and automate actions in bulk, whenever you need them.
In this article, we’ll walk you through how to create and run a customized bulk action workflow tailored to your community’s needs.
Before diving into the details of workflow creation, here are a few key points to keep in mind:
Workflow audience: Bulk action workflows can be run for different user groups, including non-members, members, and even invited members who have not yet confirmed their profiles. This ensures you can design workflows suited to every stage of user engagement and perform actions that are available to them.
Flexibility: Bulk action workflows are reusable, meaning you can run the same workflow multiple times. This allows you to execute actions as needed without having to recreate the workflow.
Scheduled workflows: In addition to running bulk workflows on demand, you can schedule them for a specific date and time or set them to recur automatically. Scheduled workflows are available as a dedicated option when you choose to create custom workflows. This helps schedule repetitive bulk actions in advance, ensuring timely execution even when you’re not available to run them manually. Learn more about scheduled workflows here.
Create a bulk action workflow
Let's walk through the steps to create a bulk action workflow.
Step 1: Create a new workflow
Click Workflows in the left sidebar, then select Workflows.
Click New workflow in the top-right corner.
On the workflow creation page, click Start from scratch.
Select Bulk action and click Create workflow.
That's it! You now have a workflow draft that you can leave and return to anytime. To pick up where you left off, just click the draft workflow on the Workflows page.
💡 Tip: When you are working on setting a workflow, it automatically saves the entry rule and action steps when you complete a step and click Continue.
Step 2: Rename workflow
Give your workflow a meaningful name so it’s easy to identify. Click More actions (three dots) in the top-right corner, then select Rename. Enter your preferred name in the dialog box and save your changes.
Step 3: Set up audience rules
The entry rule lets you define your audience by configuring multiple audience rules. This feature gives you the flexibility to precisely target specific user groups that match the rules.
For example:
Use the Level audience rule to select all members who are at a specific gamification level as your audience.
Add additional rules, such as Tag or Role, to further refine your audience if you wish. For instance, you can target members at a particular gamification level who also have a specific role, ensuring your workflow applies only to those who meet all the conditions.
💡 Tip: For the comprehensive list of all currently available audience rules and actions for workflows, see our guide here.
To set it up, click the Add audience step. Set up your preferred audience rules and click Continue to finalize the step.
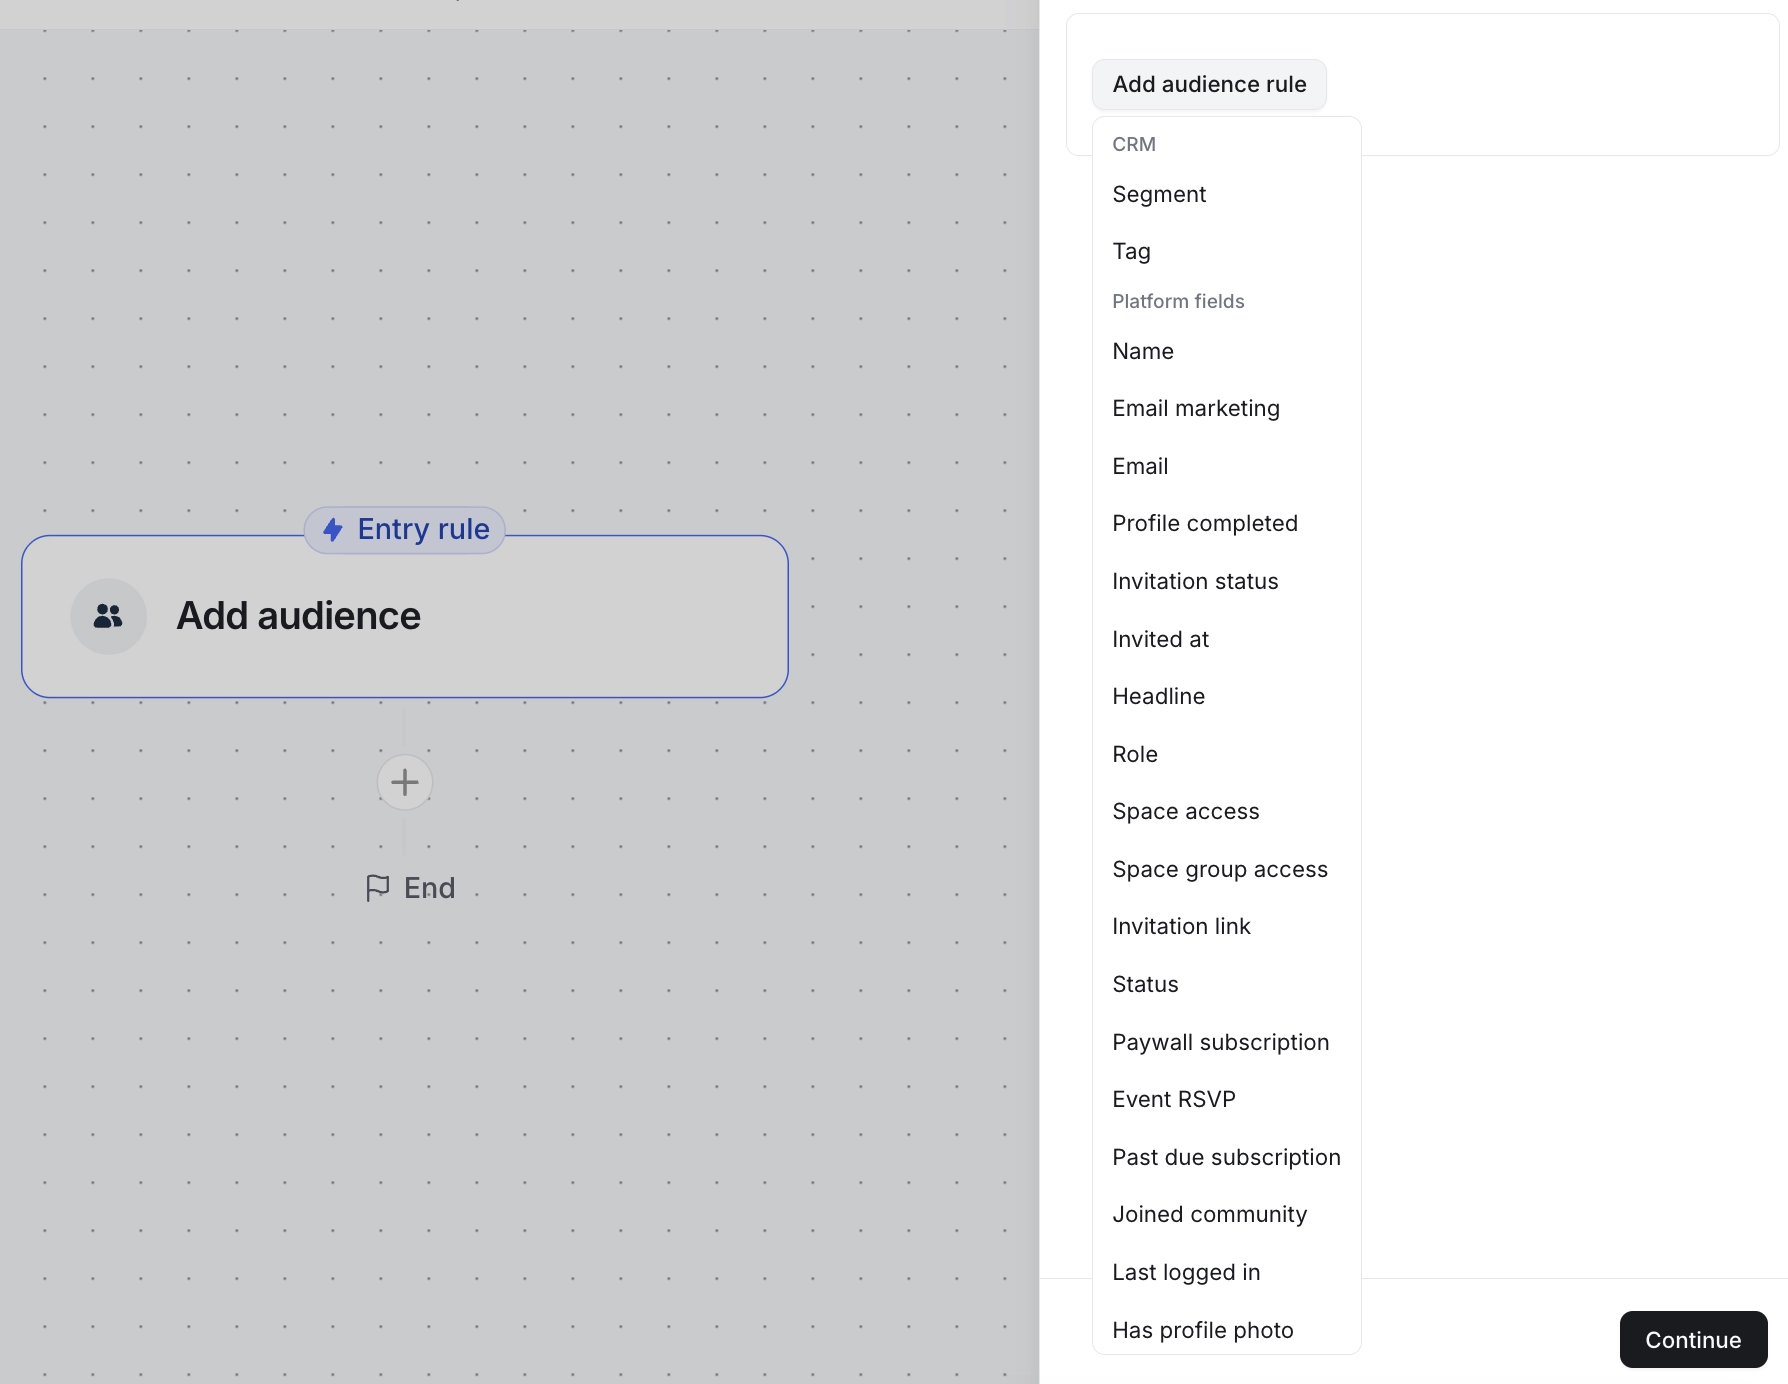
As you configure your audience rules, you’ll see the number of people who match the criteria. Clicking the information displays a list of members who meet the conditions, giving you full visibility into your selected audience.
📚 To learn more about setting up the entry rule using our editor, see our detailed guide here.
Step 4: Set up actions
Actions are the tasks that a workflow performs when you run it. These tasks can include awarding gamification points, sending marketing emails, providing access, and more. Within a single workflow, you can configure one or multiple actions to perform a series of steps.
For example, you could run the following actions for your workflow audience:
Subscribe the selected audience to a custom paywall trial to give them access to exclusive content.
Assign a relevant tag to these people for easier segmentation and tracking.
Send a personalized email to welcome them to the trial, highlight key features, and encourage exploration of premium content.
You can add multiple Send an email actions to nurture their interest and increase the likelihood of converting them to a paid subscription.
💡 Tip: You have the ability to insert a delay action either before any other action or in between actions. This allows you to add a pause to the execution of the above actions for a specific amount of time. For detailed information on workflow delays, see our guide here.
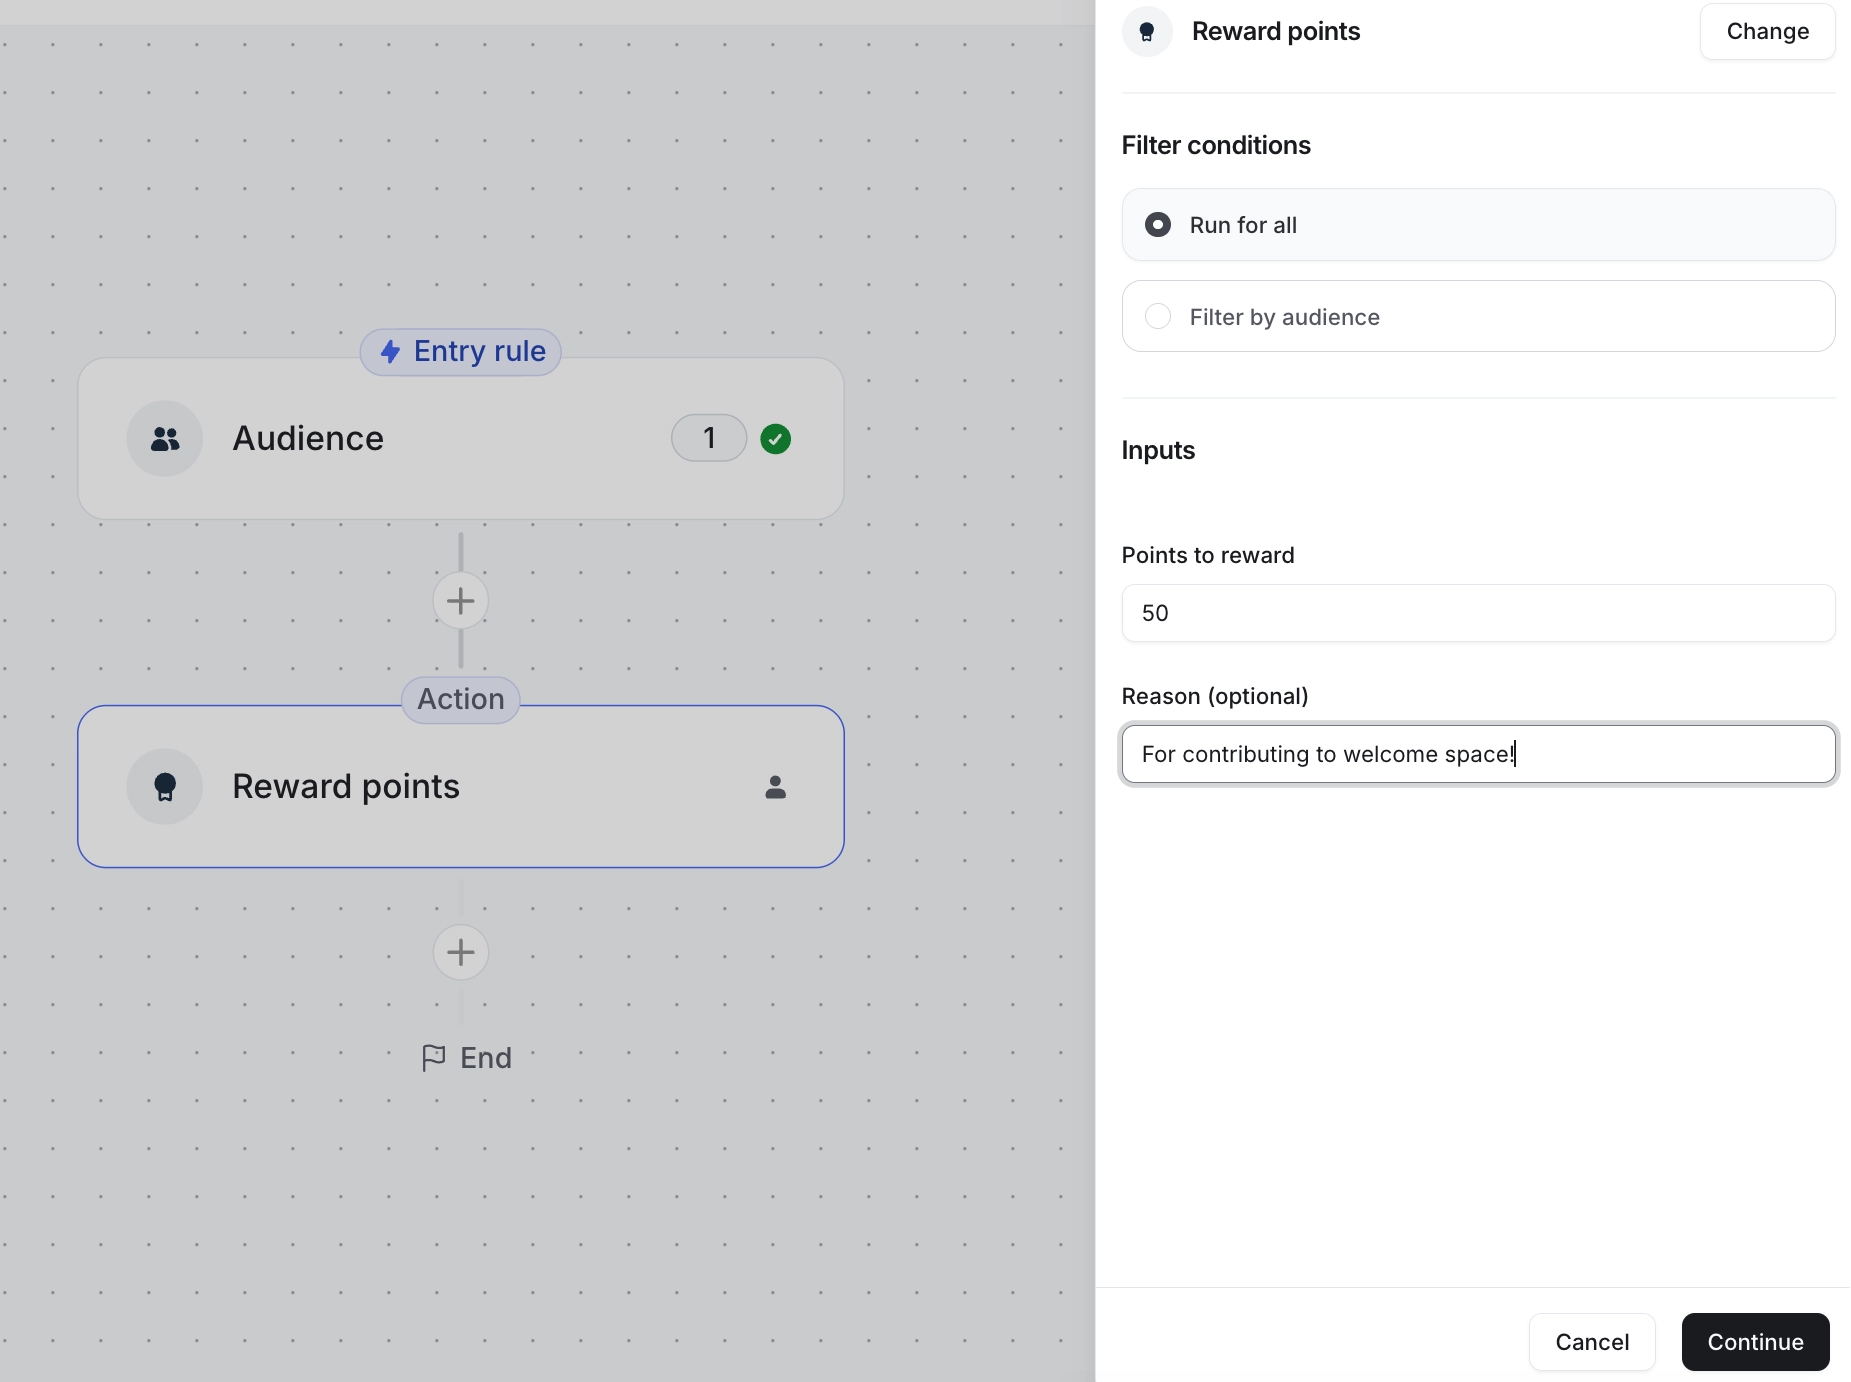
To set up actions, click the ➕ icon below the entry rule step and choose your desired action from the list. In the action details sidebar, you'll see the following sections:
Filter conditions (optional): Set filter conditions for actions to only let the workflow perform actions for individuals who meet the specified conditions.
Inputs: Choose additional inputs depending on the nature of the action. For example, if you select the Reward points action, you’ll need to specify the number of points.
Once you’ve reviewed the action details, click Continue to complete the step.
📚 To learn more about adding action steps using our editor, see our detailed guide here.
Run workflow
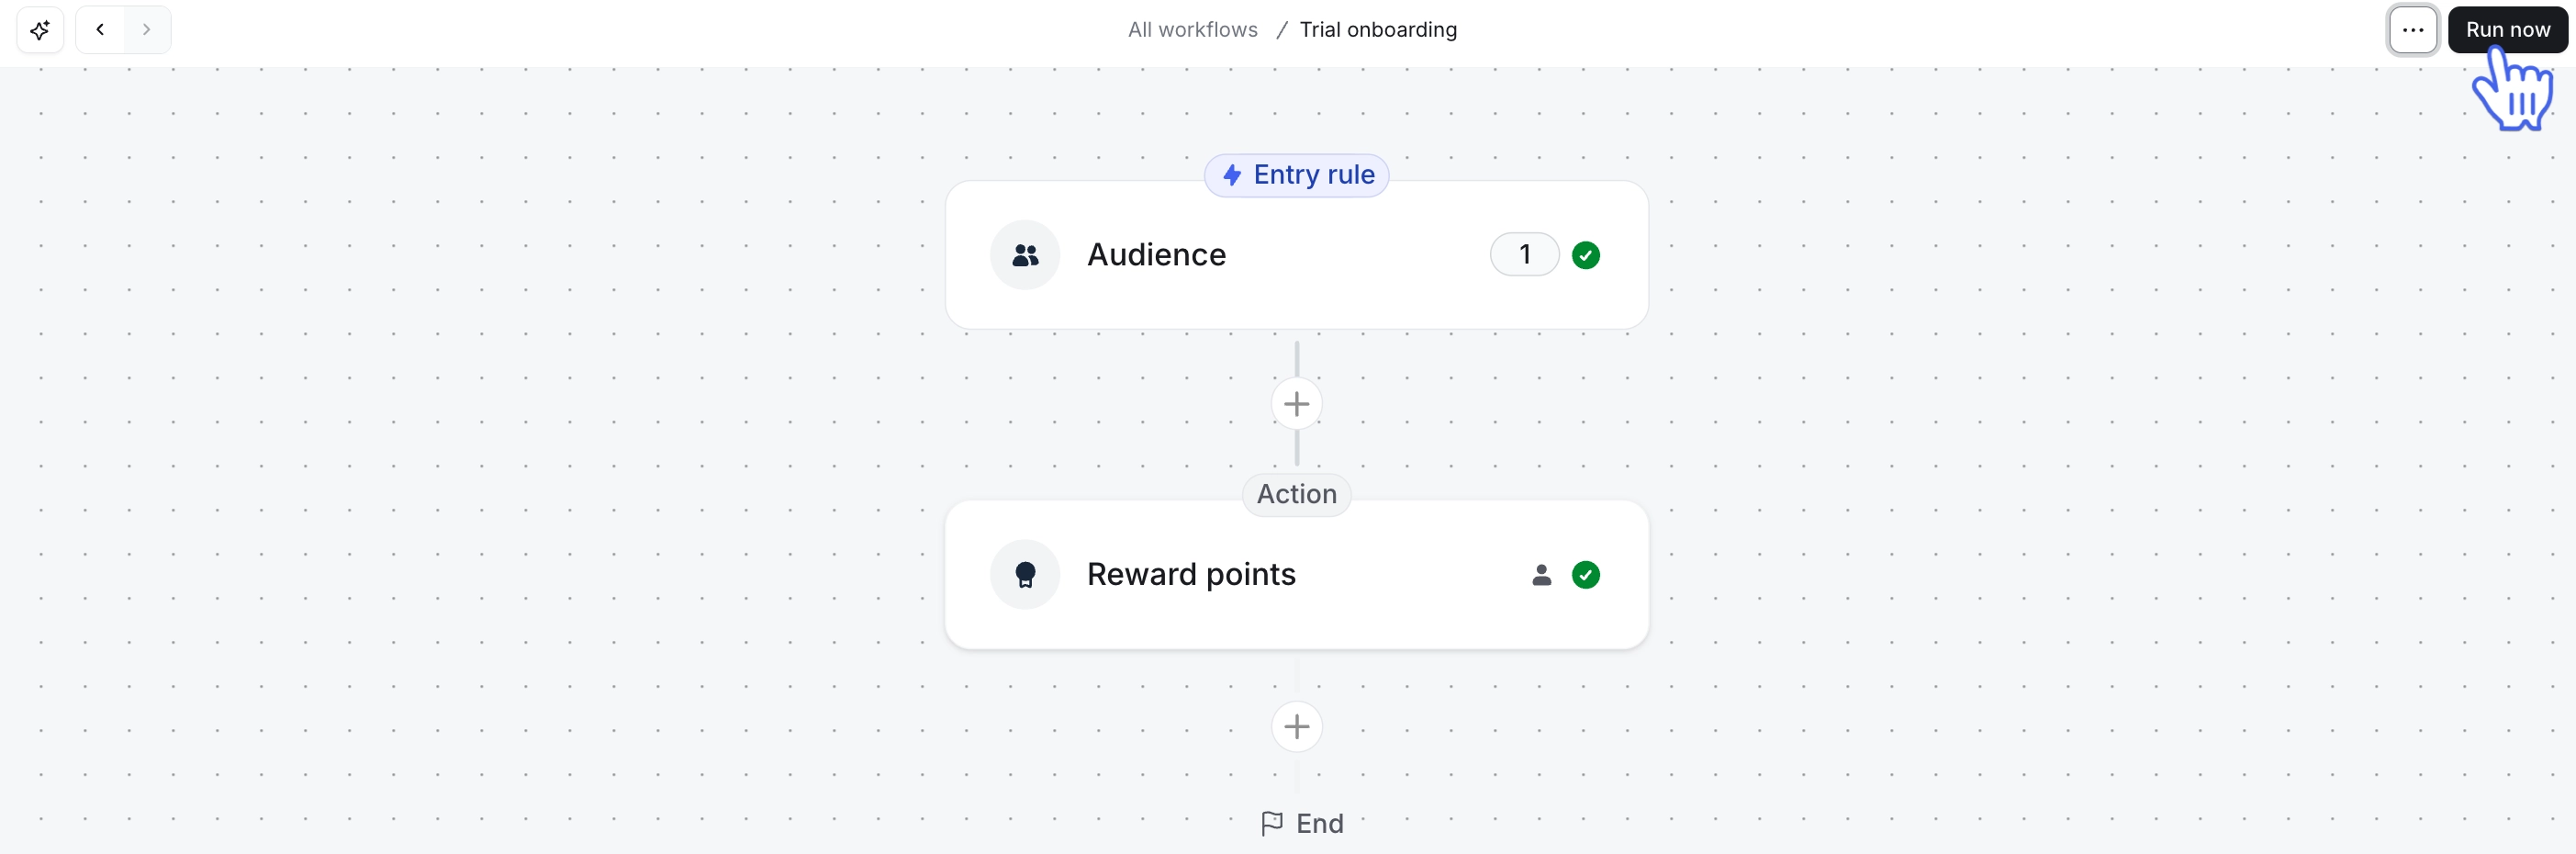
After setting up the entry rule and actions for your workflow, you're ready to run it. To start the workflow, click the Run now button in the top-right corner and confirm.
Once you've initiated the workflow run, you'll be automatically directed to the Runs tab on the workflow overview page. This tab provides real-time updates on the status of the current run. If you accidentally started the workflow, you can easily cancel the run from this page.
The left sidebar here displays tabs for individual runs. Whenever you re-run the workflow in the future, a new run-specific entry will appear in the sidebar, allowing you to track and manage each run separately.

💡 Tip: To quickly access the workflow overview page at any time, simply navigate to the Bulk actions tab on the workflow page and locate your workflow. Click on the workflow title to open the overview. Alternatively, you can hover over the workflow entry, click the More actions (three dots icon), and select View.
Cancel in-progress bulk run
If a bulk action run is still in progress, you have the option to cancel it. This feature is particularly handy if you accidentally started a workflow run and want to prevent it from continuing to run.
After confirming and running the workflow, the Runs tab will display a Cancel run button as long as the bulk action is still ongoing. To stop the remaining tasks from executing, simply click Cancel run and confirm the cancelation.
Re-run workflows
When you rerun a workflow, you can choose to include members who have already been through it, or run it only for new members who match your criteria since the last run. This flexibility lets you control who the workflow impacts each time you run it.
📚 For more information, check out our guide on how to re-run a bulk action workflow.
Edit workflows
Even after running a workflow, you can still make necessary changes to its setup. If you edit a bulk action workflow that is currently running, your changes will immediately apply to audience who have not yet gone through the workflow.
📚 For more information on how to edit workflows, check out our guide here.
View task history
The workflow overview page makes it easy to check the status of each run and dive into the task history.
When a bulk action workflow runs, it creates a task for each member it affects. These tasks are like individual records that show exactly what happened during the workflow. They capture all the important details, such as which actions were taken and which data was involved.
To view the task history, you have two options:
-
See tasks for a specific run: Head over to the Runs tab on the workflow overview page and click the run you're interested in from the left sidebar. This will show you the status of that run and a list of all its tasks. If you want more details on a particular task, just click View task next to it.
ℹ️ Note: If the run is still in progress or includes a delay action, individual tasks won't appear until the workflow completes all actions, including delay. In this case, follow the steps below to see in-progress tasks for the workflow.
See all tasks for the workflow: Click the More actions (three dots icon) at the top right of the workflow overview page and select History. This gives you a comprehensive view of tasks from all runs of the workflow.
📚 To learn more about the task history for the bulk action workflows, see View task history of workflows.