Host a live stream in your community
Last updated: September, 2026
Live interactions are a great way to engage your audience and elevate their community experience. In this article, we'll guide you through the process of initiating an instant live stream where community members can interact with hosts via the chat feature, allowing them to listen and engage with the content shared in the video stream.
Step 1: Create a live stream
To create a live stream from a desktop browser:
Click the community name or logo (or the dropdown icon next to it) in the top-left corner and select Back to community.
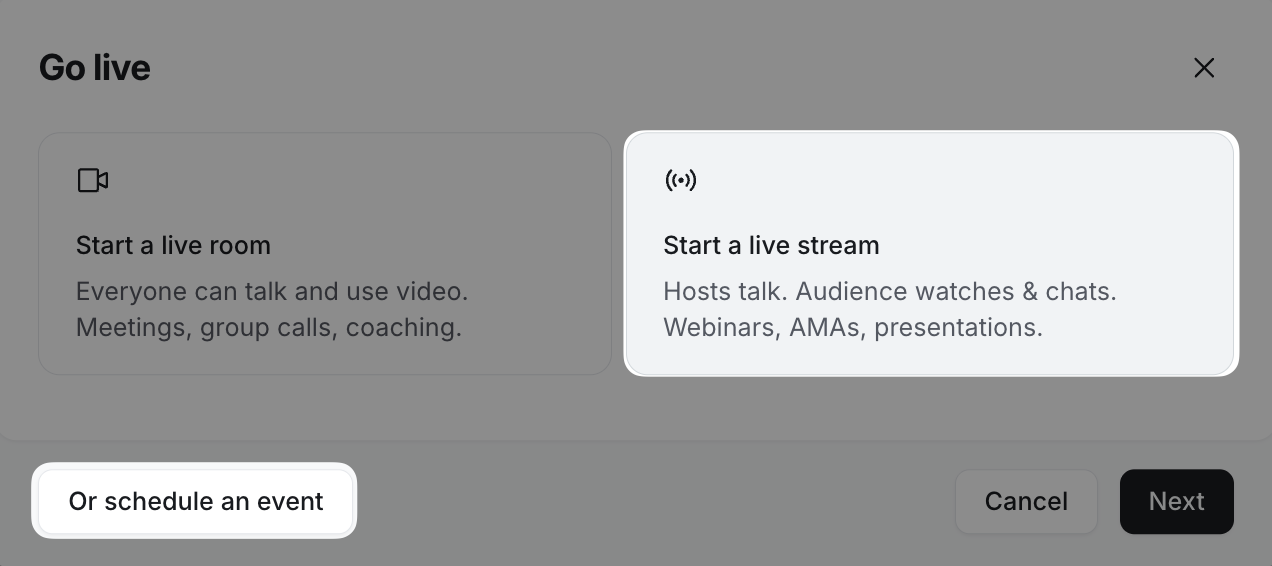
Click Go live in the lower corner of the sidebar and select Start a live stream.
💡 Tip: You can start an instant live stream from the Circle mobile app by tapping the ➕ icon on the control bar and selecting Go live.
ℹ️ Note: The live stream sessions are subject to a time limit of 8 hours (whether or not live recording is enabled), after which it will end automatically.
Who can initiate a live stream
By default, only admins can start an instant live stream in the community. If you wish to grant all your members this privilege, refer to Allow members to go live in your community.
Depending on your configuration for allowing members to go live and create events within specific event spaces, they can seamlessly utilize both instant live options and schedule events directly from the Go live flow.
📚 To learn about how many simultaneous Circle live sessions your community can host, check out our guide here.
Step 2: Choose how you want to go live
There are two ways of going live in your community:
Start an instant live stream: Initiate a live stream in your community anytime with a click of a button.
Schedule an event: Plan your live stream event in one of your event spaces, with the location selected as Circle Live Stream. For more information about events, see Events.
Step 3: Configure live stream
Let's set up live stream details and configure various options before going live in your community.
Add stream details
Title: Give your stream a title that'll be displayed in the in-app notifications for community members and the live stream information panel for all participants.
Custom URL slug (optional): You can add a custom URL slug for this stream. If left blank, it'll automatically take the stream title as a slug.
Description (optional): You can include a stream description that appears on the information panel inside the stream. The live stream description has a limit of 255 characters.
Choose stream visibility
You can choose one of the three visibility options when it comes to streaming live based on your use case.
-
Community:
All community members can join the stream.
When you start streaming, community members will receive an in-app notification and a push notification in the Circle mobile app. Additionally, a live banner will appear in the community's left sidebar.
-
Private:
Choose who can access the live stream from your community.
You can go live with a particular group of members based on their member tags, space or space group memberships, or even the specific members you choose.
When you start streaming, only members you've selected will receive notifications and see the live banner in their community account.
-
Public:
Go live to members and non-members (visitors) of your community.
Get a live event link from your stream to share with non-members so they can join.
Disable live link sharing
This option becomes available only when you select the private visibility for your live stream.
When this toggle is deactivated, both you and live attendees can share a private stream URL with individuals not listed as invited members (attendees/co-hosts), allowing them to join the live session. This live URL can be copied from the join live stream page or the browser’s address bar.
To control link sharing, we suggest enabling the Disable live link sharing toggle when configuring the private live session. By doing so, only invited individuals will have access to the session. This action prevents uninvited members from entering the private live stream, even if someone shares the live URL with them, by copying it from the browser's address bar.
Enable recording
If you wish to record this stream, turn on the Record this stream toggle. Once the stream ends, the recording will automatically be sent via email to the live host’s account email. If a member is hosting the stream, the recording will be sent to their account email.
ℹ️ Note: Once you proceed backstage, you won't be able to modify the recording configuration.
💡 Tip: Community admins can also download the recording directly from the live dashboard.
If recording is enabled, a 🔴 Recording indicator will appear on the live screen, providing a clear visual cue that the session is being recorded. Additionally, individuals joining the live session will see an indication on the join screen that the live is being recorded.
Mute participants
To automatically mute all co-hosts or participants when they join a live session, turn on the Mute participants toggle. After joining the live session, participants can unmute themselves.
Hide participants list
Turn on this toggle to keep the list of participants hidden from the attendees during the live session. When enabled, only the host, co-host, and the live moderator can access the participant's list from the control bar.
Disable chat
Turn on this toggle to disable the chat during an event. When you disable chat, the chat panel is hidden for all participants on web and mobile. This is a per-session setting, so you can enable it for specific events while keep it disabled for others.
This is especially useful for one-way broadcasts, compliance-sensitive events, or sessions where chat would be a distraction.
❗️Important: To prevent accidental activations, this setting cannot be changed once the event starts.
Choose the default stream view
Select from Speaker or Gallery as a default stream view for participants.
Step 4: Invite members
You have the flexibility to add attendees and co-hosts to your stream during setup. This is an important step, especially if you are setting up a private stream, as only members you add here will be notified.
To add attendees:
Go to the Attendees tab and click Add attendees.
In the Invite members dialog, enter the member's name and select them from the list. If you wish to include members from certain spaces, a space group, or those with specific member tags, simply type the relevant name and choose from the list.
Click Save.
To add co-hosts:
Go to the Co-hosts tab and click Add co-hosts.
In the Add co-hosts dialogue, enter the member's name and select them from the list.
Click Save.
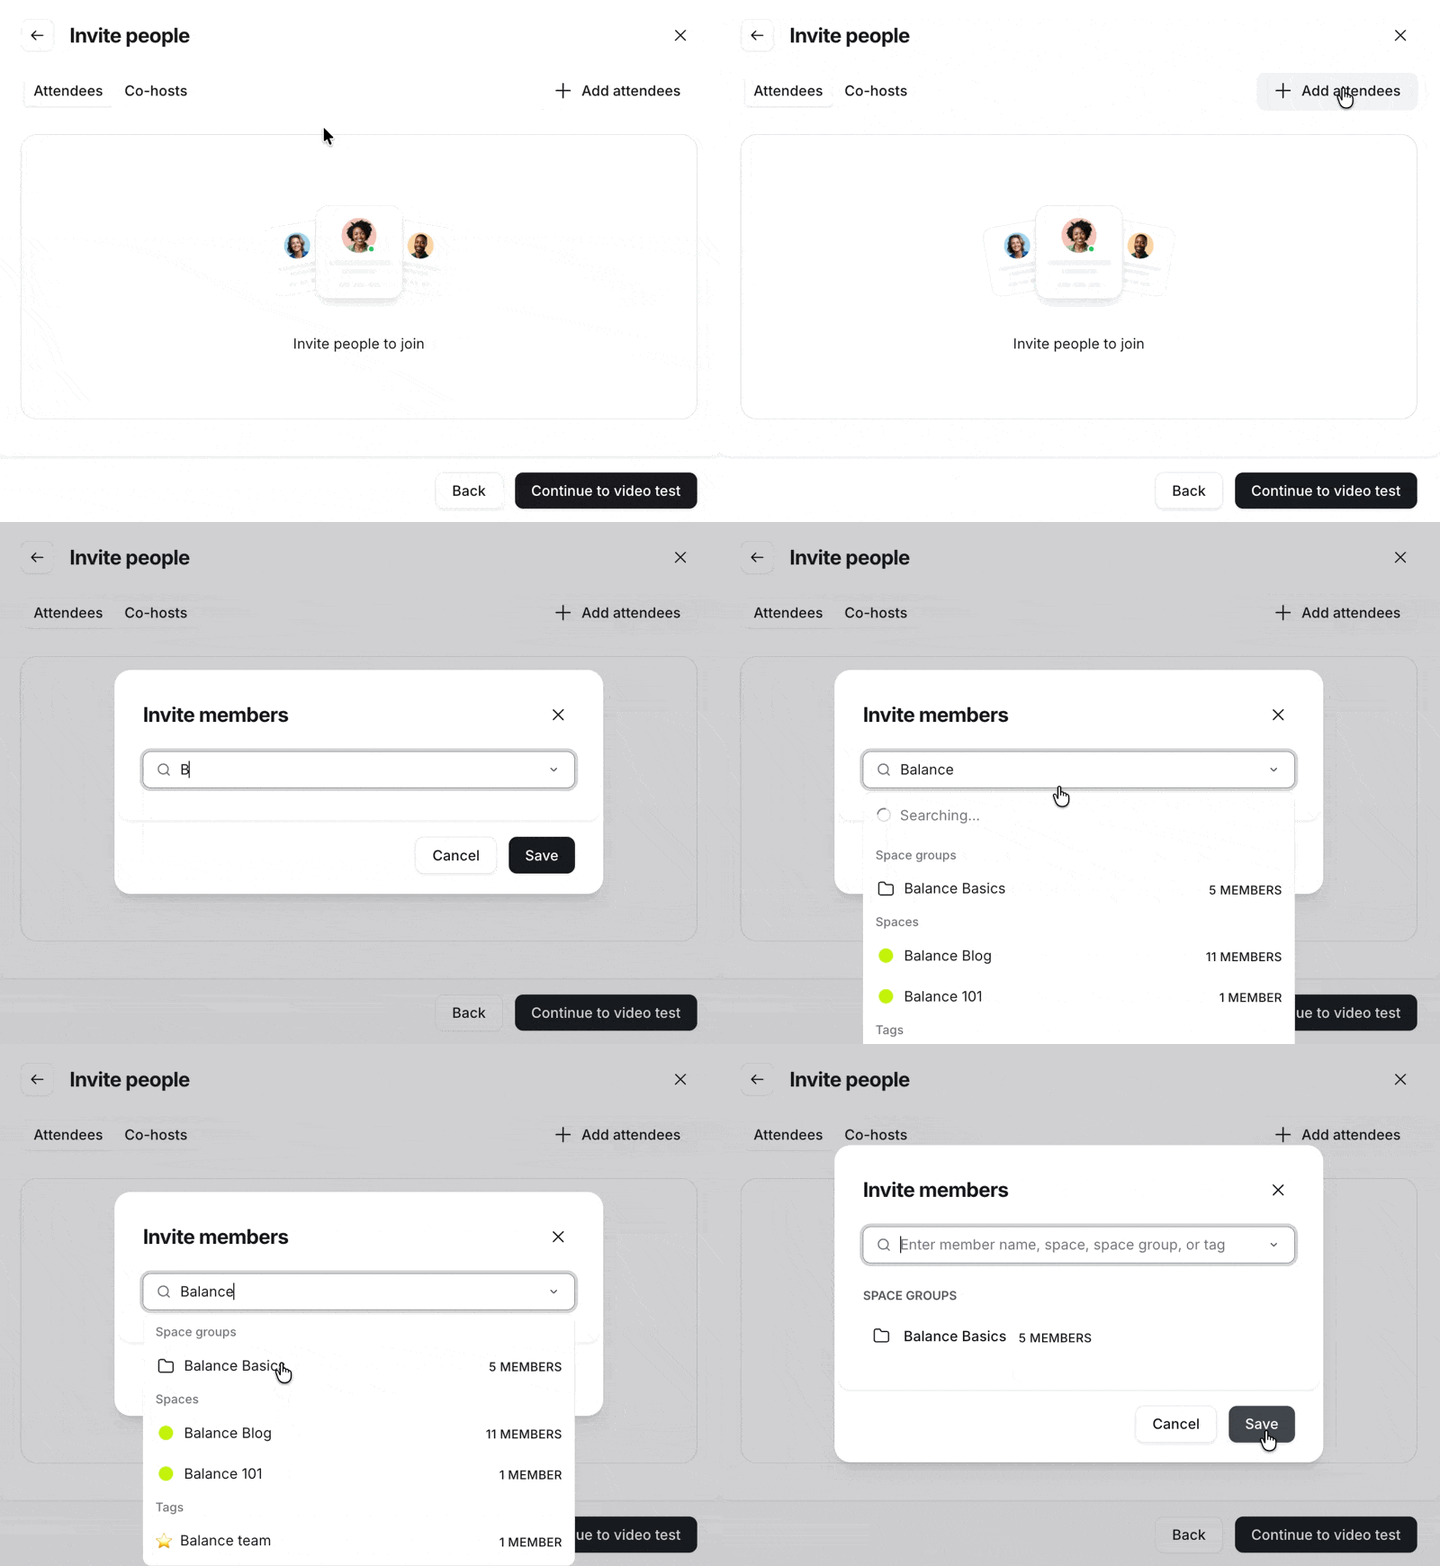
To remove any member from the attendees or co-hosts list, click Manage, hover over a name, and then click Remove.
Once you have invited members, click Continue to video test to proceed to the next step, where you can test your microphone, camera, and device settings before entering backstage.
📚 To learn more about previewing and adjusting your audio and video, see our guide here.
Step 5: Enter backstage
Once you are ready, click Enter Backstage on the live stream screen.
💡 Tip: If you have turned off the Disable live link sharing toggle for your private stream, you can copy the stream link from this step to share with any community member to have them join the private session. Your live attendees can also share a private stream URL with any member not included in your selected audience to have them join the stream.
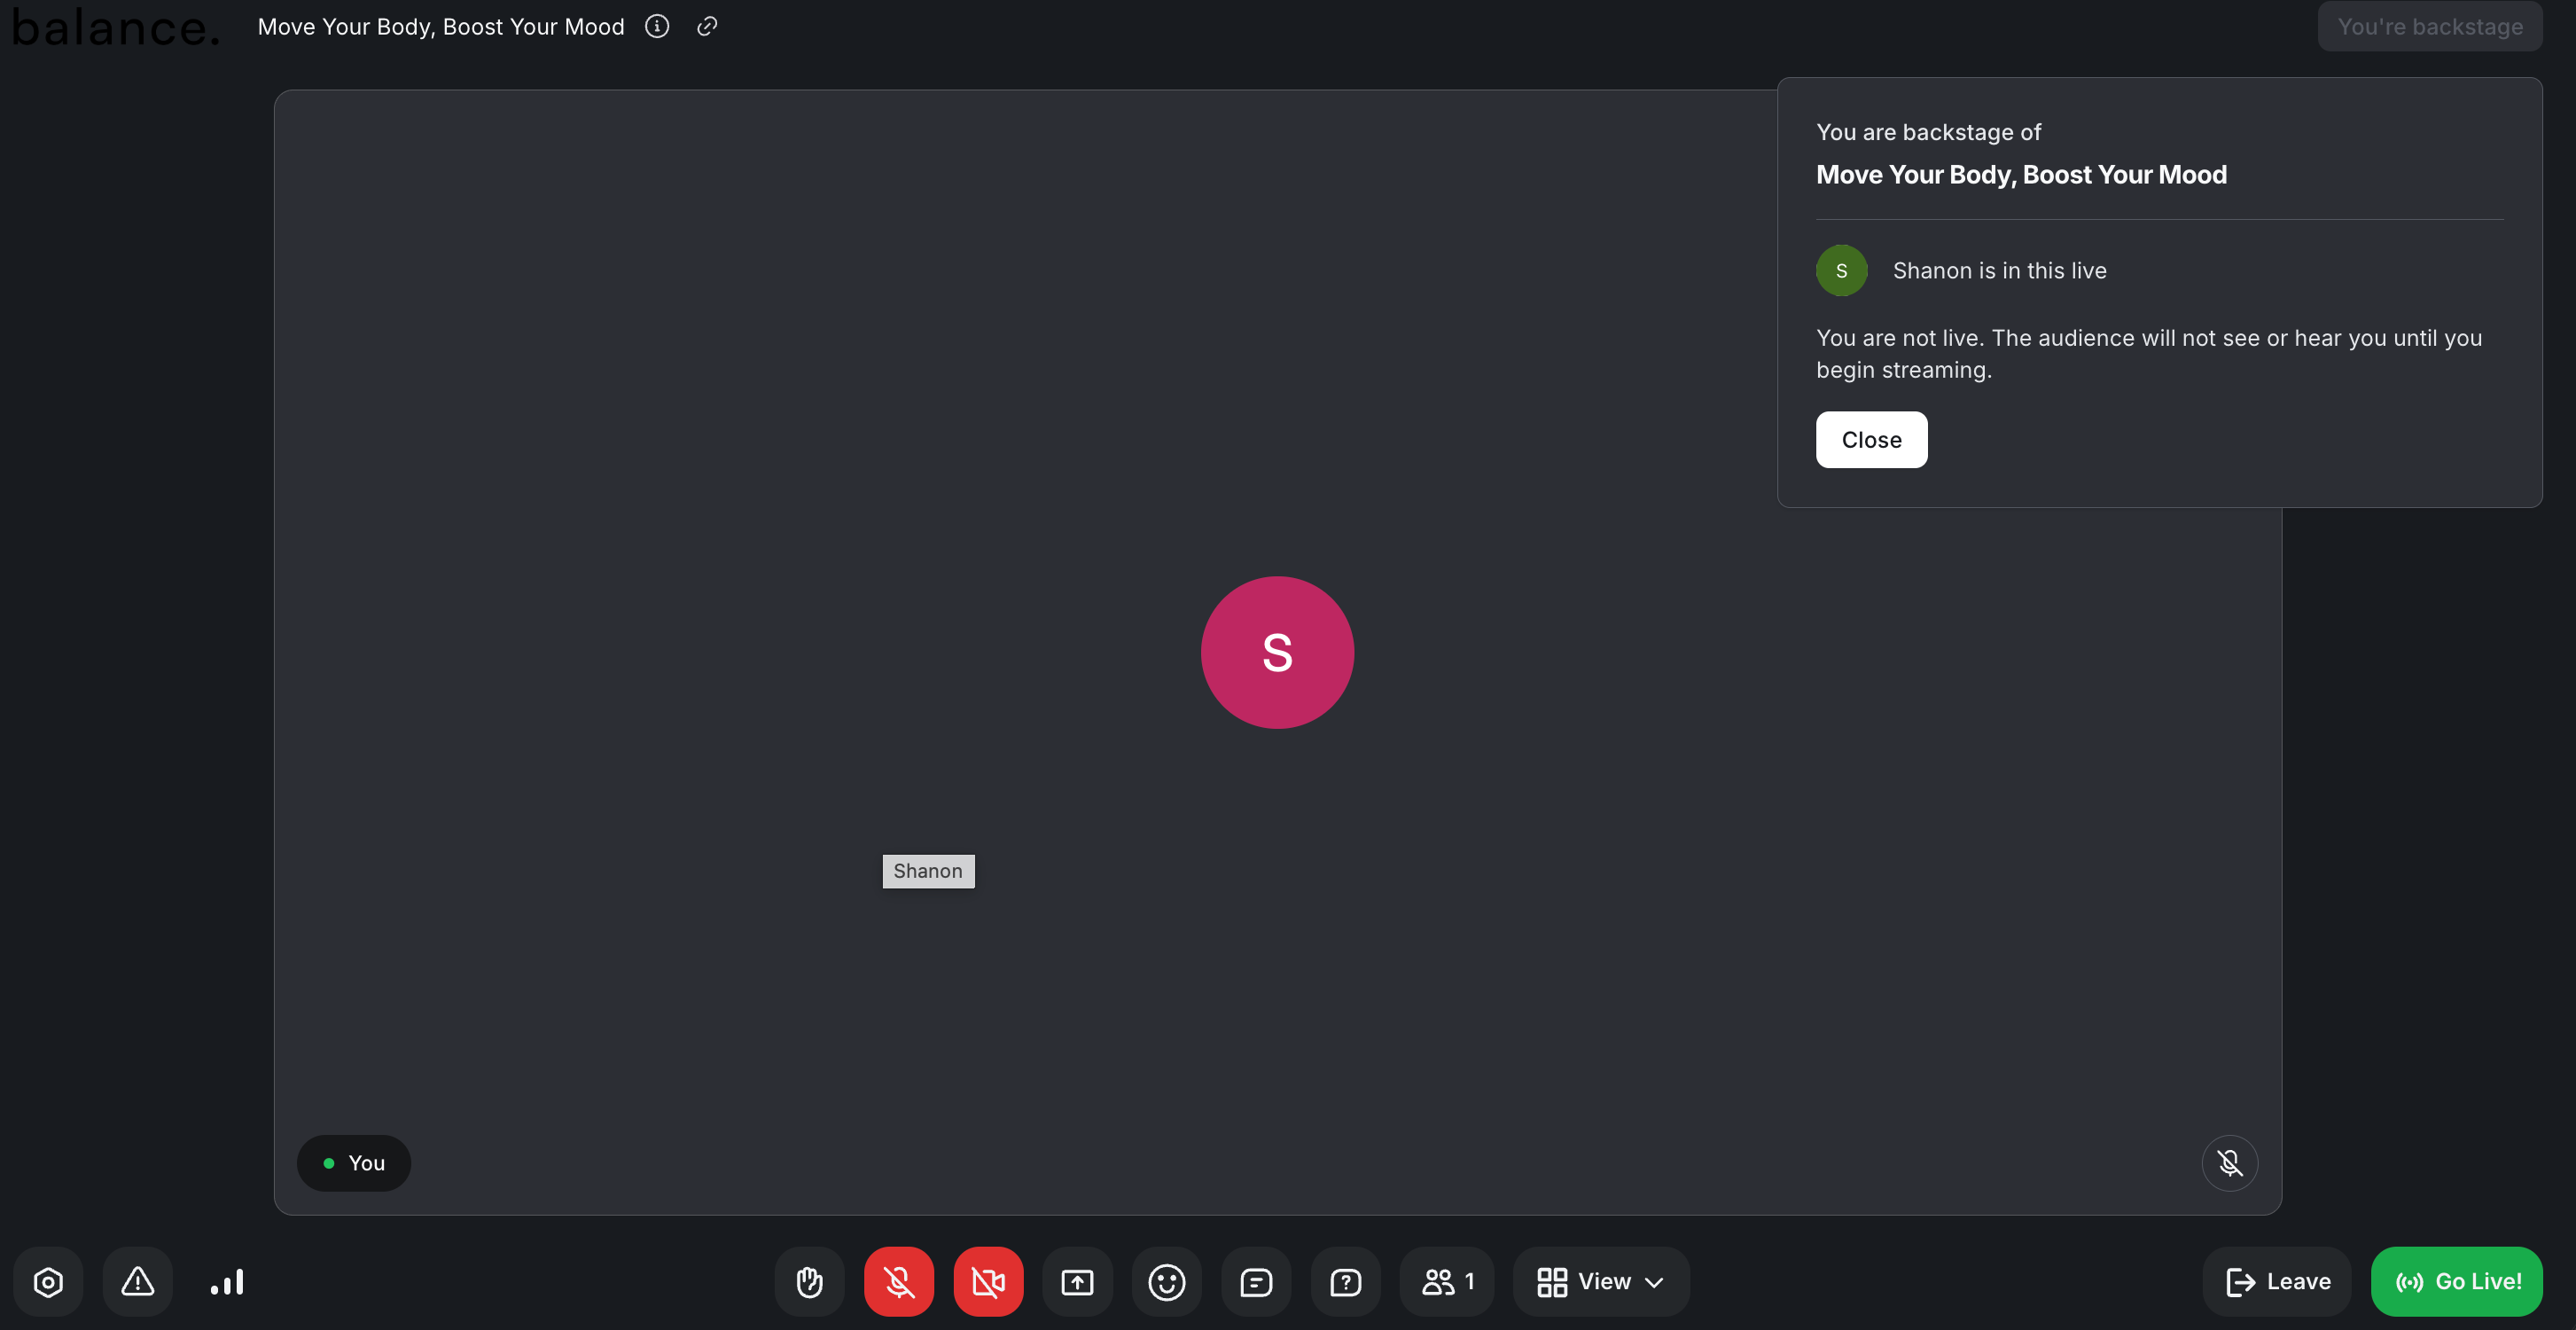
Backstage allows you to prepare and collaborate with co-hosts before going live. Once you enter backstage, the co-host will get notified in-app to join you in the stream. For more information, see Utilizing backstage for live streams.
ℹ️ Note: If members are trying to join the stream via live URL or from the event details page while you are still backstage, they’ll be directed to a screen with a message informing them that the stream will start soon. Once you go live, the option to join the stream will appear for them on the screen.
Step 6: Go live
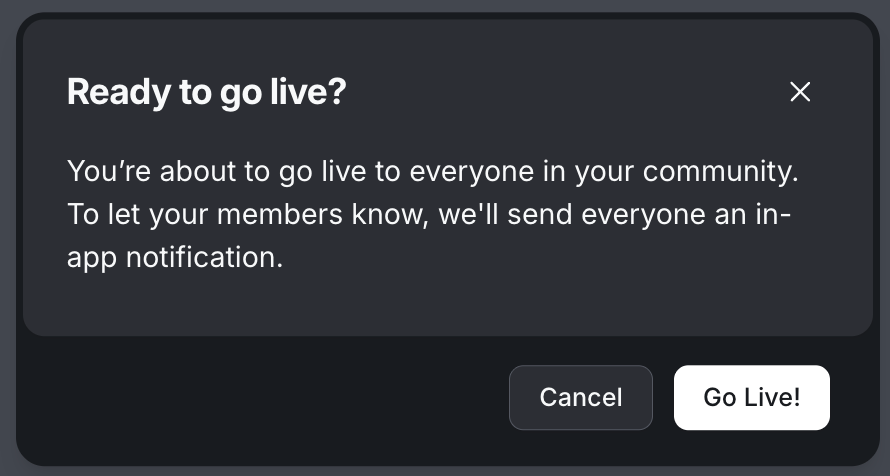
Once you are ready to start streaming, on the control bar, click Go live, and then confirm in the dialog. It will take a few seconds to initialize the stream, and once you are live, the Live badge will appear in the lower-right corner.
🔔 Notifications: Let's see how members will notified based on your stream visibility setting:
Community or Public: All community members will be notified via an in-app notification on a desktop and a push notification on the Circle mobile app that you are currently streaming live.
Private: An in-app and push notification will be sent to members you have added while setting up the stream. Any member you haven’t added to your stream won’t be able to see the live banner or get notified.
ℹ️ Note: Participants might notice a slight delay (around 10 seconds) in the time it takes for the hosts' audio and/or video to reach them. While it can depend on participants' internet connection, this delay is the norm on mass live streaming services, and so is to be expected.
📚 To learn more about how your community members can join your live stream, check out Join a live stream.
Step 7: Manage live stream session
After you begin your live stream, you have access to various options available on the live stream screen to manage your session, including the ability to:
Manage device settings
Report technical issue
Internet strength
Raise your hand
Toggle microphone and camera
Share your screen
Reactions
Participate in a chat (if enabled)
Participate in Q&A
Invite your community member to co-host the stream
-
Manage live video layout

📚 For more information about managing your live stream, see Live Management space in our Knowledge Base.
Step 8: End stream
Once you are done, you can click End Stream to end the streaming session.
In case you (the host) decide to leave the stream without ending it and co-hosts remain in the stream, the stream will continue to be active, but co-hosts won’t receive host privileges. The host can also return to the stream by clicking the Join stream in the live banner in the lower corner of the left sidebar.
There are several ways to end the stream if the host has left:
The host can click End Stream in the live banner in the lower corner of the left sidebar.
One of the community admins can end the stream from the Live dashboard.
The remaining co-hosts can leave the stream. After the last co-host has left, the stream will automatically end after five minutes.