View and respond to lesson comments
Last updated: July, 2026
The course dashboard allows admins and moderators of space or space groups to access all lesson comments within the course space. In this article, we will guide you through the steps to view and respond to lesson comments.
💡 Tip: Comments are also available for quizzes. You can follow the same steps outlined for enabling and managing lesson comments to enable and manage comments for quizzes.
View lesson comments
To view all lesson comments:
Navigate to the course dashboard.
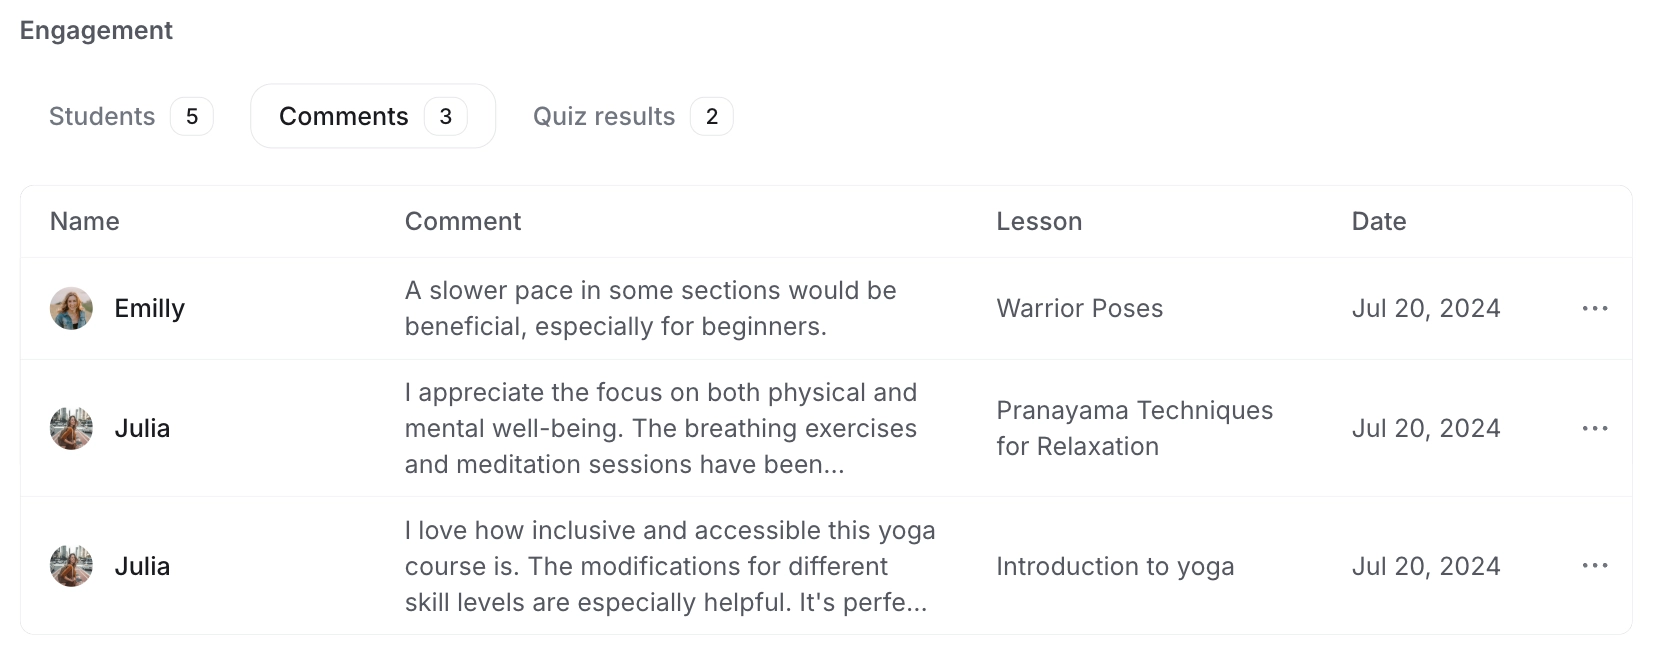
Click the Comments tab under the Engagement section.
Each comment shows its author, date, and the lesson it was posted in.
Reply to lesson comments
Admins and space moderators can use the comment section to engage in discussions with students. Here's how to use comments within your course lessons.
You can add or respond to comments in your course lessons in multiple ways:
-
Via course preview: Access the comments tab by navigating to a specific lesson through the course preview:
In Course Overview, click the More actions (three dots) icon beside the Edit lessons button, and select View as student.
Select the lesson, then scroll down to the Comments section.
Through the course dashboard: Go to the Comments tab under the Engagement section, then click a comment to view and reply to it in preview mode.
Using comment notifications: Go to your notification panel in the community header, then click a comment notification to jump to that comment and reply.
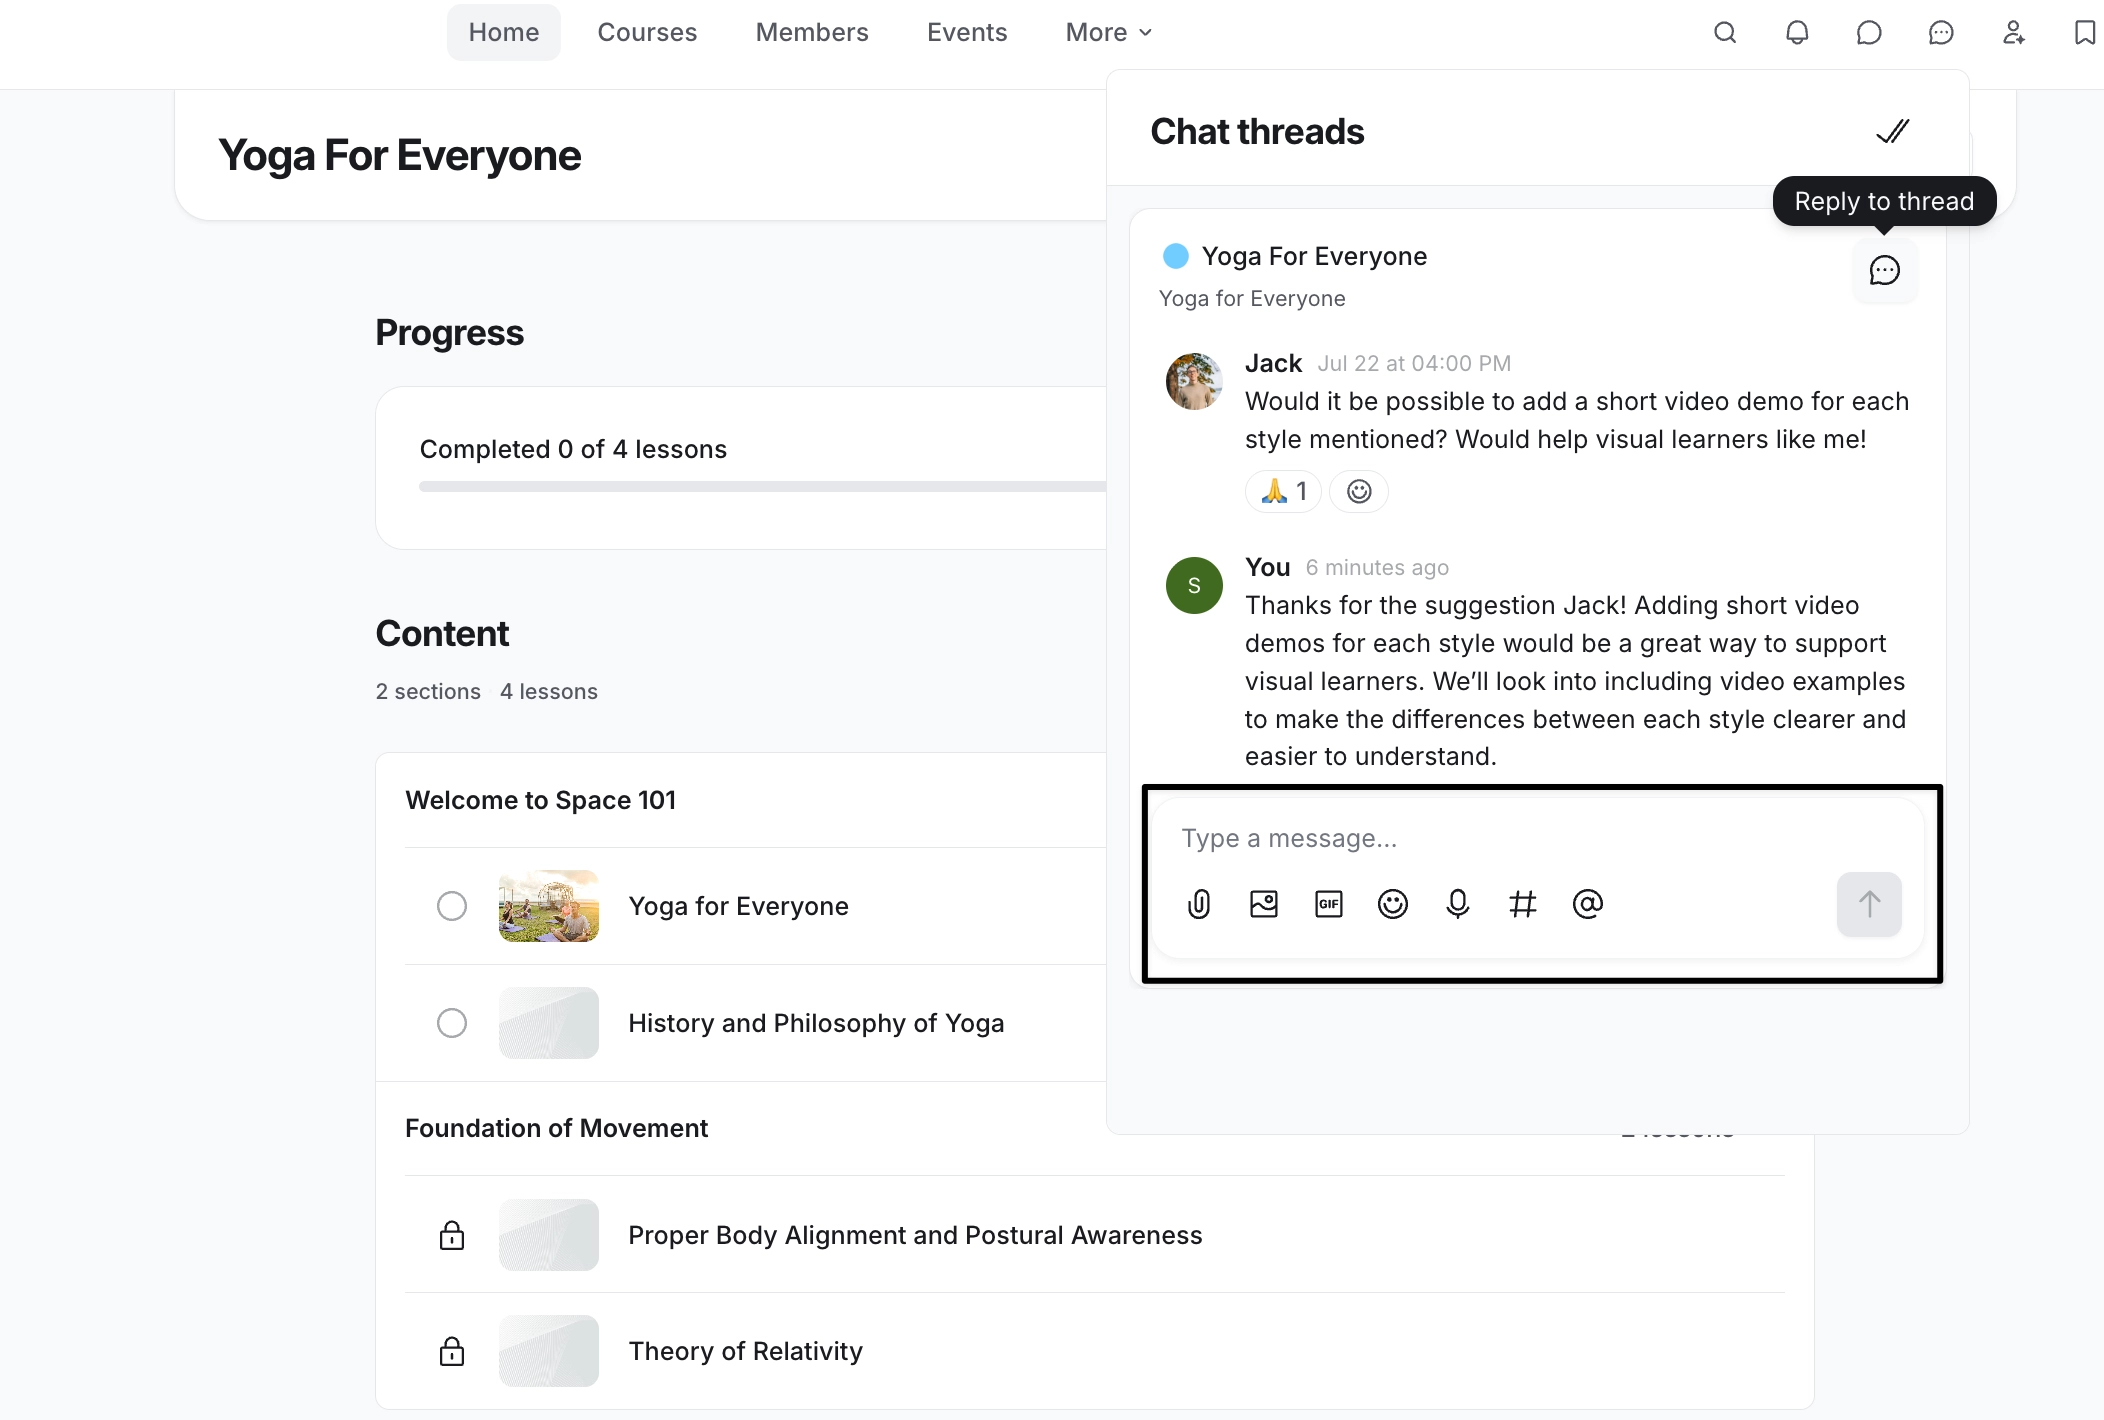
Via threads: Reply to comments in a threaded conversation that you’re part of via the threads panel in the community header.
Using messaging field
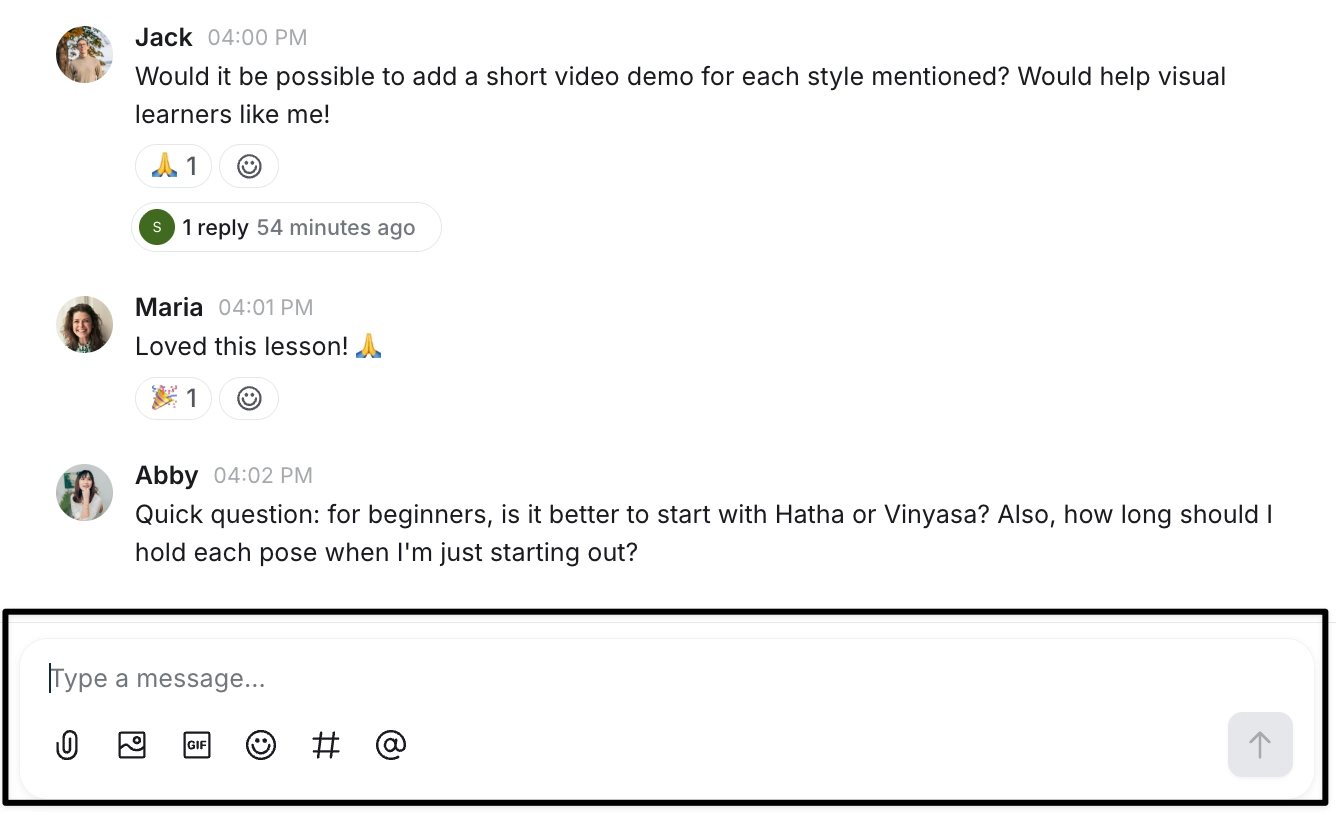
The messaging field offers you various options along with text to compose your message, including:
Attach files
Attach image
Add GIF
Add emoji
Link to community content using Hashtags
Mention members
To access formatting options, select the text. A formatting bar will appear with options such as:
Bold
Italic
Strikethrough
Underline
Quote
Hyperlink
To create a list, you can use the following shortcuts in the messaging field:
Numbered list: Press “1.” followed by a space to start the list. Pressing Enter at the end of the sentence will automatically continue the numbering.
Bulleted list: Press “-” followed by a space to start the list. Pressing Enter at the end of the sentence will automatically continue the list.
Once your message is ready, press Enter or click the Arrow icon to post your comment.
Replying in thread
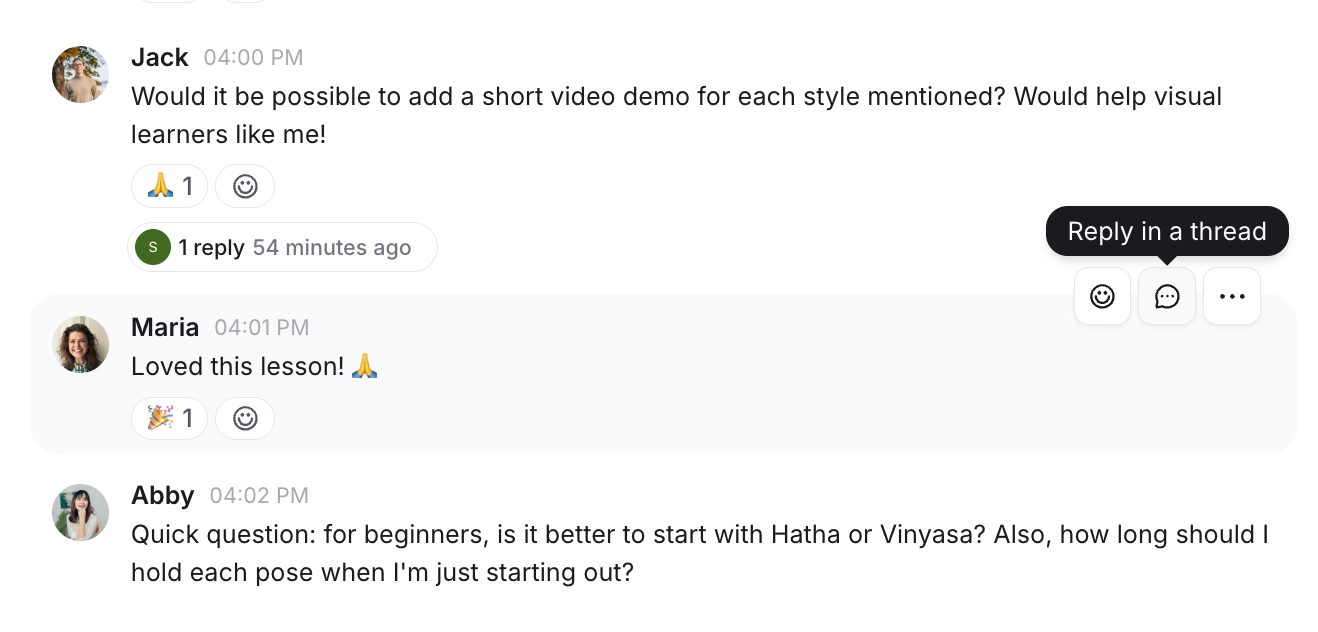
To reply to a comment within a thread, hover over the comment and click the Reply in thread icon.
When other students have contributed to the thread, you'll notice a banner indicating the number of replies connected to the parent comment. Clicking this banner will open the entire threaded conversation.
Reacting to comments
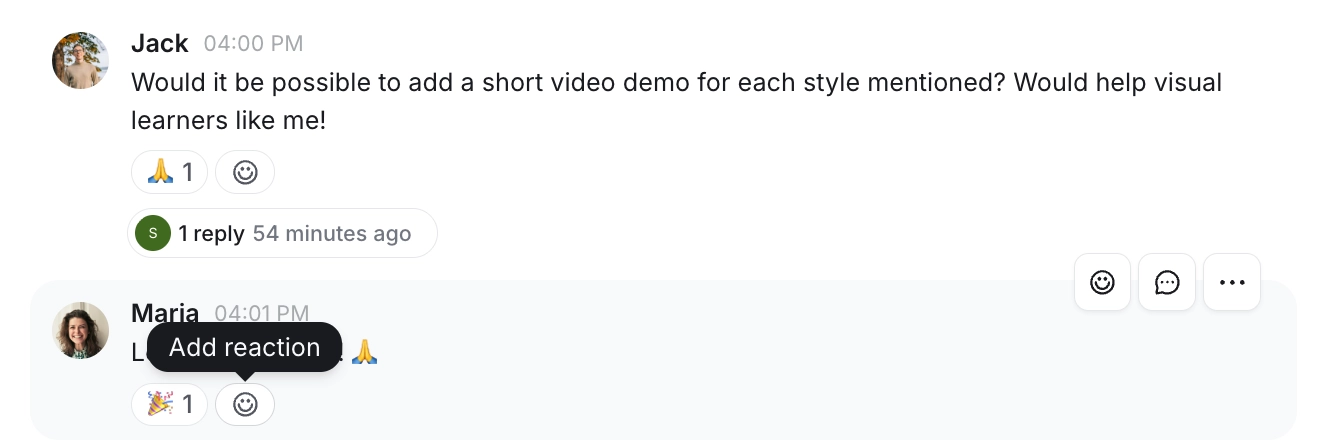
Just like chat messages, you can react to lesson comments using emojis. Hover over a comment and click the Emoji icon in its top-right corner. Emoji reactions will be highlighted in blue when you add them. Reactions with multiple responses show a count. You can hover over one to see who reacted.
If there's already an emoji reaction, click it to add your own. Click it again to remove your reaction.
Share lesson comments
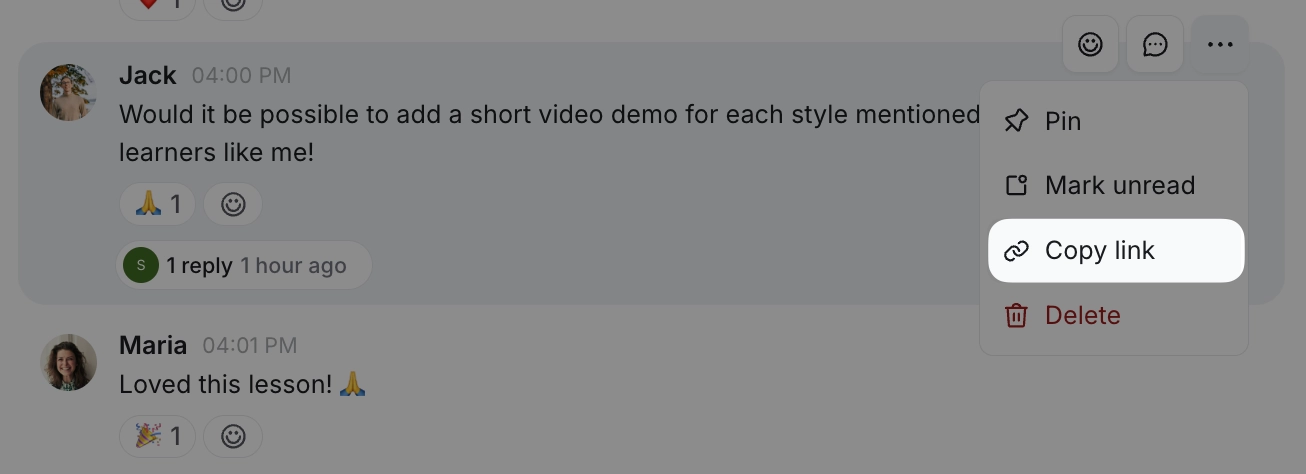
You can share any lesson comment from a course by copying the link and pasting it into the desired conversation, post or comment.
To copy a link, hover over the comment, click the More actions (three dots) icon and select Copy link.
📚 For more information on sharing lesson comments, please refer to our guide on sharing lesson comments.
Accessing threads
Replies to a thread you're part of, or on your original comment, all appear in the threads panel in the community header, making it easy to track the threaded discussions you're involved in.
From the threads panel, you can respond directly using the messaging field or click the Reply to thread icon to return to the original conversation within the lesson.
💡 Tip: Whenever there's a new comment in a thread you're engaged in, a numbered badge in red representing the number of unread threads appears on the Threads icon located in the community header.