Setting up a new event space
Last updated: September, 2026
Unlock the full potential of community engagement by setting up a dedicated event space designed for organizing exciting events that empower your members to connect and learn. This article outlines the steps to create a dedicated event space in your community.
To create an event space
Click Community in the left sidebar, then select Spaces.
Select New space in the top right corner.
-
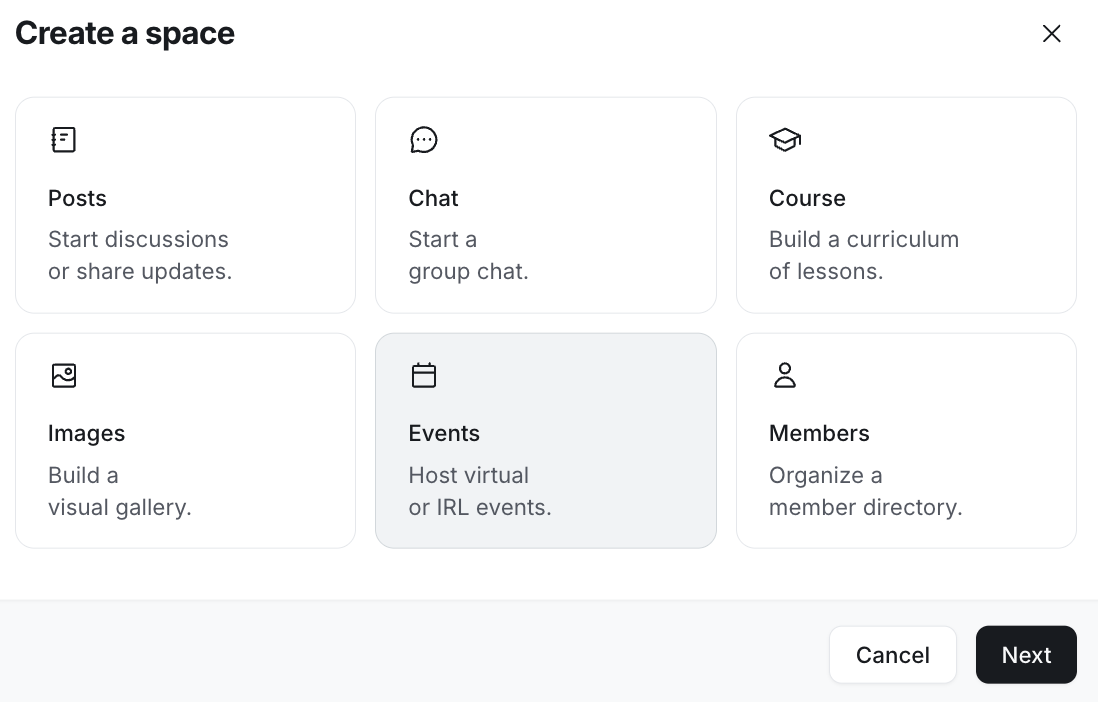
In the Choose space type dialog, select Events and click Next.
-
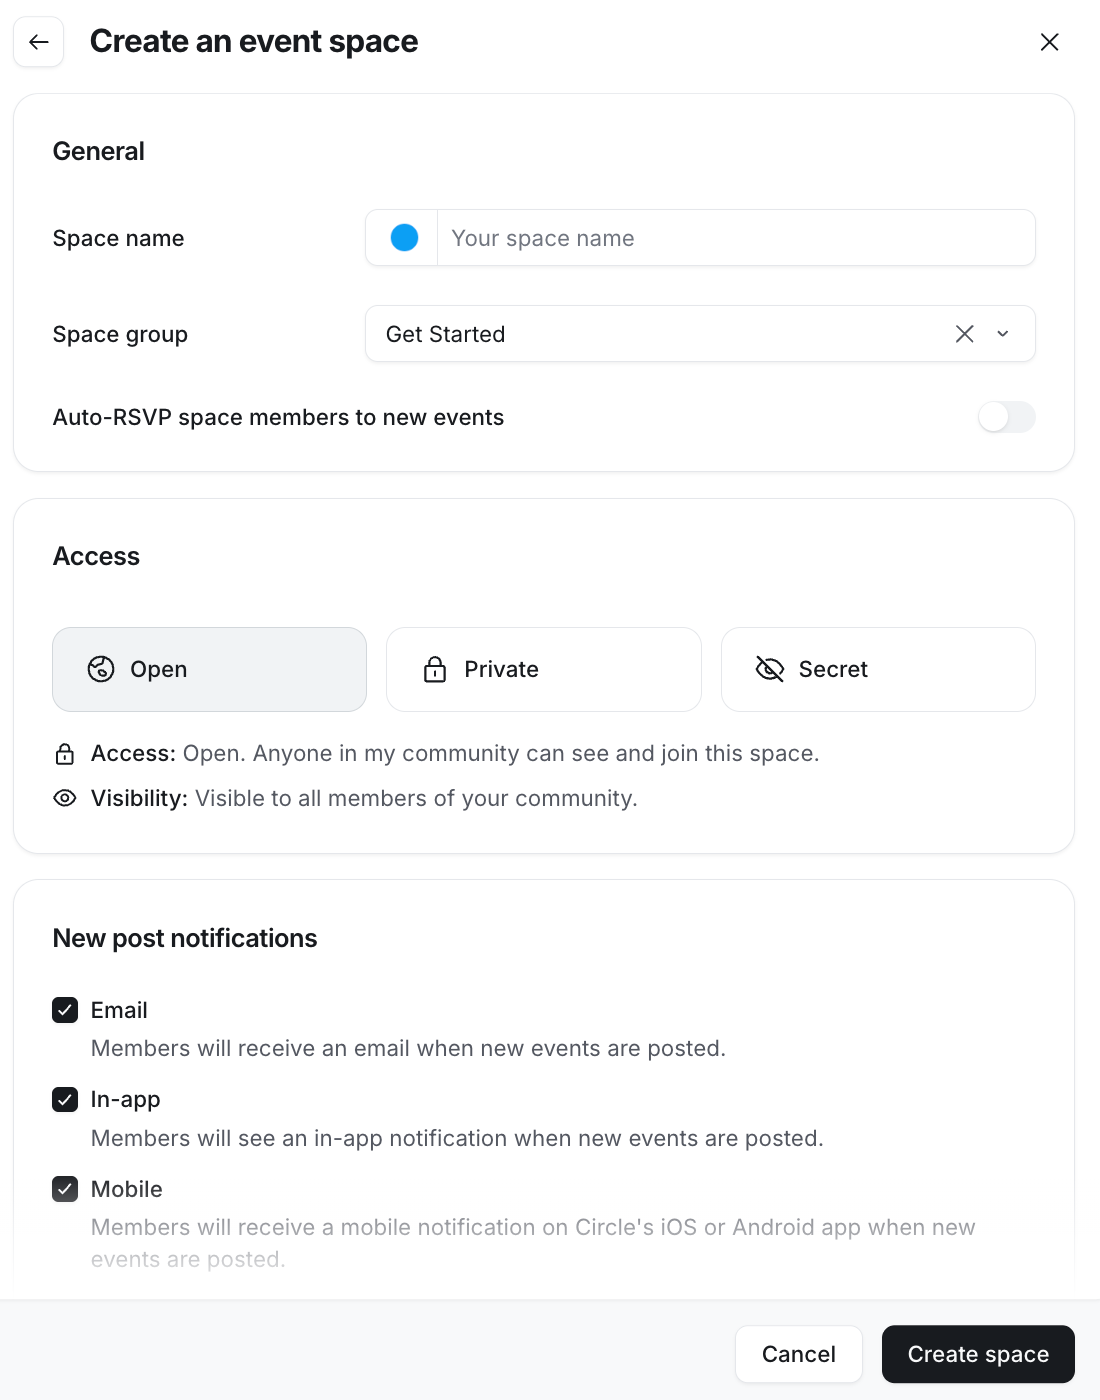
Configure essential space details:
Add a space icon: Add an icon of your choice that will be displayed in the left sidebar and space header in your community. To learn more, see Set up a space icon.
Add space name: Name your event space.
Space group: Choose the space group you want the space to be added to from the dropdown menu.
Auto-RSVP space members to new events: If enabled, this feature will automatically RSVP members to the new events and set their RSVP status to Going.
Add members from this space group: Enabling this toggle automatically adds all its members. These settings apply only to legacy space access for communities created before January 29, 2025. Access groups grant manual access separately from the group.
Select an access level: choose from open, private, or secret. To learn more about space access, see Setting up a lock screen.
-
New post notifications: You can choose a default notification setting for your members to trigger email, in-app, and mobile push notifications when a new event is posted.
Click Create Space.
You will now be taken to the newly created space, where you can customize settings and start crafting new events!
Ready to customize your event space?
📚 To learn more about event space customization, see Customize event space settings.