Manage downloadable files in lessons and quizzes
Last updated: July, 2026
Use the Files tab to upload notes, videos, and other resources to individual lessons or quizzes. This gives members access to everything they need in one place.
💡 Tip: If you prefer to add files within the lesson body, you can also type the forward-slash (/) command and select File or PDF from the list. For more information about lesson editor, see Create course content using the lesson editor.
About files
Versatile uploads: Upload different types of files, PDFs, images, or videos relevant to the lesson and quiz to provide your students with additional resources.
File limit: You can upload up to 15 files in each lesson or quiz.
Storage limit: Any content uploaded to the files tab counts toward your community’s storage limit.
Student access: When at least one file is added to a lesson or quiz, the Files icon appears in the header of that lesson or quiz for students. Students can click the files to download them directly to their devices.
Let's look at how you can access and manage files within lessons and quizzes.
Access files tab
Navigate to your course space.
Click Edit lessons in the Course dashboard.
Hover over the lesson or quiz and click Edit to open the editor.
-
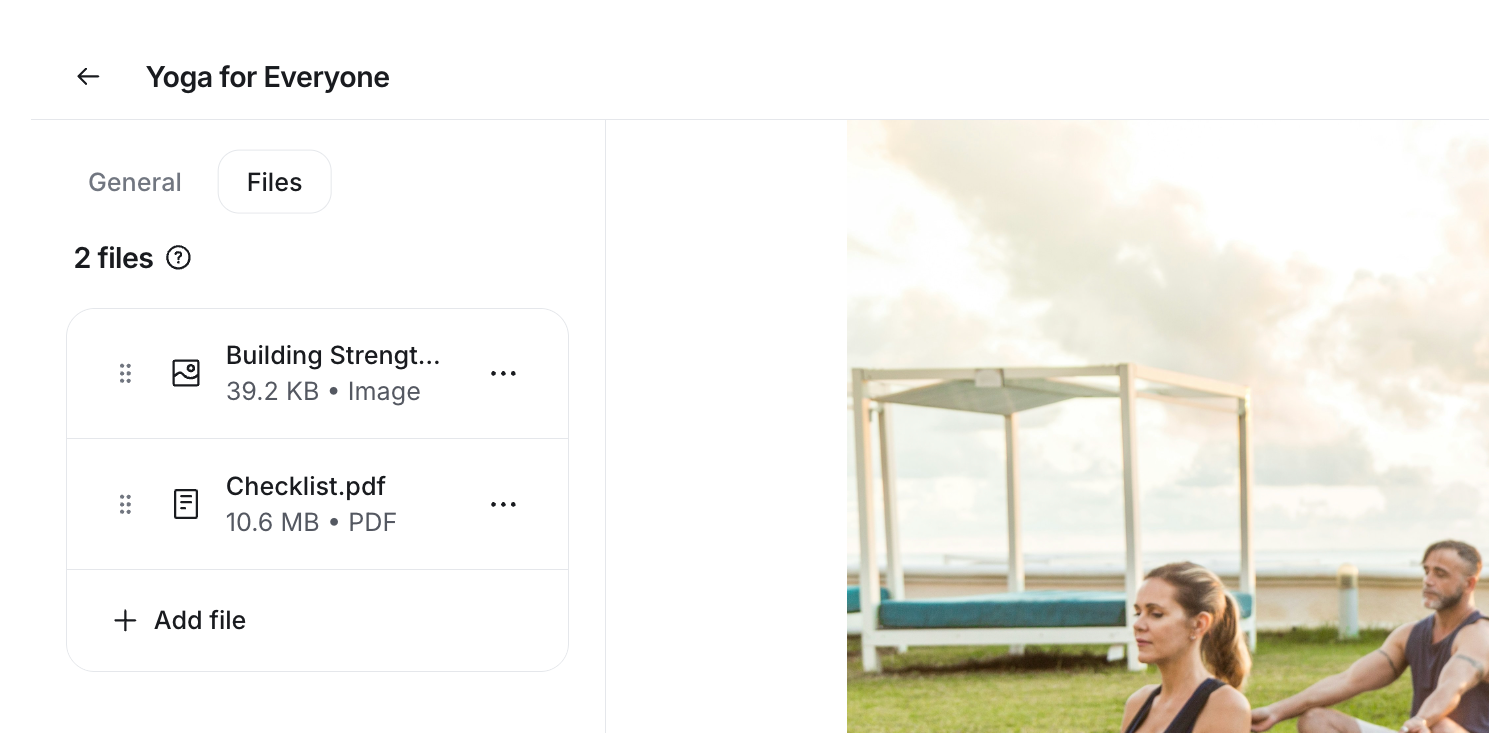
Go to the Files tab in the sidebar.
Upload a new file
To upload a file, click Add file and select the file from your device.
Rearrange files in order
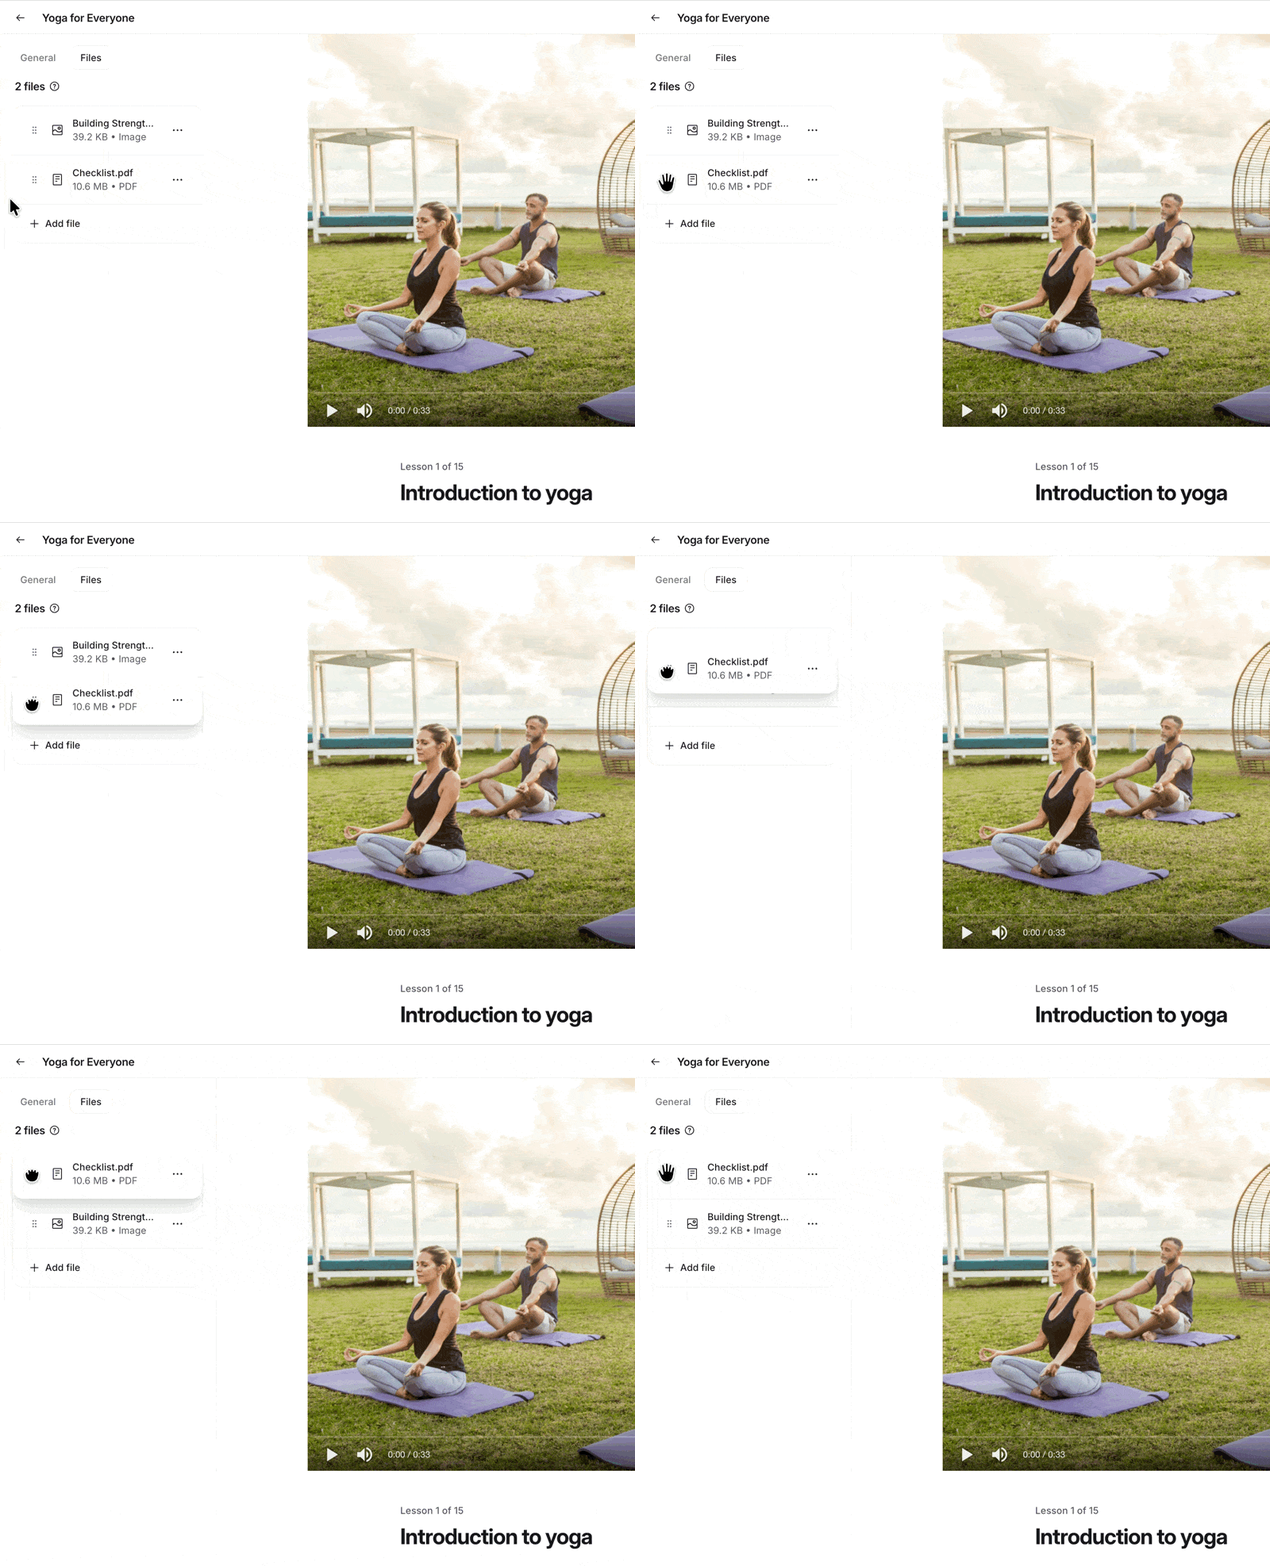
To reorder a file, click and drag the Drag handle (six dots) on the file, then drop it into position.
View or remove a file
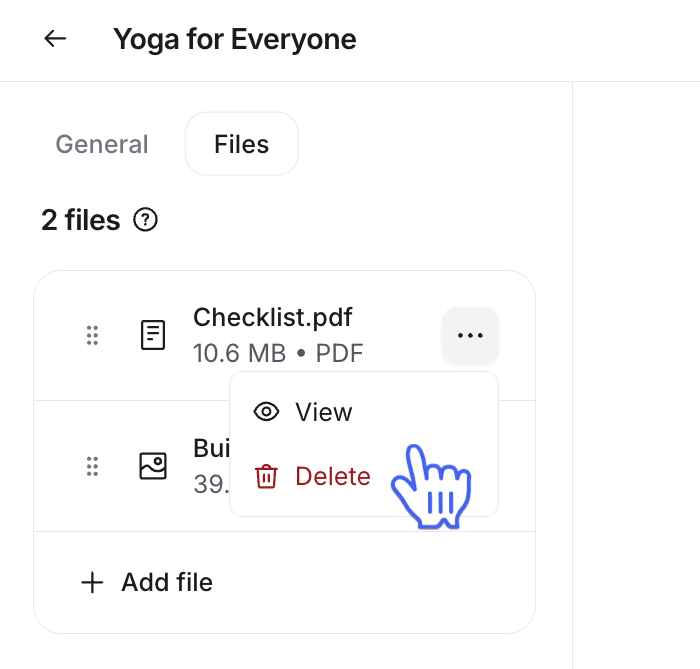
To manage your files, hover over it, click the More actions (three dots) icon next to the file title, and select one of the following options:
View: The file will be downloaded to your device.
Remove: The file will be permanently deleted from the lesson or quiz.