Automatically grant free access to spaces when members join your community
Last updated: February 05, 2024
You have the flexibility to effortlessly grant complimentary access to community spaces for new members. In this article, we’ll guide you through the simple steps to set up onboarding access within your community.
Get familiar with onboarding access
The access option in the onboarding settings allows you to automatically provide free access (via invite access) to spaces when a new member joins the community, regardless of how they signed up for the community.
This especially helps ensure that all members have access to basic spaces such as welcome forums, announcement boards, or general discussion areas when they join the community via any of the various entry points you have made available.
When using Single sign-on (SSO), onboarding access ensures that all users automatically gain entry to designated spaces whenever they join the community via their SSO account.
Key considerations
If you have set up paywalls in your community, we strongly recommend excluding spaces from the onboarding access that you have added to your paywall. This will help you avoid providing free access to spaces included in the paywall to someone who is not a subscriber.
Additionally, whenever you make any changes to your paywall and invitation link setup, we suggest checking out the onboarding access configuration to ensure that unintentional free access isn't granted to spaces where it's not intended.
📚 To learn more about access rules for invite and paywall access methods, see Understanding invite access and paywall access methods.
Set up onboarding access
To access onboarding settings, follow these steps:
Click your community name or logo—or the dropdown icon next to it—at the left of the top navigation bar and select Audience.
Then, in the sidebar menu, select Onboarding and then go to the Access tab.
On the Access tab, you set up onboarding access using one of the following options:
Access groups
Space access (available to communities created before January 29, 2025)
Access groups
Access groups help you effectively define which spaces (and space groups) members get access to. This helps you streamline access management and eliminate the need for repetitive manual setups for entry points.
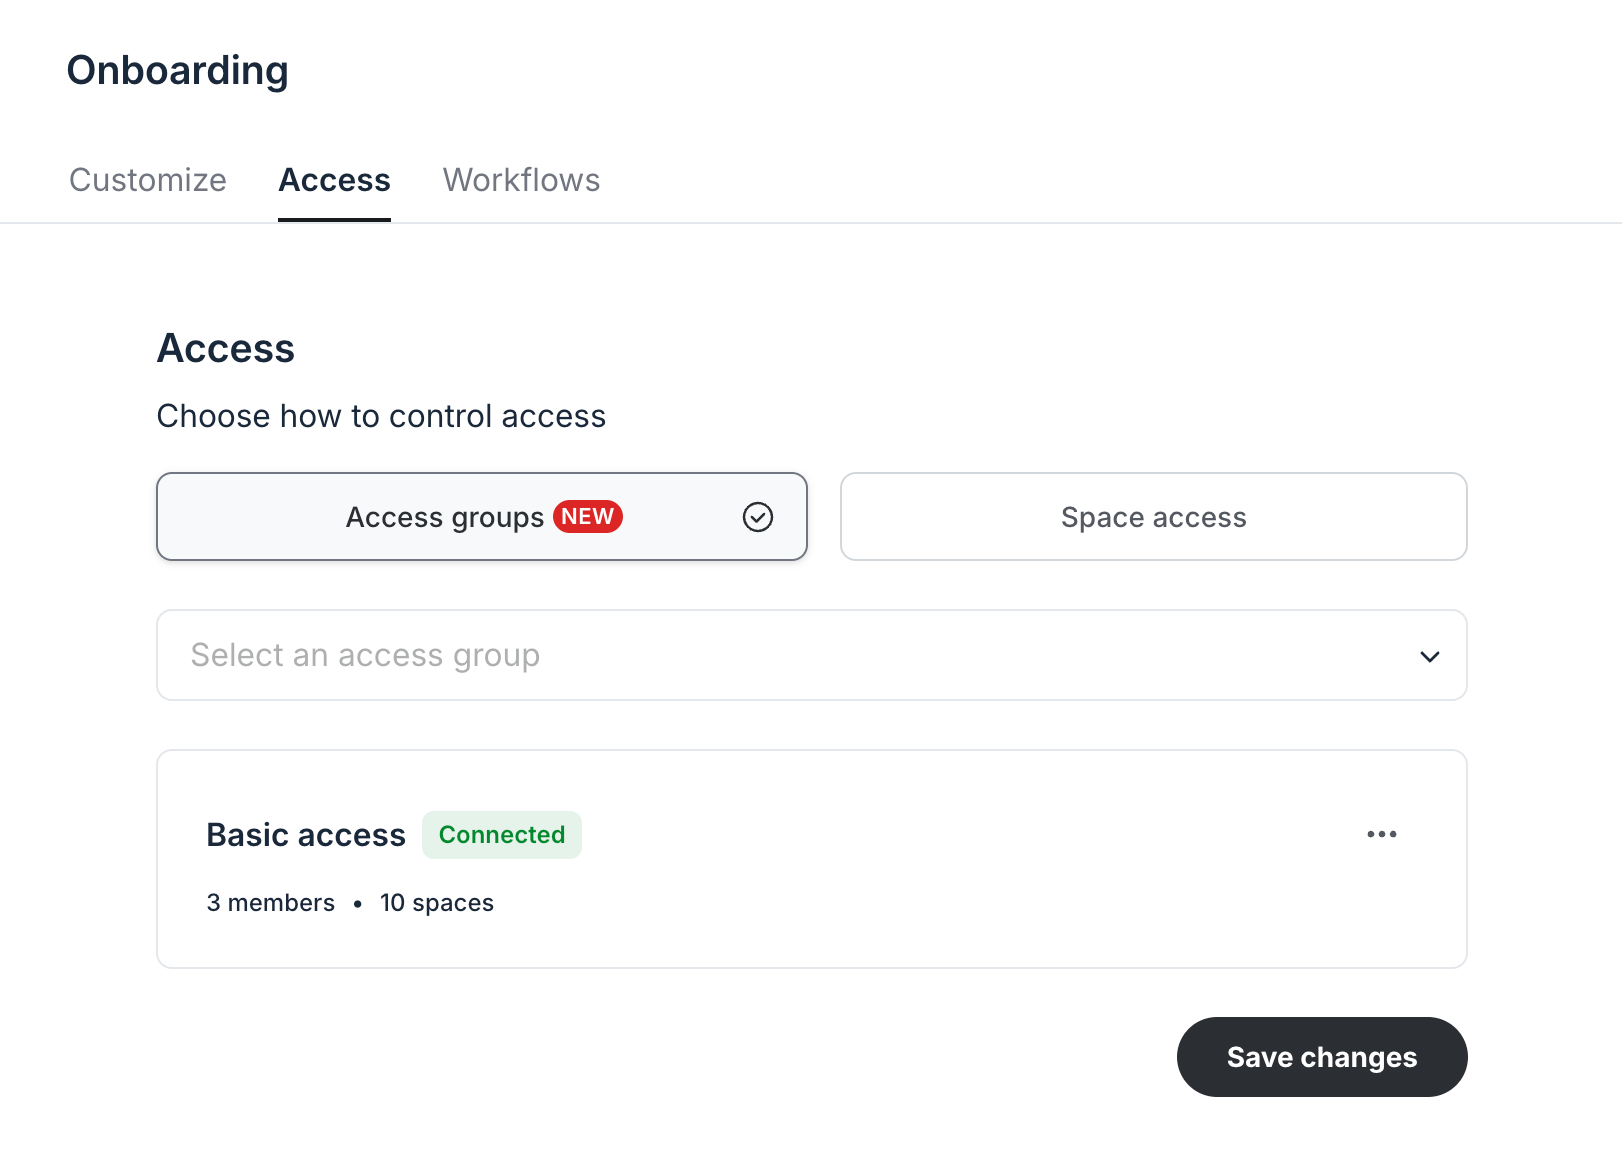
To provide access to spaces using access groups, select the Access groups option and then choose one from the list. You can add more than one access group here to provide members with access to multiple groups.
💡 Tip: If you add an access group by mistake, click the More actions (three dots) icon next to the group and select Remove.
To update the settings of a connected access group, click the More actions (three dots) icon next to the group and select Edit. This opens a new browser tab where you can modify the group settings.
Space access (legacy space access)
For communities created before January 29, 2025, you have the option to manually provide access to various spaces and space groups instead of connecting access groups.
To use the legacy space access option, select Space access. Then, manually select the spaces and space groups to which you want to grant free access to your members.
To configure space access, follow these steps:
Use the search bar or scroll through the No access column to locate the specific space or space group.
-
In the access form, each space is represented with an icon indicating the space access setting:
👥 A people icon indicates an open space.
🔒 A lock icon indicates a private space.
👁️ A crossed-eye icon indicates a secret space.
-
To provide access:
Hover over the name of the space group or space and click Add to move it to the Access column.
(Optional) If you wish to provide access to all current spaces in your community, click Add all next to the No access column header.
ℹ️ If you select a space group with a setting (Managing space access and visibility) that enables members to gain access to any future spaces, it will also apply when you add the space group to paywall access.
-
If you need to remove access:
In the Access column, hover over the space or space group and click Remove.
(Optional) If you wish to remove access to all current spaces in your community, click Remove all next to the Access column header.

Once you have reviewed the onboarding access setup, click Save changes to apply it to new members going forward.