Add or remove community add-ons
Last updated: October, 2026
Community add-ons are upgrades designed to supercharge certain features within plans. You can purchase essential add-ons to enhance your community experience. For a detailed list of add-on prices, see our Pricing page.
Purchase a new add-on
Click the community name or logo (or the dropdown icon next to it) in the top-left corner and select Settings.
Under the Subscription section, select Plans.
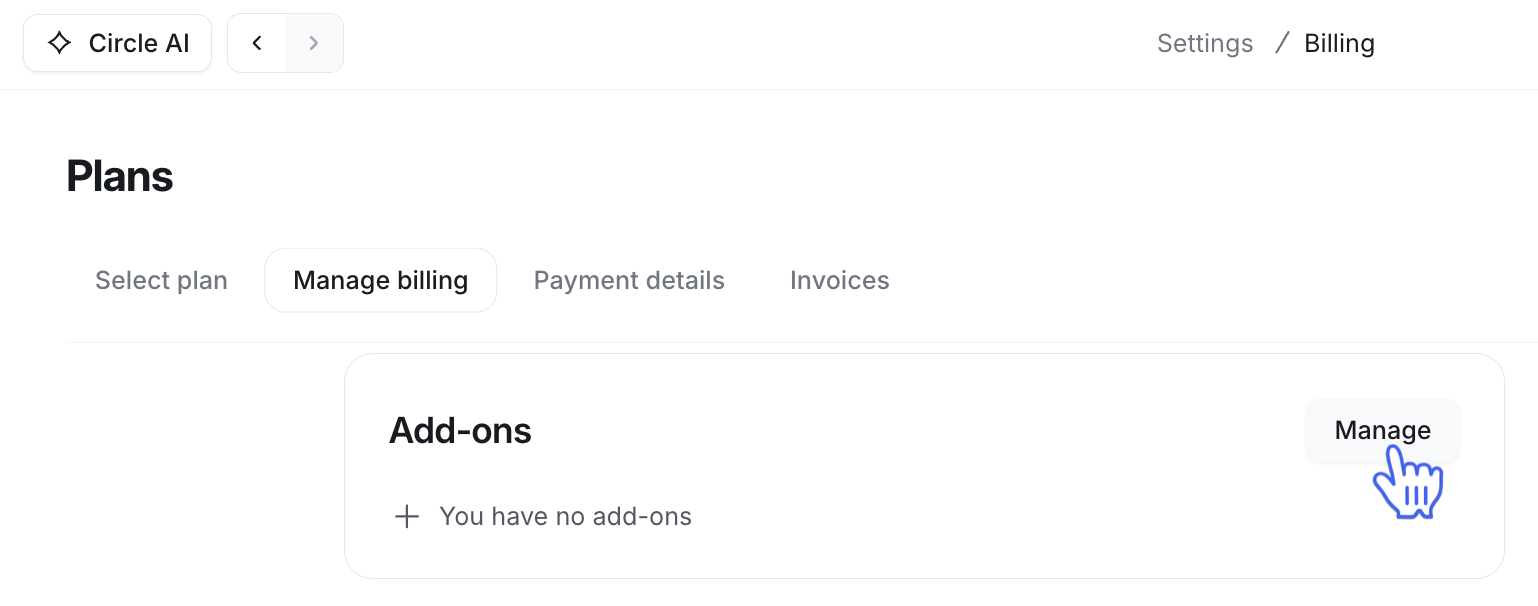
Navigate to the Manage billing tab.
-
Click the Manage button in the Add-ons section.
-
Click Add (➕ icon) to purchase the desired amount of add-ons.
Click Apply changes.
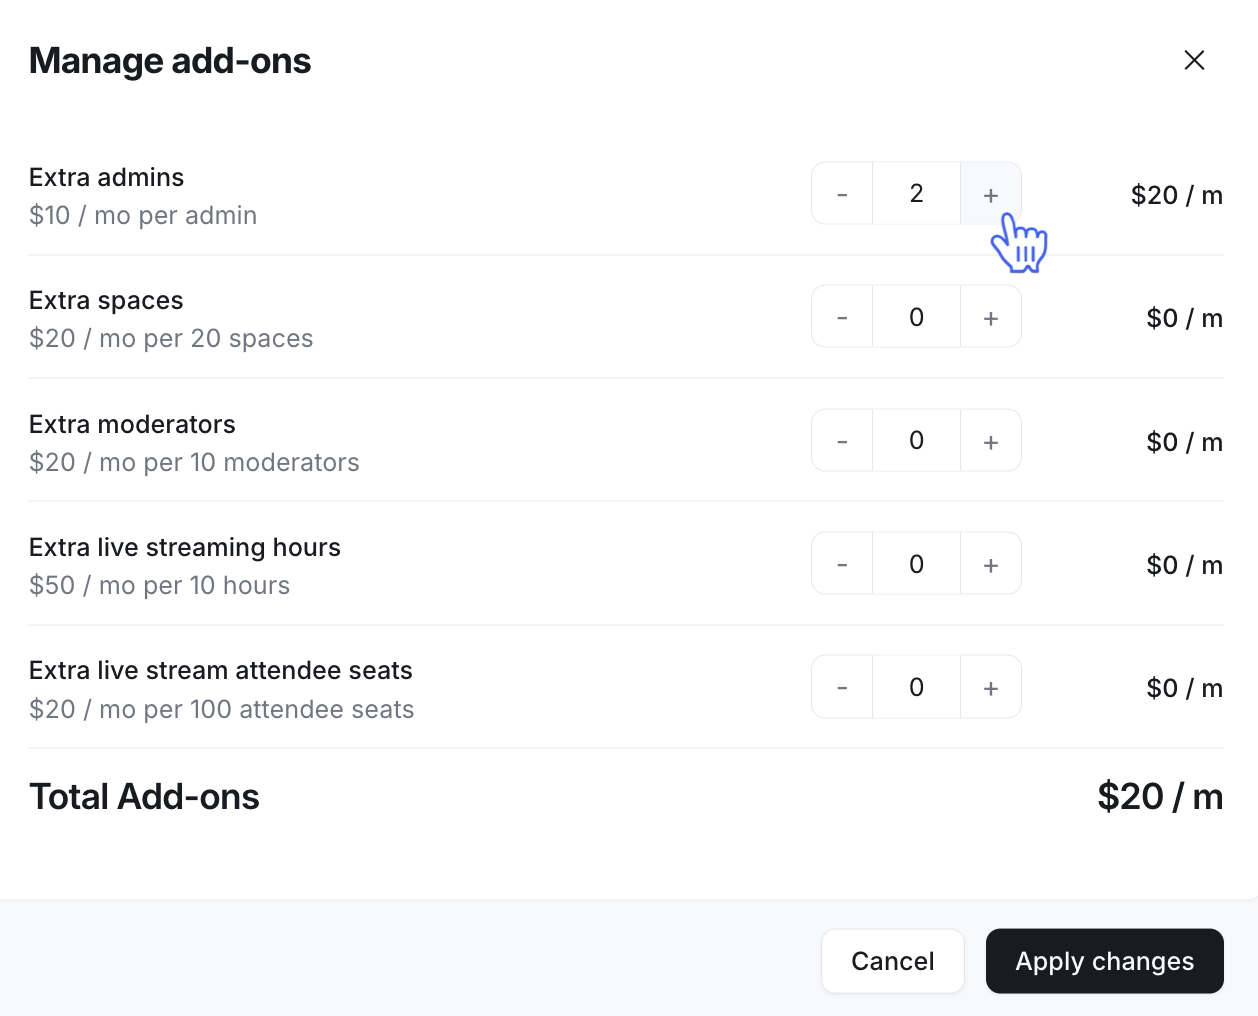
You are all set! You will be able to take benefit of the add-on right away.
❗Important: If you have purchased an add-on for branded email notifications (email white-labelling), please reach out to our support team to initiate the setup. For more information, refer to Change the "From" address on community notification emails.
ℹ️ Billing for new add-ons: What you need to know
When you add a new add-on to your community plan:
You get charged prorated for the remaining time on the add-on for your current billing cycle.
Your billing gets updated to apply an additional recurring charge for the add-on along with your subscription amount.
Remove an add-on
Click the community name or logo (or the dropdown icon next to it) in the top-left corner and select Settings.
Under the Subscription section, select Plans.
Navigate to the Manage billing tab.
Click the Manage button in the Add-ons section.
Click Remove (➖) to reduce or remove the add-on.
ℹ️ Billing for add-on removal: What you need to know
When you remove an add-on from your community plan:
You get prorated credit for the remaining unused time on the add-on for your current billing cycle.
Your billing gets updated to reflect this change, and you will not get charged for the add-on going forward.