Change the "From" address on community notification emails
Last updated: August, 2026
Using a custom email domain for your notification emails ensures that all transactional emails from your community are branded and easily recognizable. This guide will walk you through setting up your own domain to send notification emails.
About branded email notifications
Circle lets you send email notifications (transactional emails) using your own custom domain. When configured, this replaces Circle’s default sender addresses, such as “no-reply@circle.so” and “no-reply@notification.circle.so,” with your custom domain.
Your custom email domain will be used for the following transactional emails sent from your community:
Notification emails
Weekly digests
Community invites
Password reset instructions emails*
Password and email change instruction emails*
Password and email change confirmation emails*
*White-labeling the message of password and email change notifications
To white-label the password and email change notification messages, make sure you have enabled the Hide Circle branding toggle in the community settings.
Please note that if a member requesting a change to their email or password has multiple community accounts associated with the same email, we will send a separate email from Circle informing them which communities are affected by the change. This ensures that the user requesting and updating the credential is aware that this update also affects login credentials for other Circle communities they are members of.
Availability
Branded email notifications are included in our Business plan and above.
If your community is on a Professional plan, you can purchase the branded email notifications add-on to set up the custom domain for notification emails. To learn more about purchasing add-ons, see Add or remove community add-ons.
Before you set up a custom domain for branded email notifications
Before you begin, please review the key requirements and recommendations below.
Use a dedicated subdomain
While you can use your root domain for notification emails, we strongly recommend setting up a dedicated subdomain (e.g., community.abc.com) that is not being used for any other purpose. Using a dedicated subdomain helps improve email deliverability and security by isolating marketing email traffic and avoiding conflicts with existing email systems or DMARC policies on your root domain.
DMARC alignment requirement (if using a root domain)
If you choose to send notification emails using your root domain, we recommend using relaxed alignment for both SPF and DKIM.
Any DMARC records set to strict alignment (aspf=s or adkim=s) must be updated to relaxed alignment (aspf=r or adkim=r) when completing domain setup. Strict alignment in this case may cause emails to fail DMARC checks or be delivered to spam.
Generic email providers aren’t supported
You cannot set up a custom email domain using addresses from generic email providers such as Yahoo, AOL, or Gmail.
In these cases, only the provider (for instance, Google for @gmail.com) has the ability to change DNS settings or verify domain ownership, both of which are required to configure a custom domain. Since users cannot modify these settings, custom email domains cannot be set up with these providers.
Distinction from marketing emails
Branded email notifications are distinct from marketing emails sent through the Email Hub. Notification emails from your community are usually system-generated, such as account updates or community alerts.
In contrast, marketing emails are intended for promotional content and are managed within the Email Hub. For more details on configuring your marketing email settings, refer to our guide here.
Separate subdomain requirement
It’s important to note that the subdomain used for branded email notifications must be different from the one used for marketing emails. You can keep the same root domain (e.g., domain.com), but you must configure separate subdomains for each.
For example, if you set the marketing emails to be sent from “marketing.domain.com”, you must use a different subdomain for branded email notifications, such as “notifications.domain.com”.
“From” email vs. “Reply-to” email for notifications
Changing the From email is different from changing the Reply-to email for notification emails.
The From email is the address used to send transactional emails from your community.
The Reply-to email determines where replies are delivered when a recipient responds to a notification email.
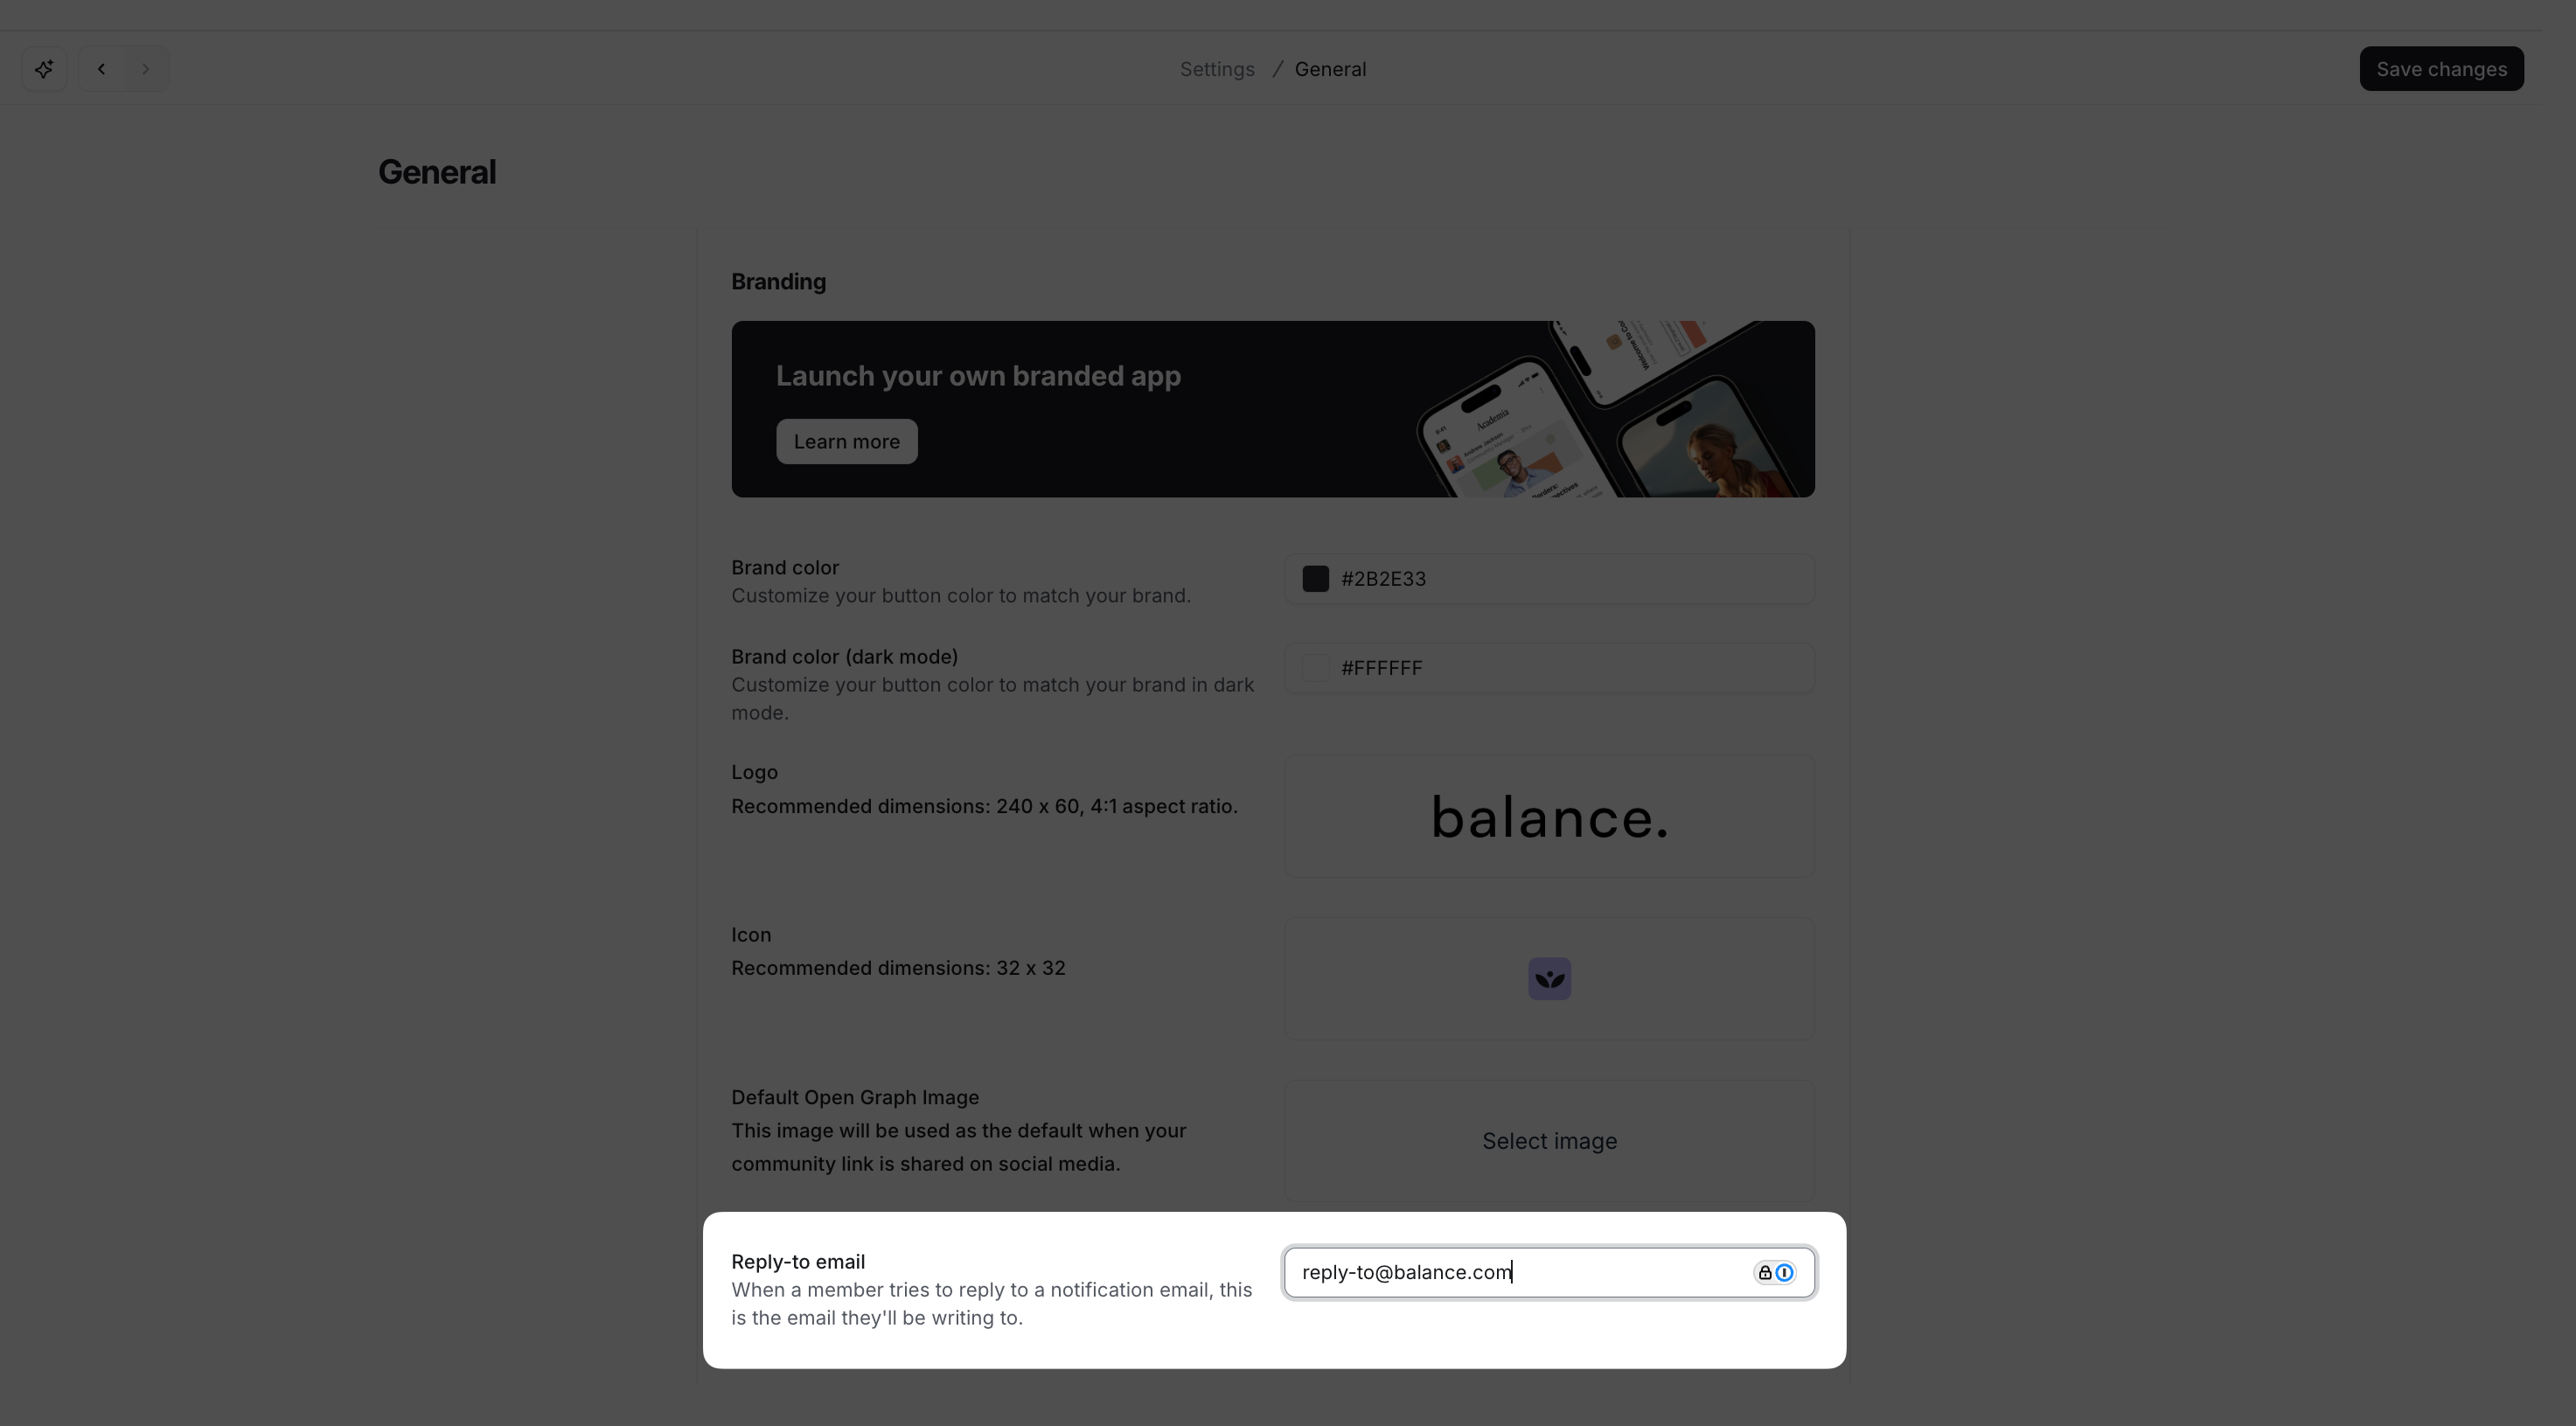
You can update the Reply-to email at any time from your community’s general settings:
Click your community name or logo (or the dropdown icon next to it) in the top-left corner and select Settings.
Click General under the website section of the settings page.
-
Scroll to the Branding section and enter your preferred address in the Reply-to email field.
Click Save changes.
Getting started with setting up a custom email domain
Here's an overview of the process for adding your own email domain for sending notification emails:
-
Contact support: Begin by reaching out to our Circle support team to help you set up a custom email domain. Here’s how:
Send an email to support@circle.so with the subject line: “Branded email notifications.”
In your message, clearly state the full email address you’d like to use, such as “notifications@community.abc.com.”
💡 Tip: Choose a username that reflects your brand or communication style, such as “notifications@community.domain.com,” or “updates@community.domain.com”.
Receive your DNS records: Once we’ve processed your request, our team will provide the necessary DNS records, including SPF, DKIM, and DMARC. You will receive a copy of these DNS records in the email body, as well as an attached zone file that you can use to import all records at once if your DNS provider supports importing records.
Add DNS records: Log in to your domain provider’s dashboard (e.g., GoDaddy, Cloudflare, Namecheap) and add the provided SPF, DKIM, and DMARC records to your DNS settings. Ensure that the records are entered exactly as provided to avoid errors.
Let us know you’re ready: After adding the DNS records, reply to our support team’s email to confirm you’ve completed this step. We will then verify that the domain is activated for sending branded notification emails.
Once we’ve verified your setup, you’re good to go! All notification emails included in the branded notification feature will now come from your custom email address.
Adding DNS records to your domain provider
After our support team sends you the DNS records, you’ll need to add them to your domain provider’s DNS settings and ensure they’re set up correctly. Depending on your provider, you can either add them manually or import them using a zone file. Here’s how:
Manually add DNS records
To add each record manually, follow these steps:
Log in to your DNS provider (e.g., GoDaddy, Cloudflare, Namecheap).
Navigate to your DNS settings.
Create a new record.
-
Enter the DNS record values exactly as provided.
❗ Important: If you’re setting up a branded email domain on your root domain and you’ve configured strict alignment for DMARC records, you must update it to relaxed alignment for both SPF and DKIM. See the “Use a dedicated subdomain” section above for more information.
Save record.
Repeat for each additional record.
Here are some tips for adding records:
Check your provider’s documentation: If you're unsure how to add DNS records to your domain provider, check their knowledge base for step-by-step instructions. Many popular providers, including Cloudflare, GoDaddy, NameCheap, and Wix, offer detailed guides. You can also Google your domain provider’s name along with keywords like "add TXT record" or "add CNAME record" to find relevant documentation.
CNAME Host / Name field formatting: When adding Host/Name information for CNAME records, most DNS providers automatically assume the domain. Therefore, you usually only need to enter the prefix in the Host/Name field, unless your domain provider requires the full name. For example, if the subdomain you are setting up is “community.abc.com” and you need to add a CNAME record with the name “pdk1._domainkey.community.abc.com”, enter only “pdk1._domainkey.community” in the Name field.
Import records
If your domain provider supports importing DNS records, use the zone file provided by the support team to automatically add all records. Providers like Cloudflare and GoDaddy allow you to import DNS records, eliminating the need to manually enter each one.
To import records:
Navigate to your DNS settings in to your DNS provider.
Select the Import records or Import zone file option, then upload the file provided by the support team.
After the records are added, verify them against the records our team has provided in the email to ensure accuracy.
💡 Tip: If you're unsure about whether your domain provider supports import or how to go about importing records, check your provider’s knowledge base for instructions.
Verify records
Once you’ve added the records, check that they match the information provided by the support team. If any records are incorrect or missing, update them from your domain provider’s dashboard accordingly.
💡 Tip: You can also use third-party tools like MXToolbox to verify DNS records. If your test shows a result DNS record not found, please go back to your record setup in the domain provider’s DNS settings and ensure no typos. You can also contact your domain provider’s support to get help adding the record.
Once you’ve confirmed that the records are correct, inform the support team so they can complete the verification process.