Configure email settings
Last updated: October, 2026
Before you start creating your email broadcasts, it’s crucial to set up the correct email settings. These settings ensure your email communications are easily recognizable and legally compliant. In this article, we will walk through how to set up your sender details, postal address, and preview the email footer for your broadcasts.
Access email settings
Click the community name or logo (or the dropdown icon next to it) in the top-left corner and select Settings.
Scroll down to the Marketing section and select Email settings.
Add sender details
The sender details define how your emails appear in recipients' inboxes. This includes the name and email address that will be visible when your email is delivered. Setting up recognizable sender details helps increase the trust and engagement of your community members.
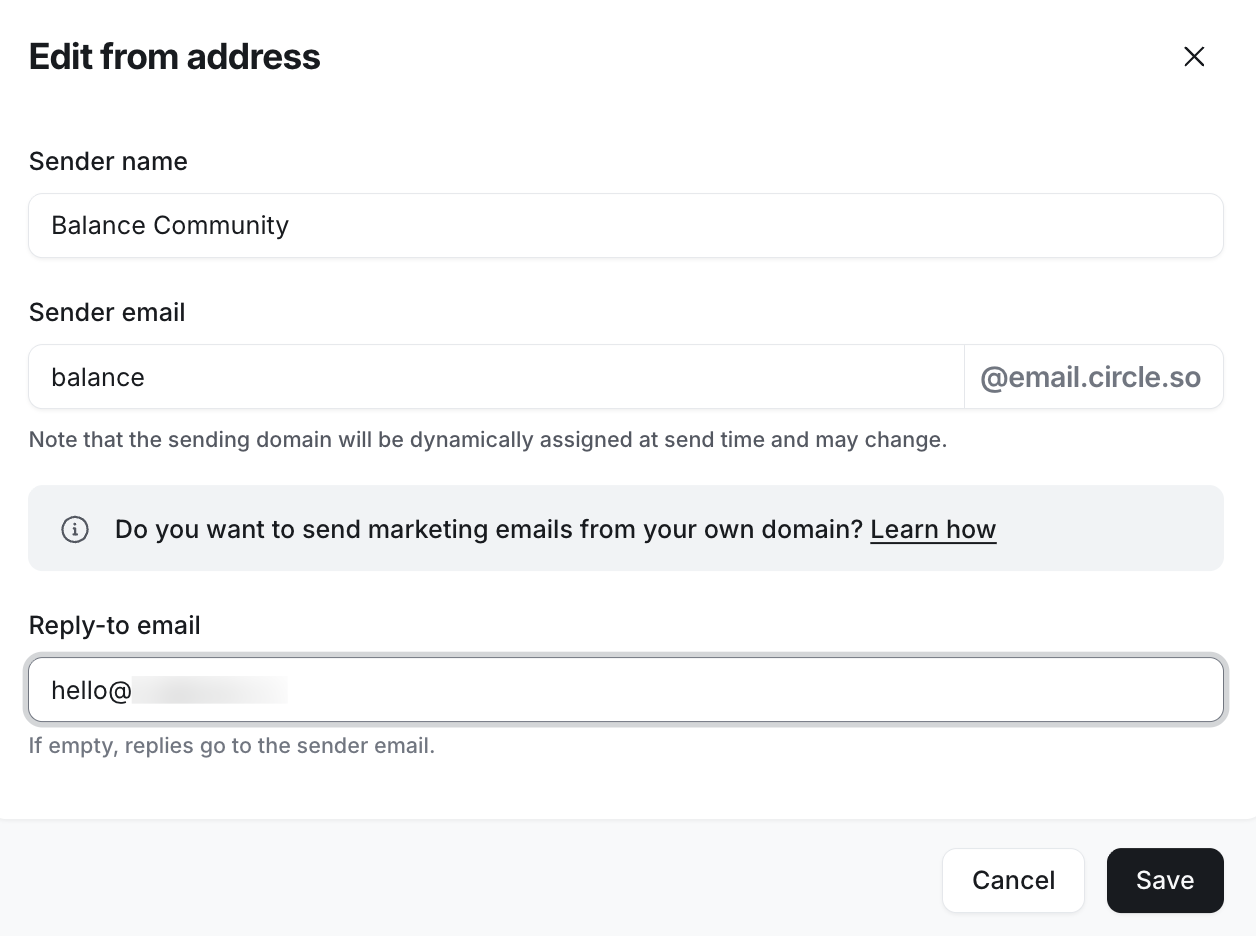
Sender name
The sender's name is one of the first key pieces of information your recipients see. It's important to use a name they will easily recognize, such as your own name or your community’s name. A clear and familiar name encourages higher open rates and reduces the likelihood that your emails will be flagged as spam.
This name will appear as the sender in your recipients' email clients when they receive your email.
Sender email
The sender email displays the domain used to send marketing emails from your community. You can also customize the username portion of the sender email to better align with your community’s branding.
❗ Important: The sender email setup for marketing emails in Email Hub is distinct and separate from the branded notifications. If you have set up a custom domain for branded notifications, all eligible notifications will continue to be sent from that domain.
Email domain
An email domain is the part of an email address that appears after the @ symbol, representing the organization or service sending the email (e.g., community.abc.com).
When it comes to the email domain for Email Hub, you can either continue using Circle’s domain or configure your custom domain.
Circle’s email domain: By default, emails are sent using a shared domain provided by Circle, which benefits from an established reputation and consistent email volume. The Circle domain is assigned dynamically to your broadcast at send time and may differ from what you see on the Settings page.
Branded email domain: For more personalized and on-brand communication, you can set up a custom email domain to send marketing emails from your own domain instead of Circle’s. To do so, you’ll need to contact our support team. For more information, see Set up a branded email domain for marketing emails.
Username
A username is the part of an email address that appears before the @ symbol and identifies the sender (e.g., hello in hello@community.abc.com).
To customize the username, simply enter your preferred username in the Sender email field, replacing the existing one.
Add reply to email
If you want replies to your broadcast email to go to a specific inbox, you need to specify a valid reply-to email address. This ensures that any responses from recipients will be directed to the email address of your choice.
Here’s how the reply-to email option works.
When using Circle’s default sender domain
Replies are only delivered if a reply-to email is provided.
If you don’t provide one, replies to your broadcast will not be delivered to your inbox. In this case, recipients won’t have a direct way to reply to your email.
When using a custom email domain
If no reply-to email is set, replies are sent to the custom sender email you have set up.
If you want replies to go to a different email address, enable the option and enter the email you prefer.
How to set it up
Click More actions (three dots) next to the From address and select Edit.
In the Edit from address dialog, enter the email address in the Reply-to email field where you'd like to receive replies.
Add postal address
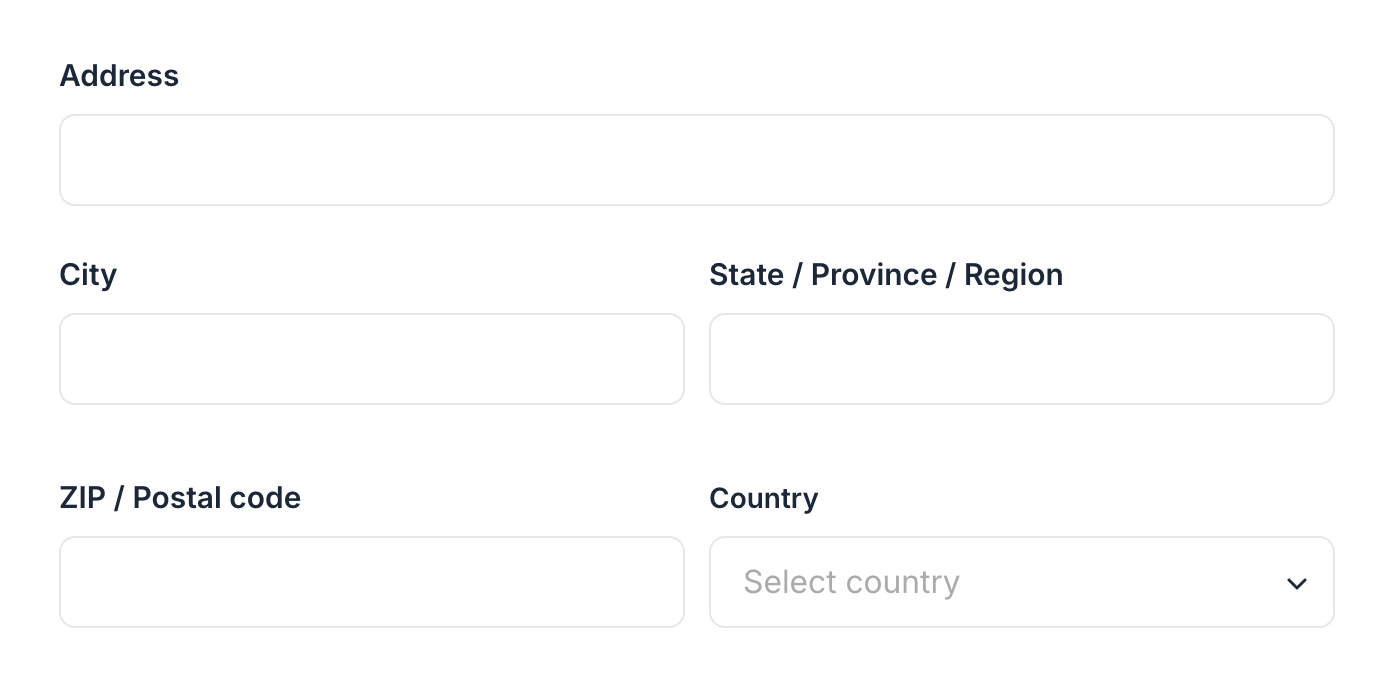
To comply with anti-spam laws, you are required to include a valid physical postal address at the bottom of every email. This helps recipients understand where your organization is located and provides a way to contact you.
In the Postal address section, add your physical mailing address using the designated fields.
Preview email footer
The email footer is automatically added to all marketing emails that you send through broadcasts and email workflows.
It’s a required part of your email and helps ensure compliance, deliverability, and a clear experience for recipients.
This preview shows how the footer will appear, including your community’s logo or name, postal address, and links to manage email preferences or unsubscribe. If your community logo hasn’t been added yet, your community name will be displayed in its place.