Deactivating an automation workflow
Last updated: September, 2026
You can deactivate the automation workflow if you no longer want it to automatically perform an action whenever a trigger event occurs in your community. This is especially helpful if you need to temporarily pause the automation or plan to implement a new automation strategy for the workflow.
Key things to know before deactivating an automation workflow
-
When you deactivate an automation workflow, its trigger will no longer activate for people going forward. However, any in-progress runs will continue executing all remaining actions for people who have already entered the workflow.
💡 Tip: If you would like to archive the automation workflow instead of deactivating it, see Archive workflows.
If a workflow has already started running for a member and is currently in the middle of a 1-week delay action following an add tag action. If you deactivate the workflow, the delay and any remaining actions in the sequence will still be executed for this member.
Deactivate a workflow
To deactivate the workflow directly from the workflows page:
Click Workflows in the left sidebar, then select Workflows.
Navigate to the Automations tab and locate the workflow.
-
Click the On toggle next to the workflow in the Active column.
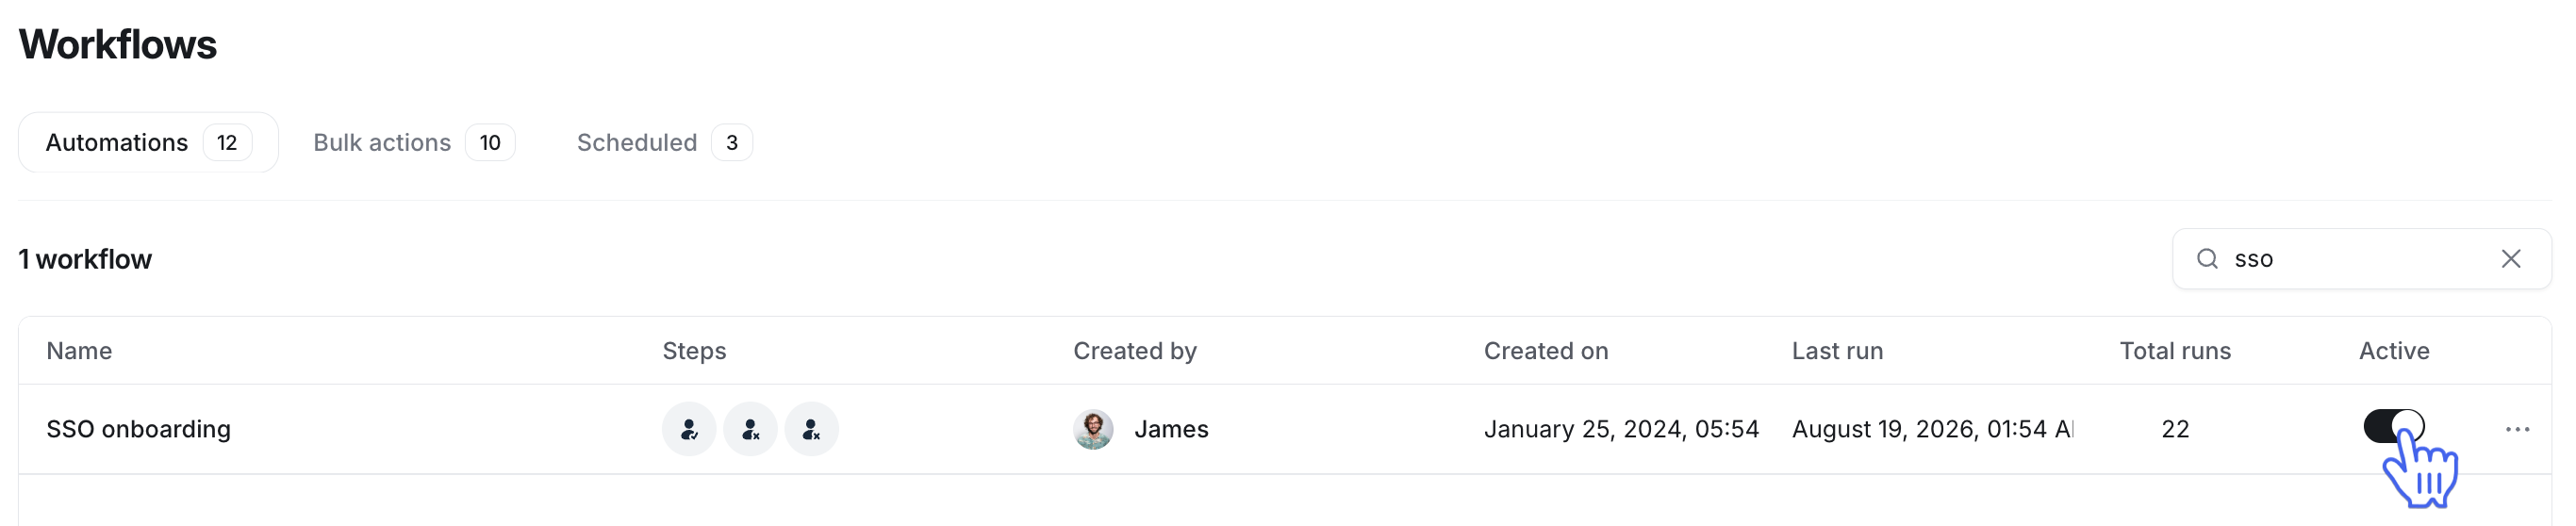
To deactivate the workflow from the workflow overview page:
Click Workflows in the left sidebar, then select Workflows.
Navigate to the Automations tab and locate the workflow.
Hover over the workflow, click More actions (three dots), and select View.
-
Click the On toggle in the top-right corner.
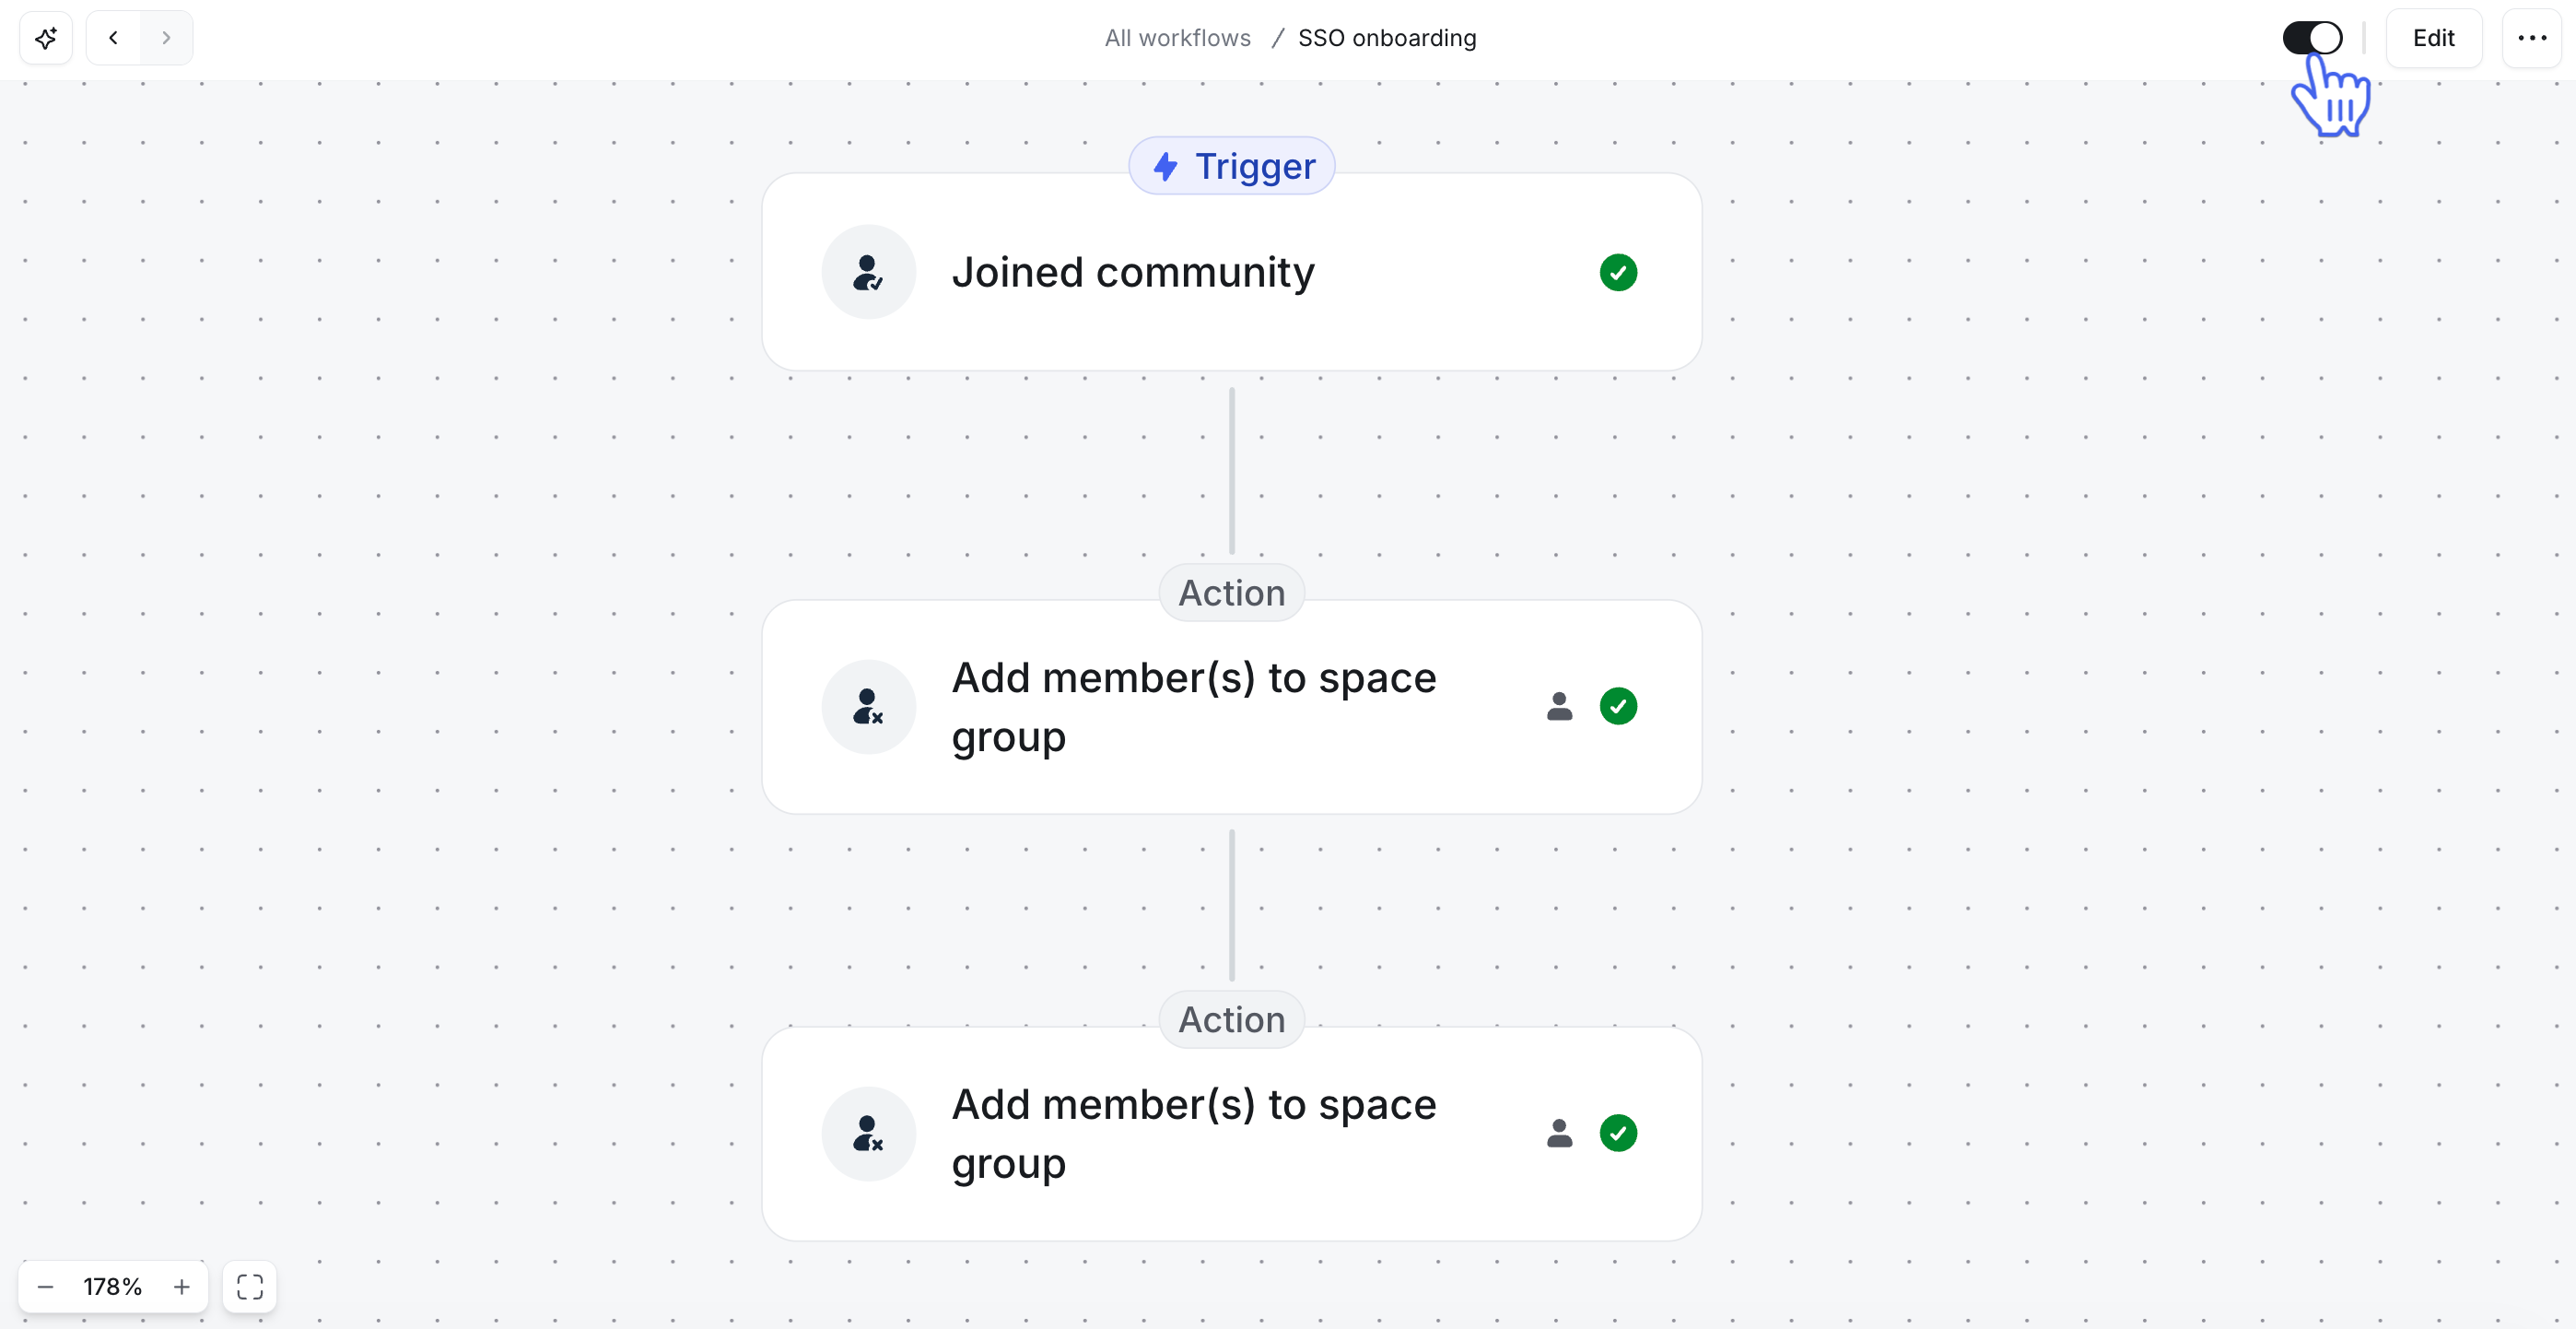
Reactivate a workflow
If a workflow has been disabled, you can easily reactivate it at any time to resume its automated actions.
To reactivate the automation workflow from the Workflows page or Workflows overview page, follow the steps above, then click the Off toggle to turn it on.
