Connect a Stripe account for paywalls
Last updated: August, 2026
Circle integrates directly with the payment processor Stripe, allowing you to securely collect paywall payments from members via a variety of supported payment methods.
Getting started with the Stripe connection
Click Payments in the left sidebar and then select Paywalls.
On the paywalls page, click New paywall to begin the process.
-
Choose the country where your Stripe account is registered or where you intend to register your Stripe account.
If you are registered or intend to register in Brazil, please see our guide here for more information on using Circle paywalls in Brazil.
-
Click Continue to begin the connection process.
You can exit the connection process at any time. When you are ready to resume the process, navigate to the Paywalls page and click Provide details.
If you accidentally chose the wrong account or email when connecting Stripe, you can contact our support team to disconnect the account. Please see the section on disconnecting your Stripe account in this article.
Depending on whether you already have a Stripe account with your email, you can either:
Create a new Stripe account.
Connect your existing Stripe account, and we’ll create a sub-account under it for you.
Connecting a new Stripe account
If you don’t have a Stripe account associated with your email, you’ll be able to create a new one during the setup.
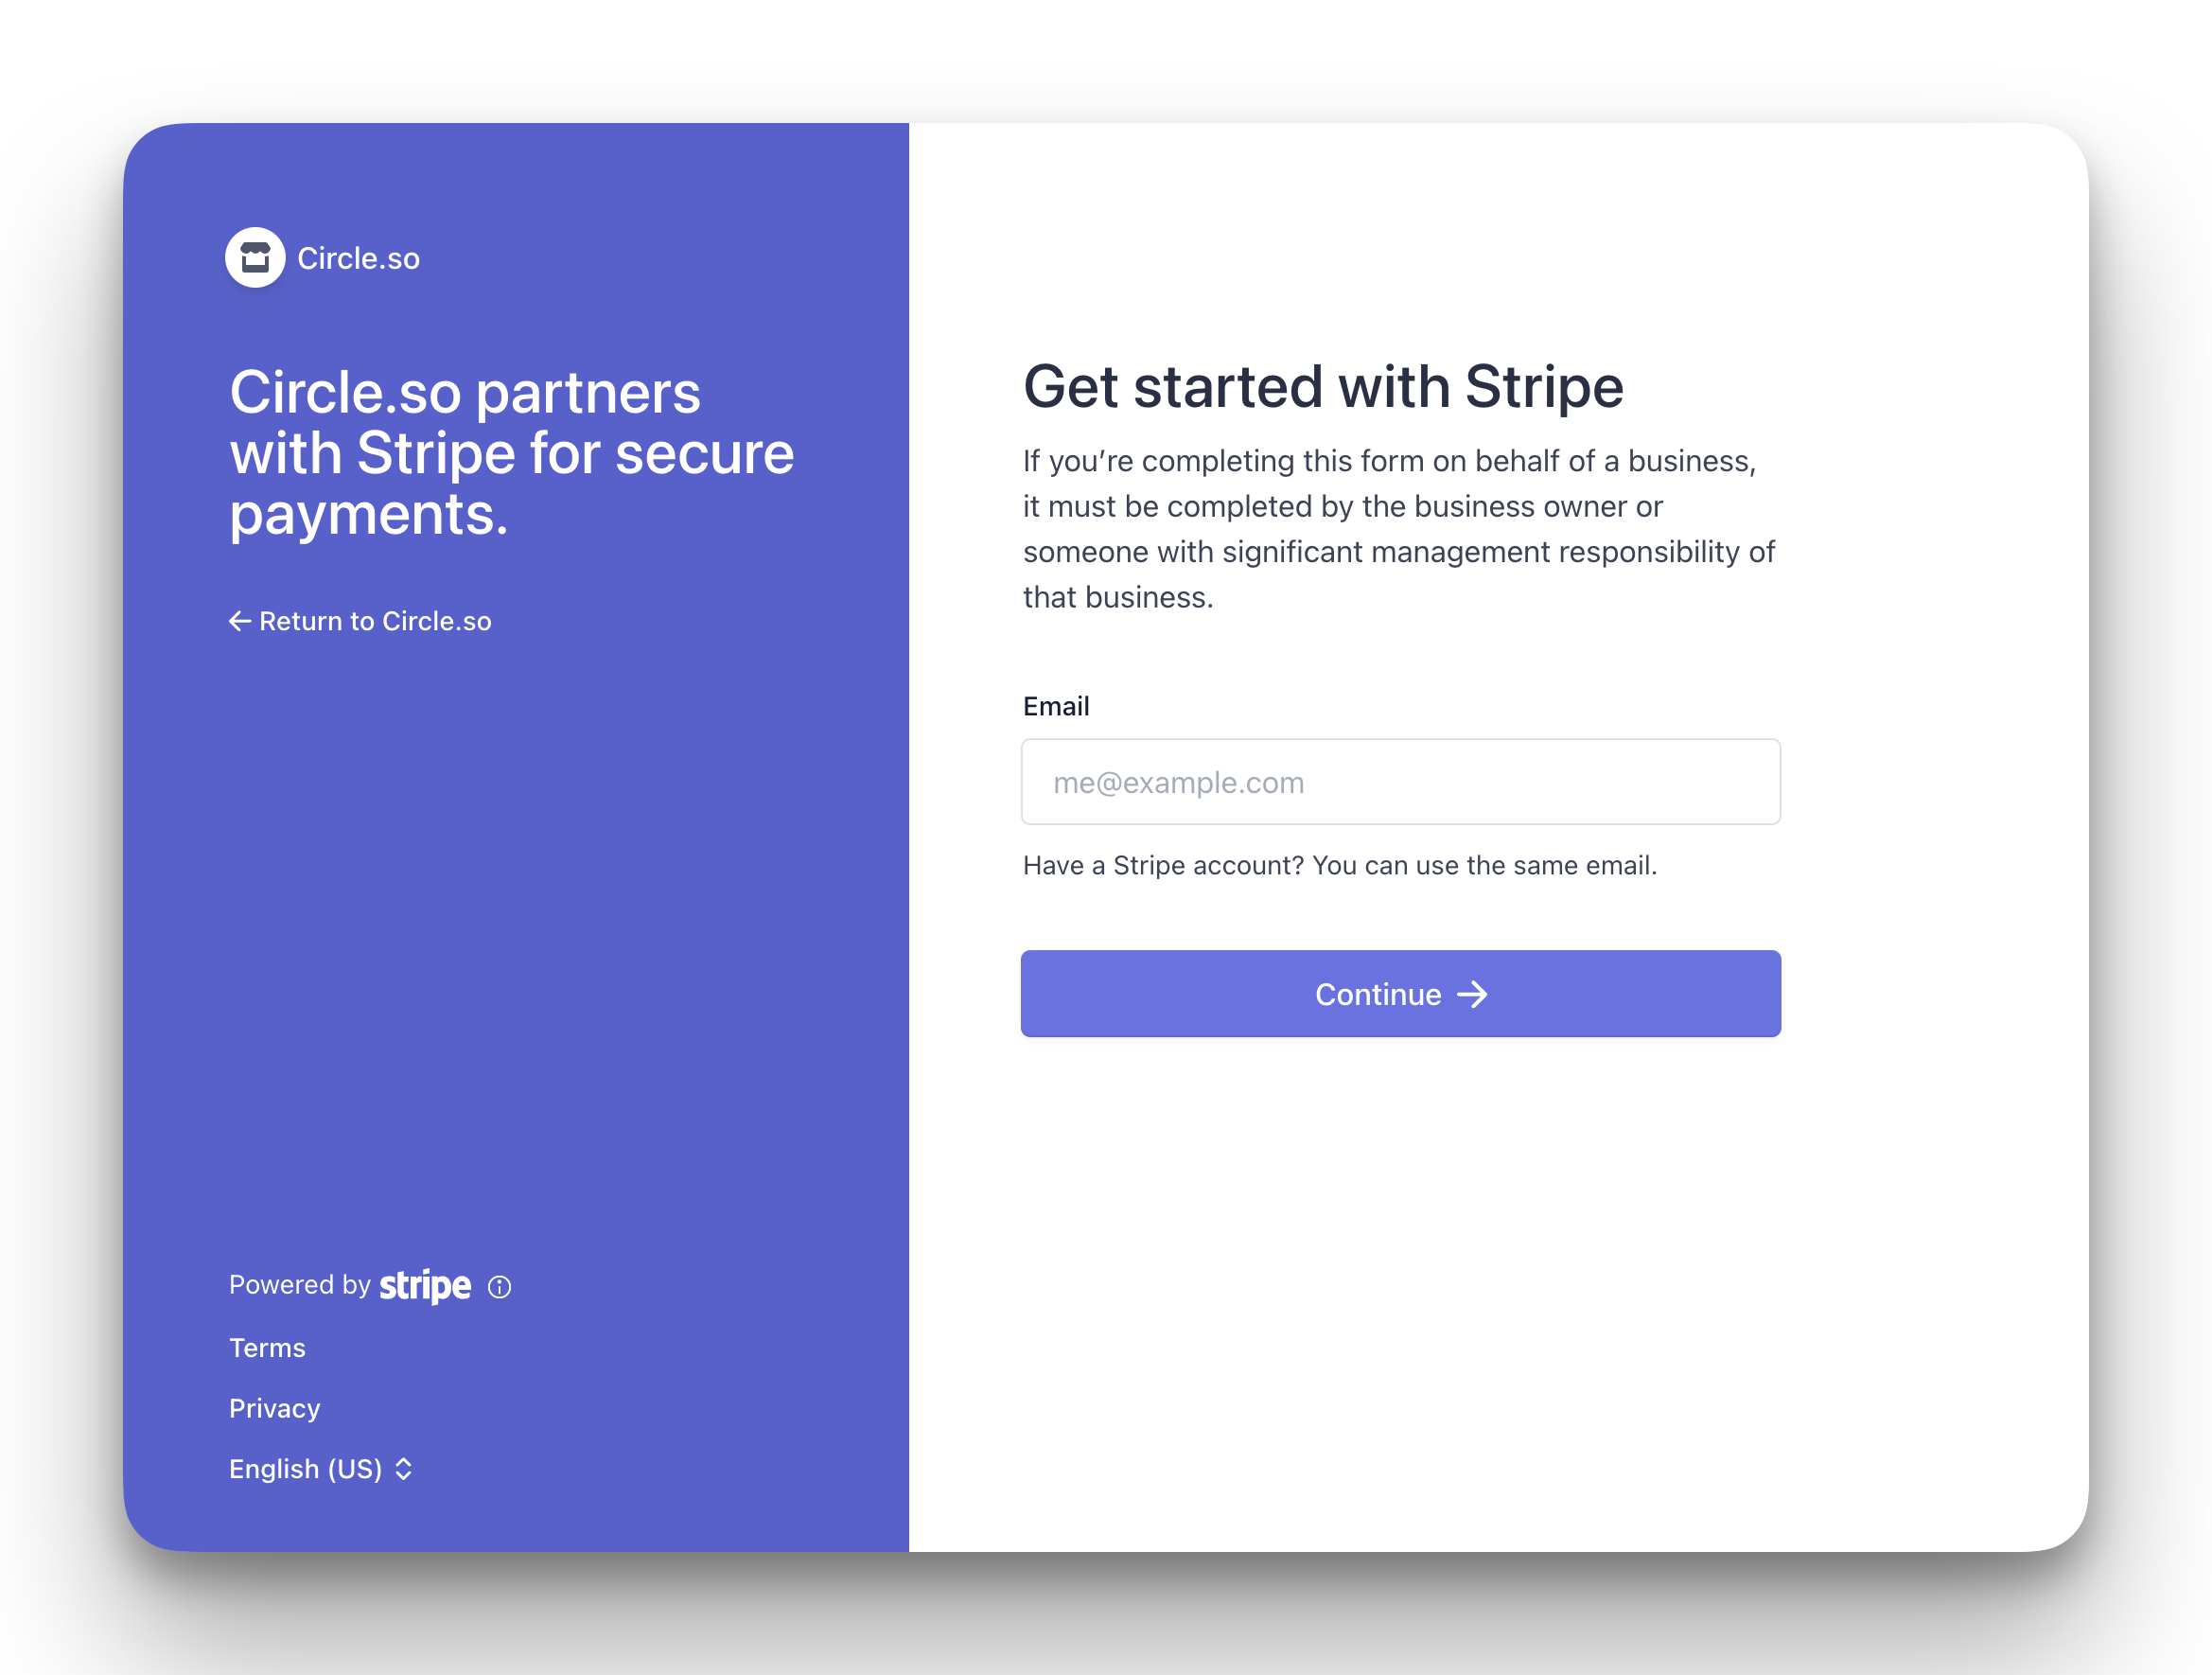
1. Provide your email
When you click Connect with Stripe, the first step is to provide your email address. We suggest using your active business email, which is being checked regularly, so that you do not miss updates from Stripe.
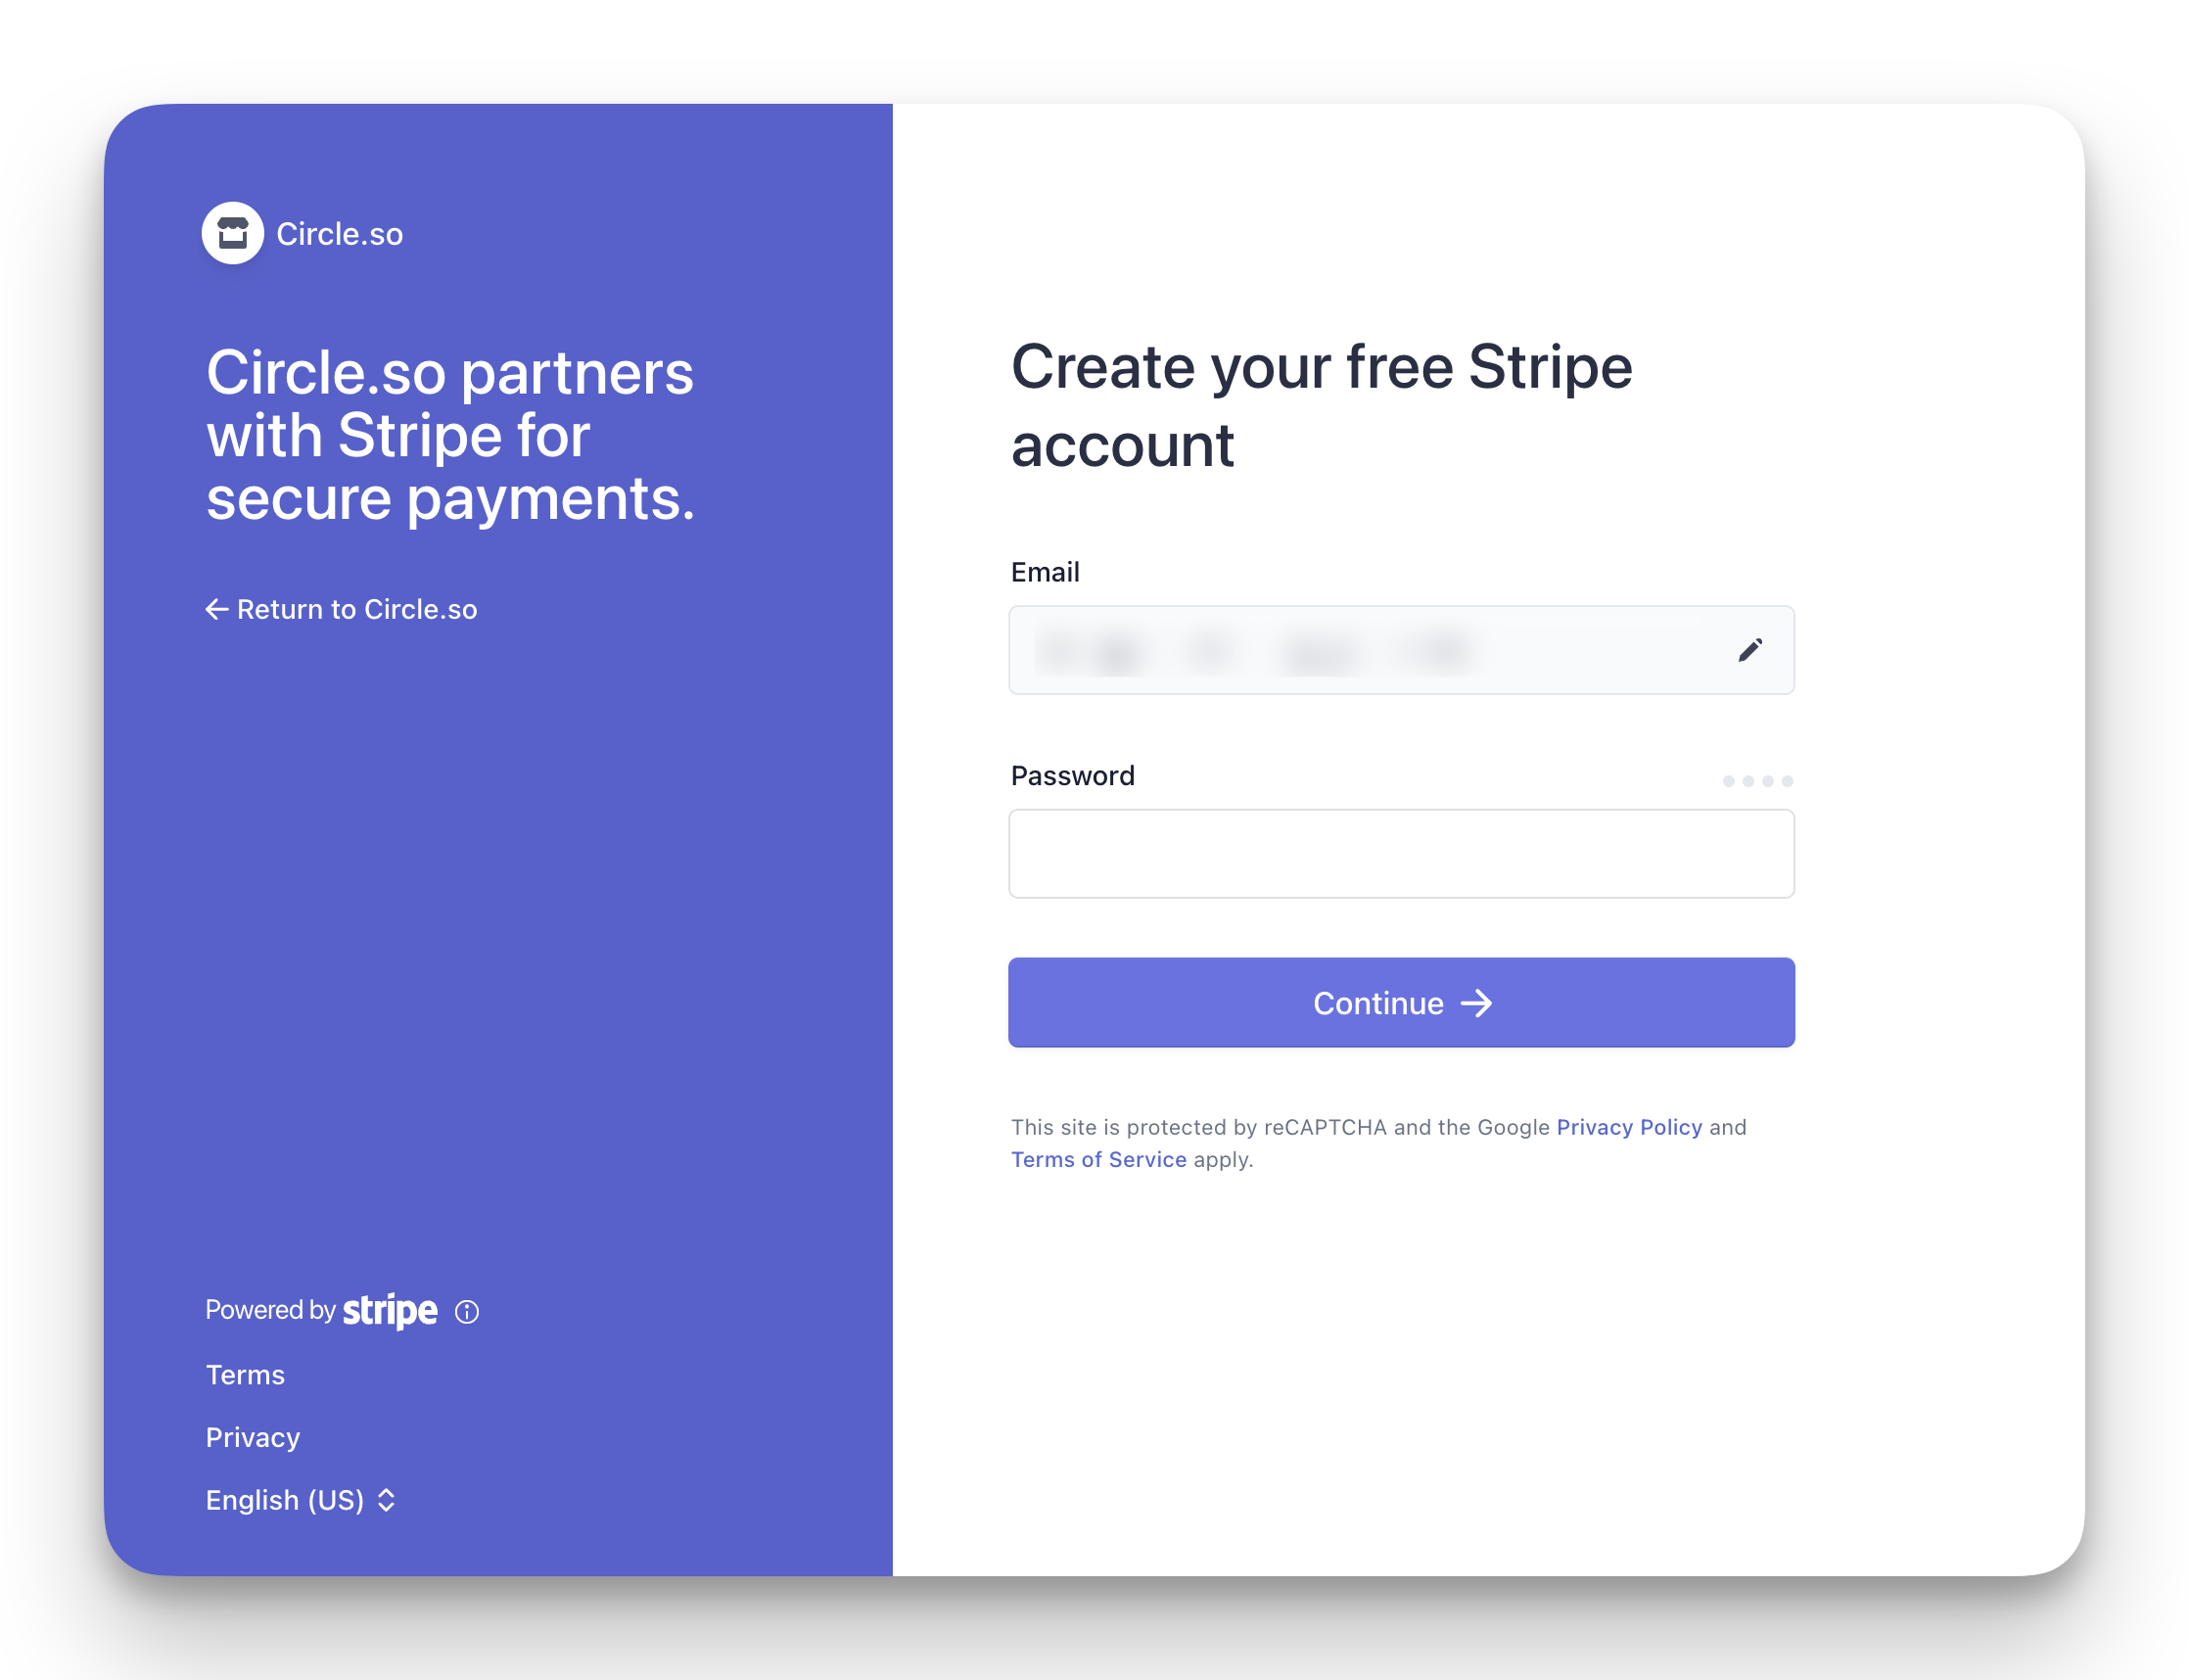
2. Set password
Set a strong password for your new account, then click Continue.
💡 Tip: If you already have a Stripe account associated with the email you entered, you will be asked to log in instead. In this case, please see the section on connecting an existing Stripe account.
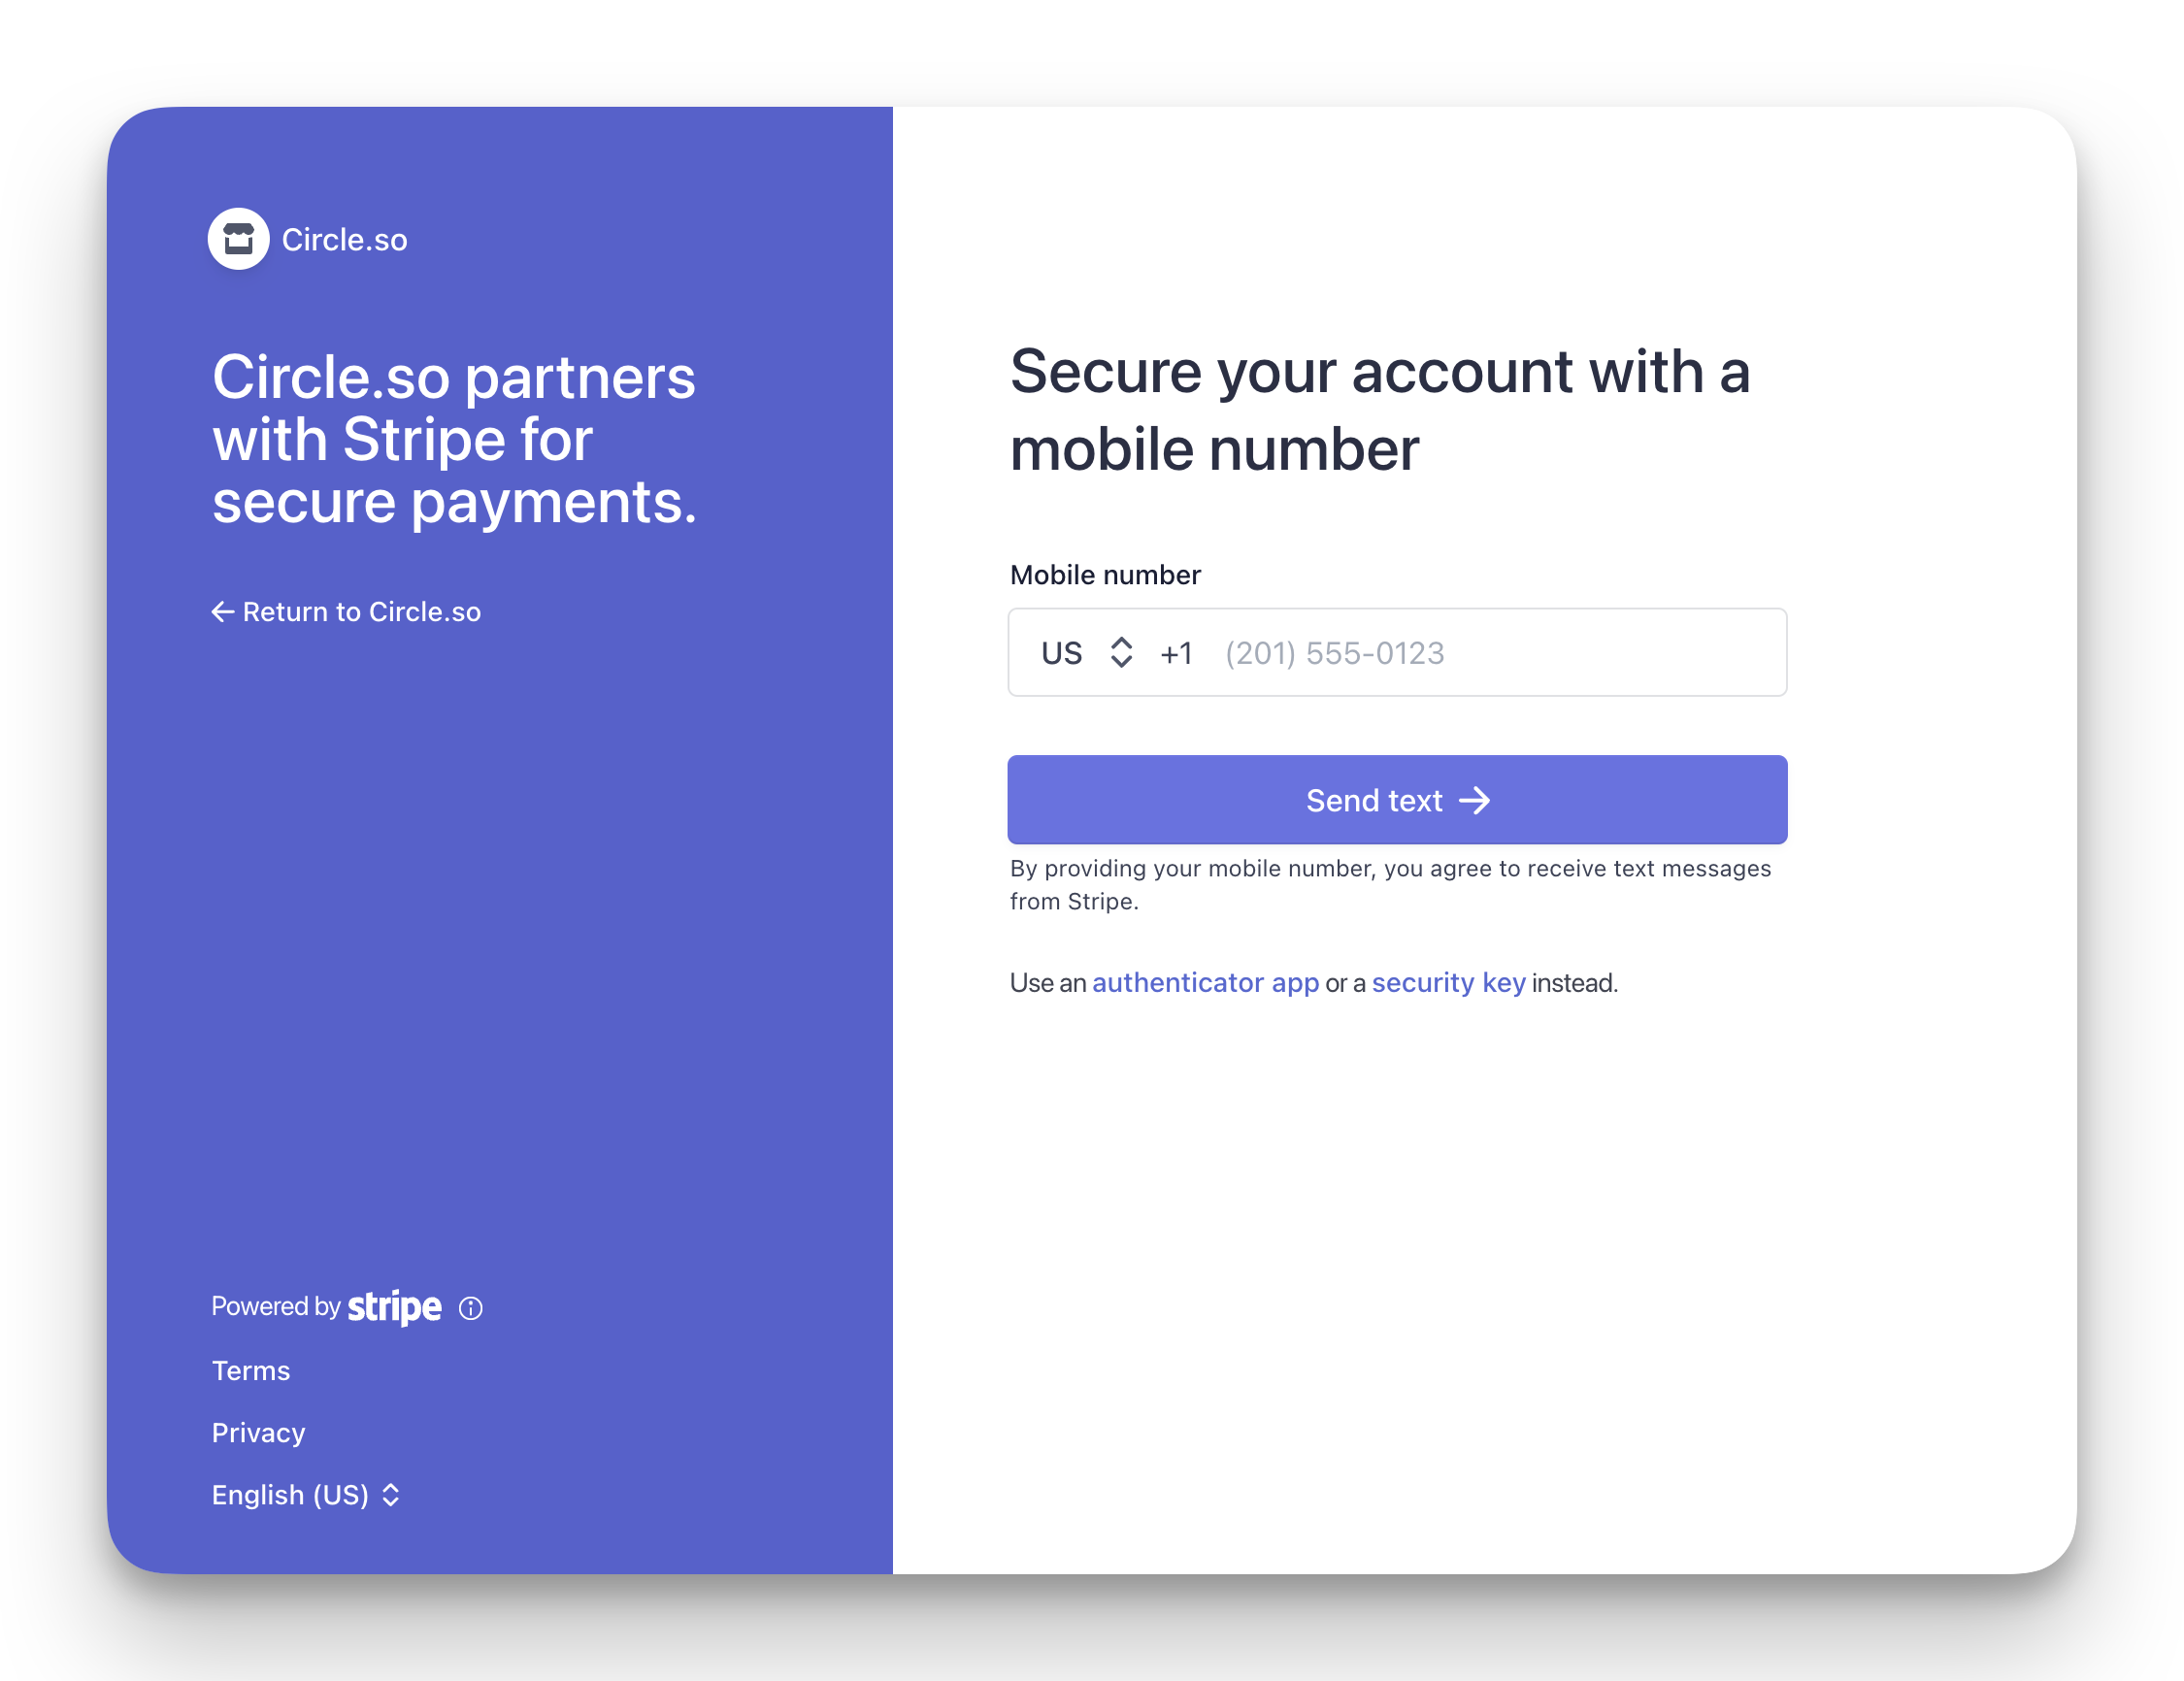
3. Two-step account verification
Add your mobile number to enable two-step verification and help secure your account. Alternatively, you can select from other verification methods provided by Stripe at the bottom of the page.
4. Emergency backup code
Once your mobile number is verified, you will be presented with a page with an emergency backup code that you should record somewhere safe for the future.
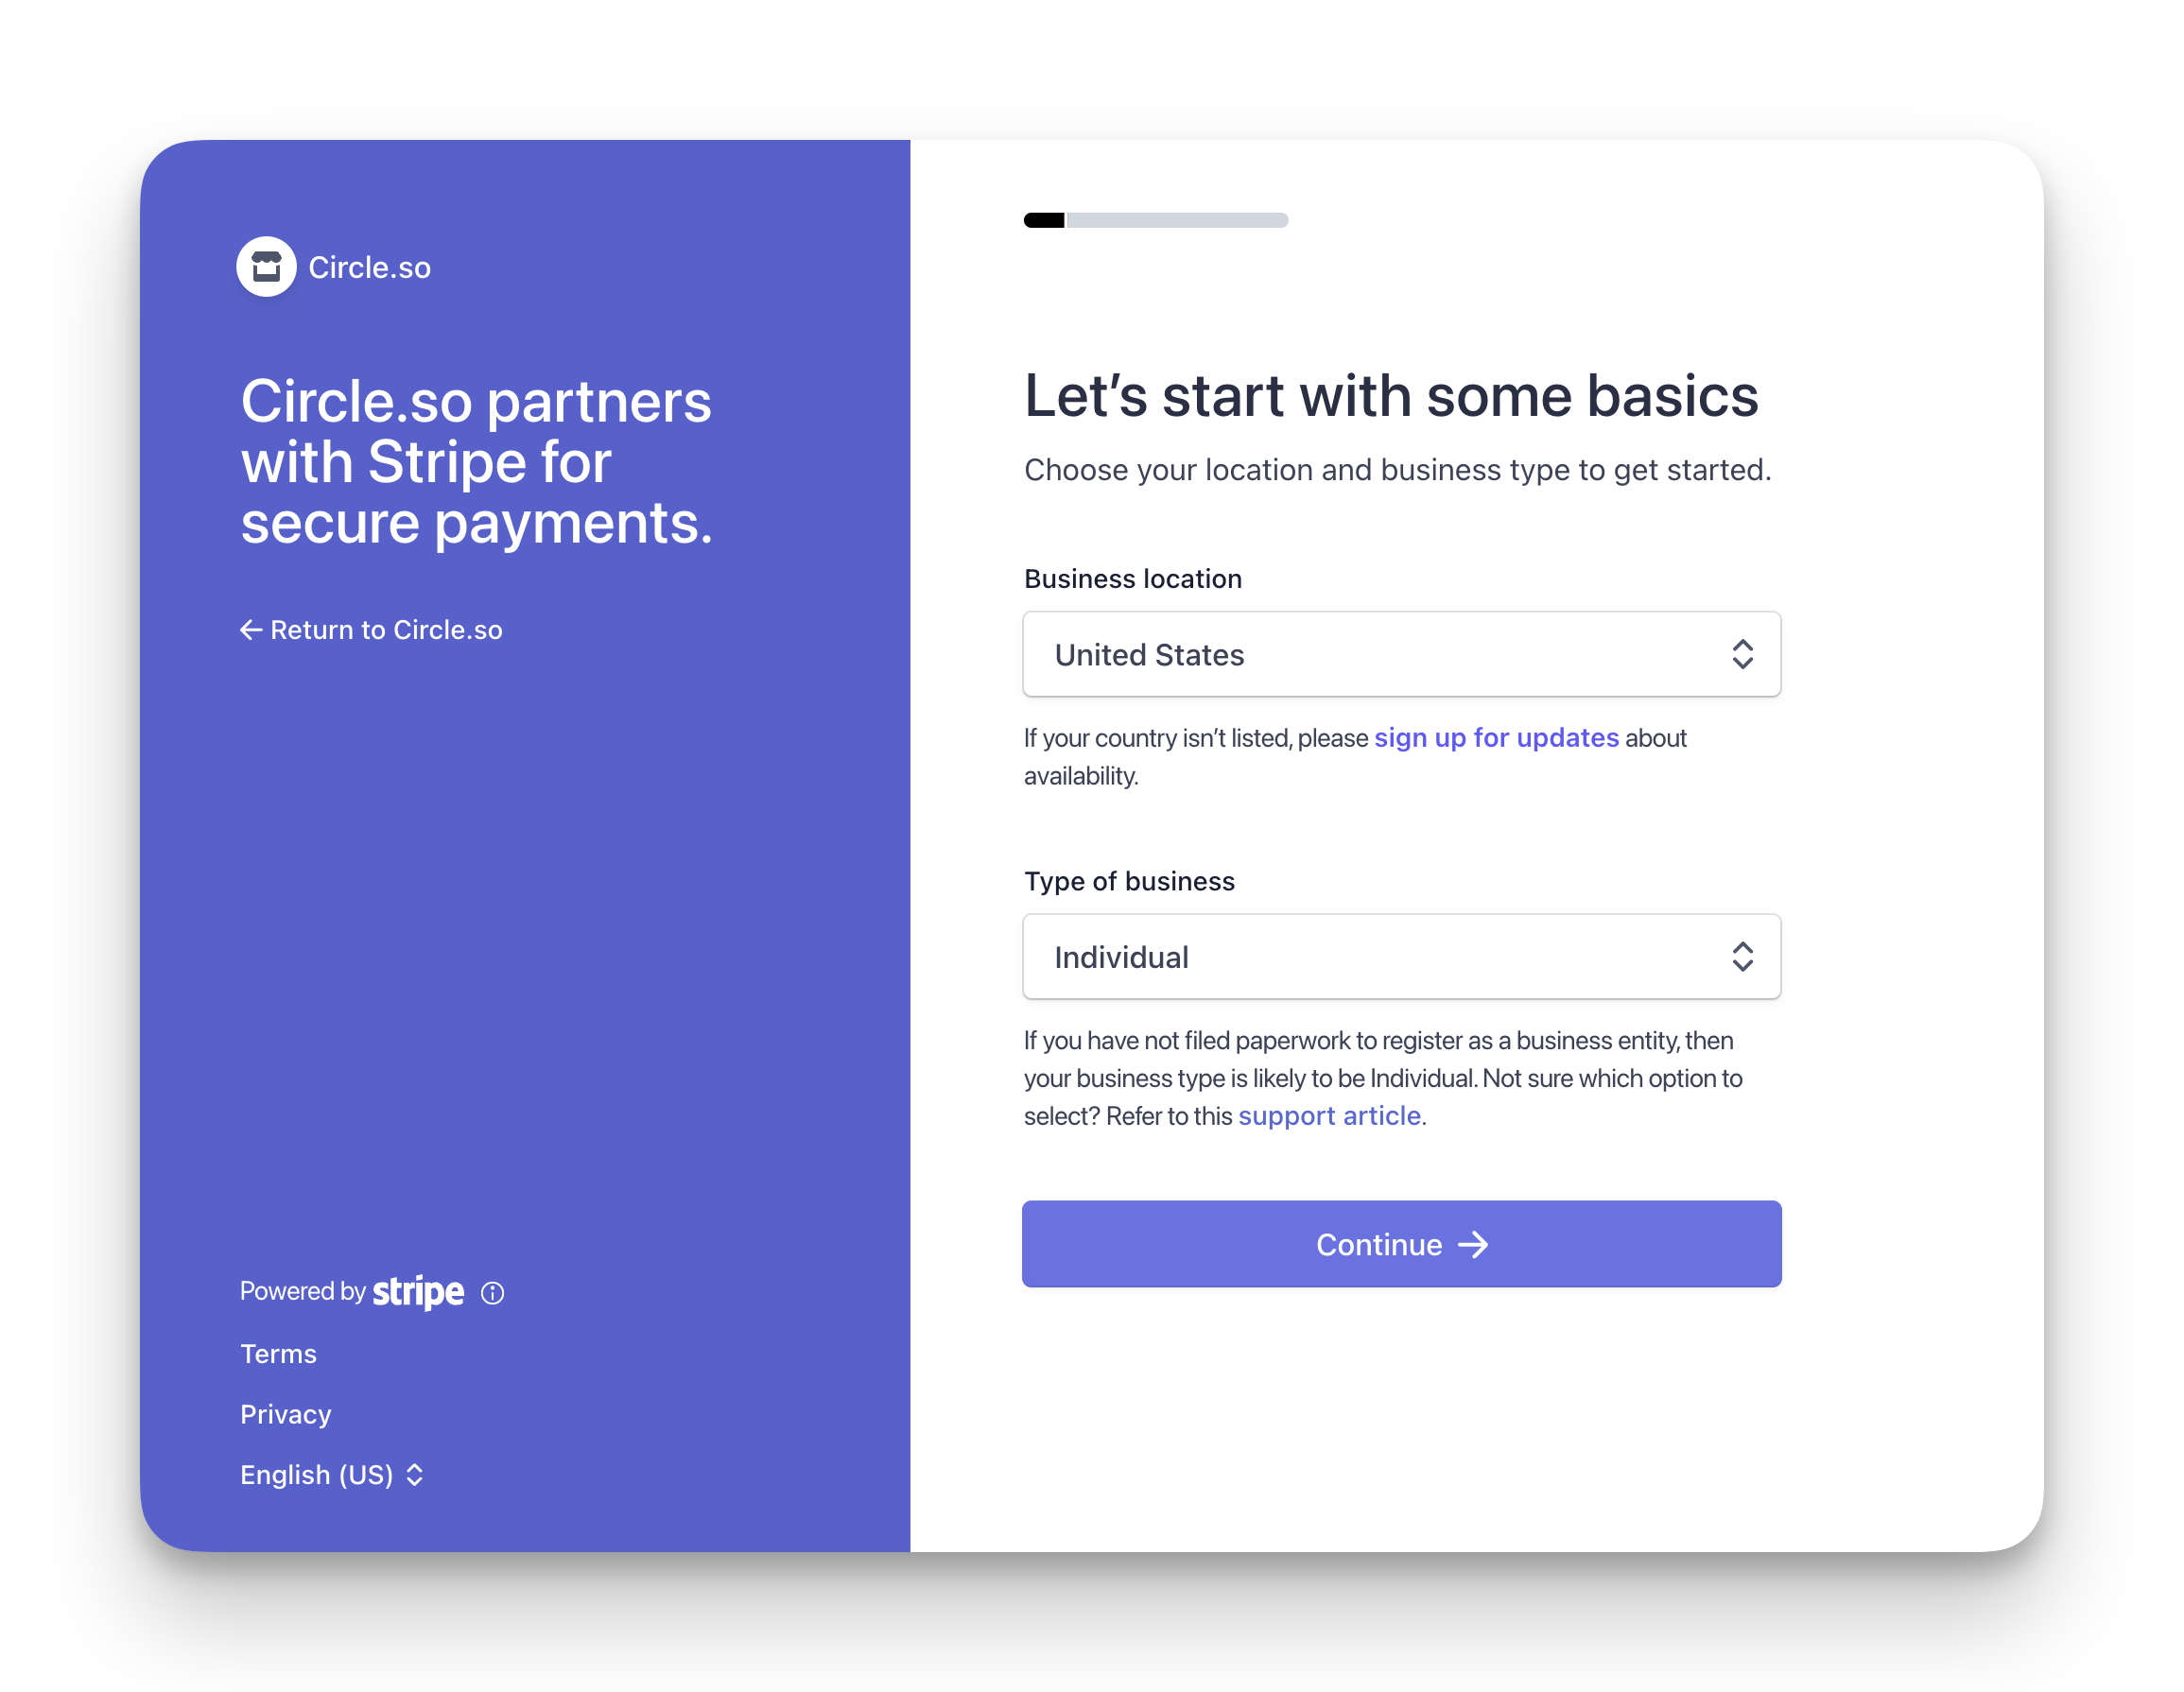
5. Choose your business location
Select the country where your business is located and choose the appropriate business type.
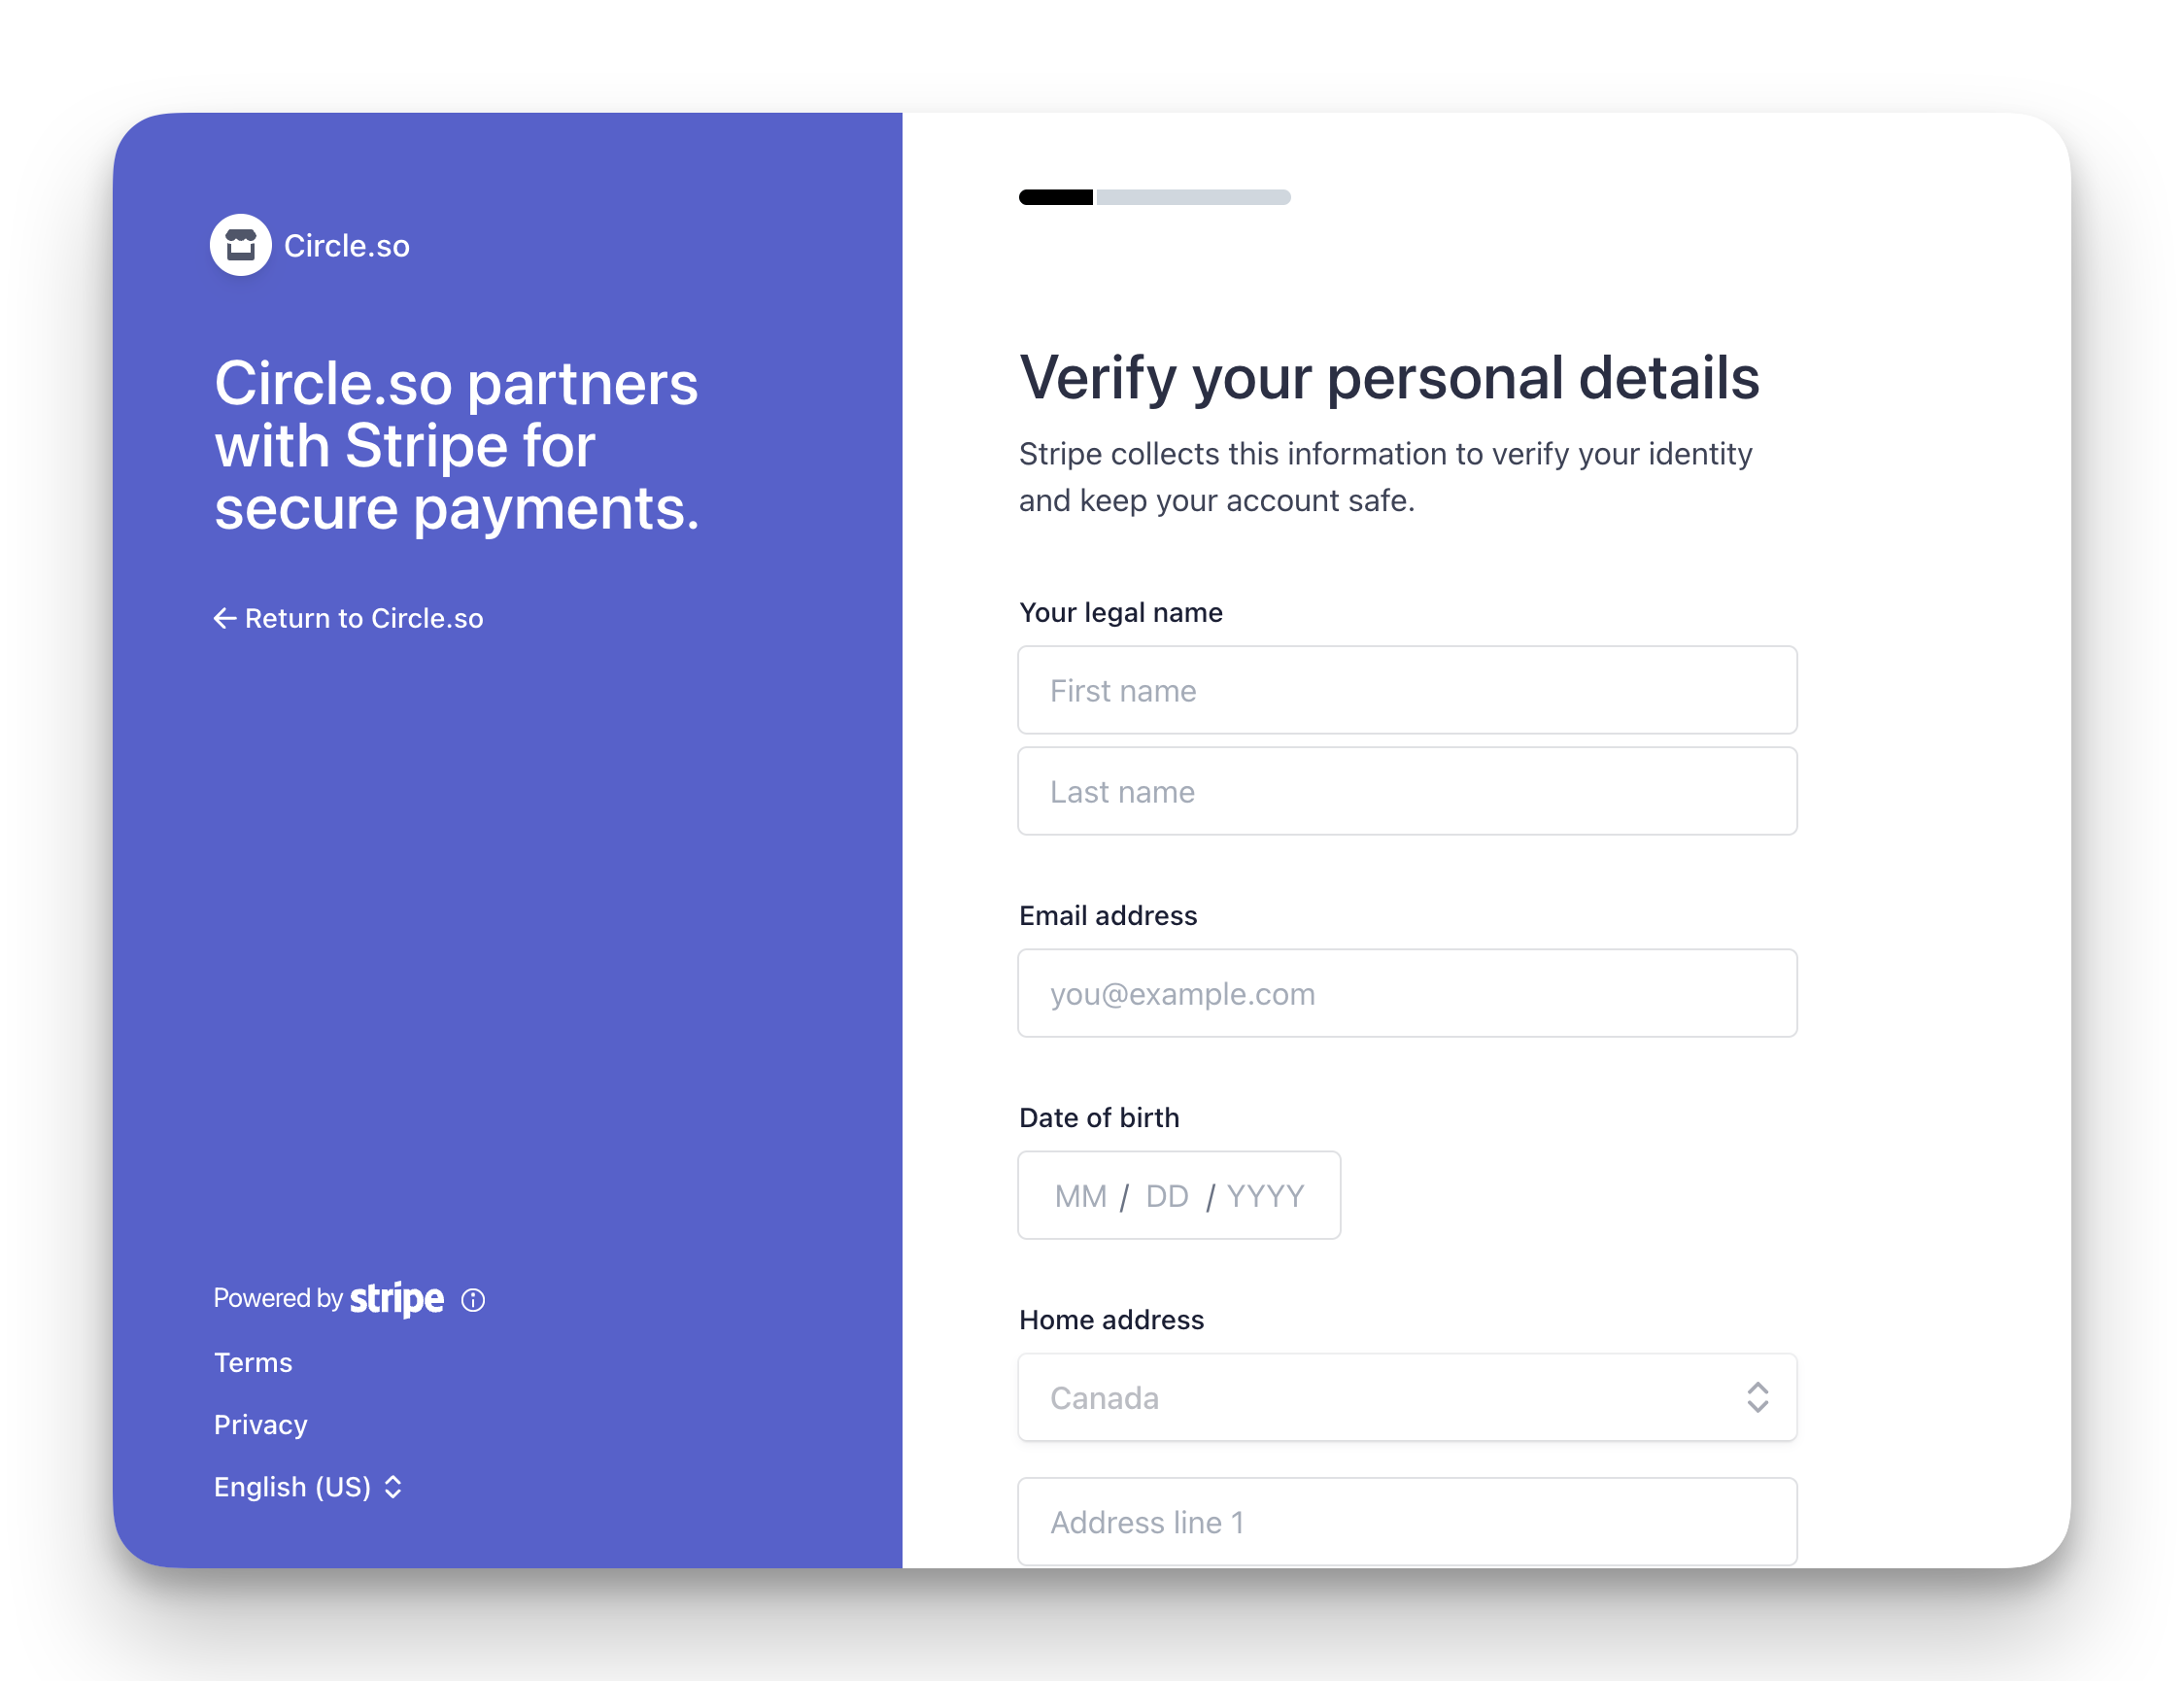
6. Verify your personal details
Enter your personal information to help Stripe confirm your identity. This may include your legal name, date of birth, and address.
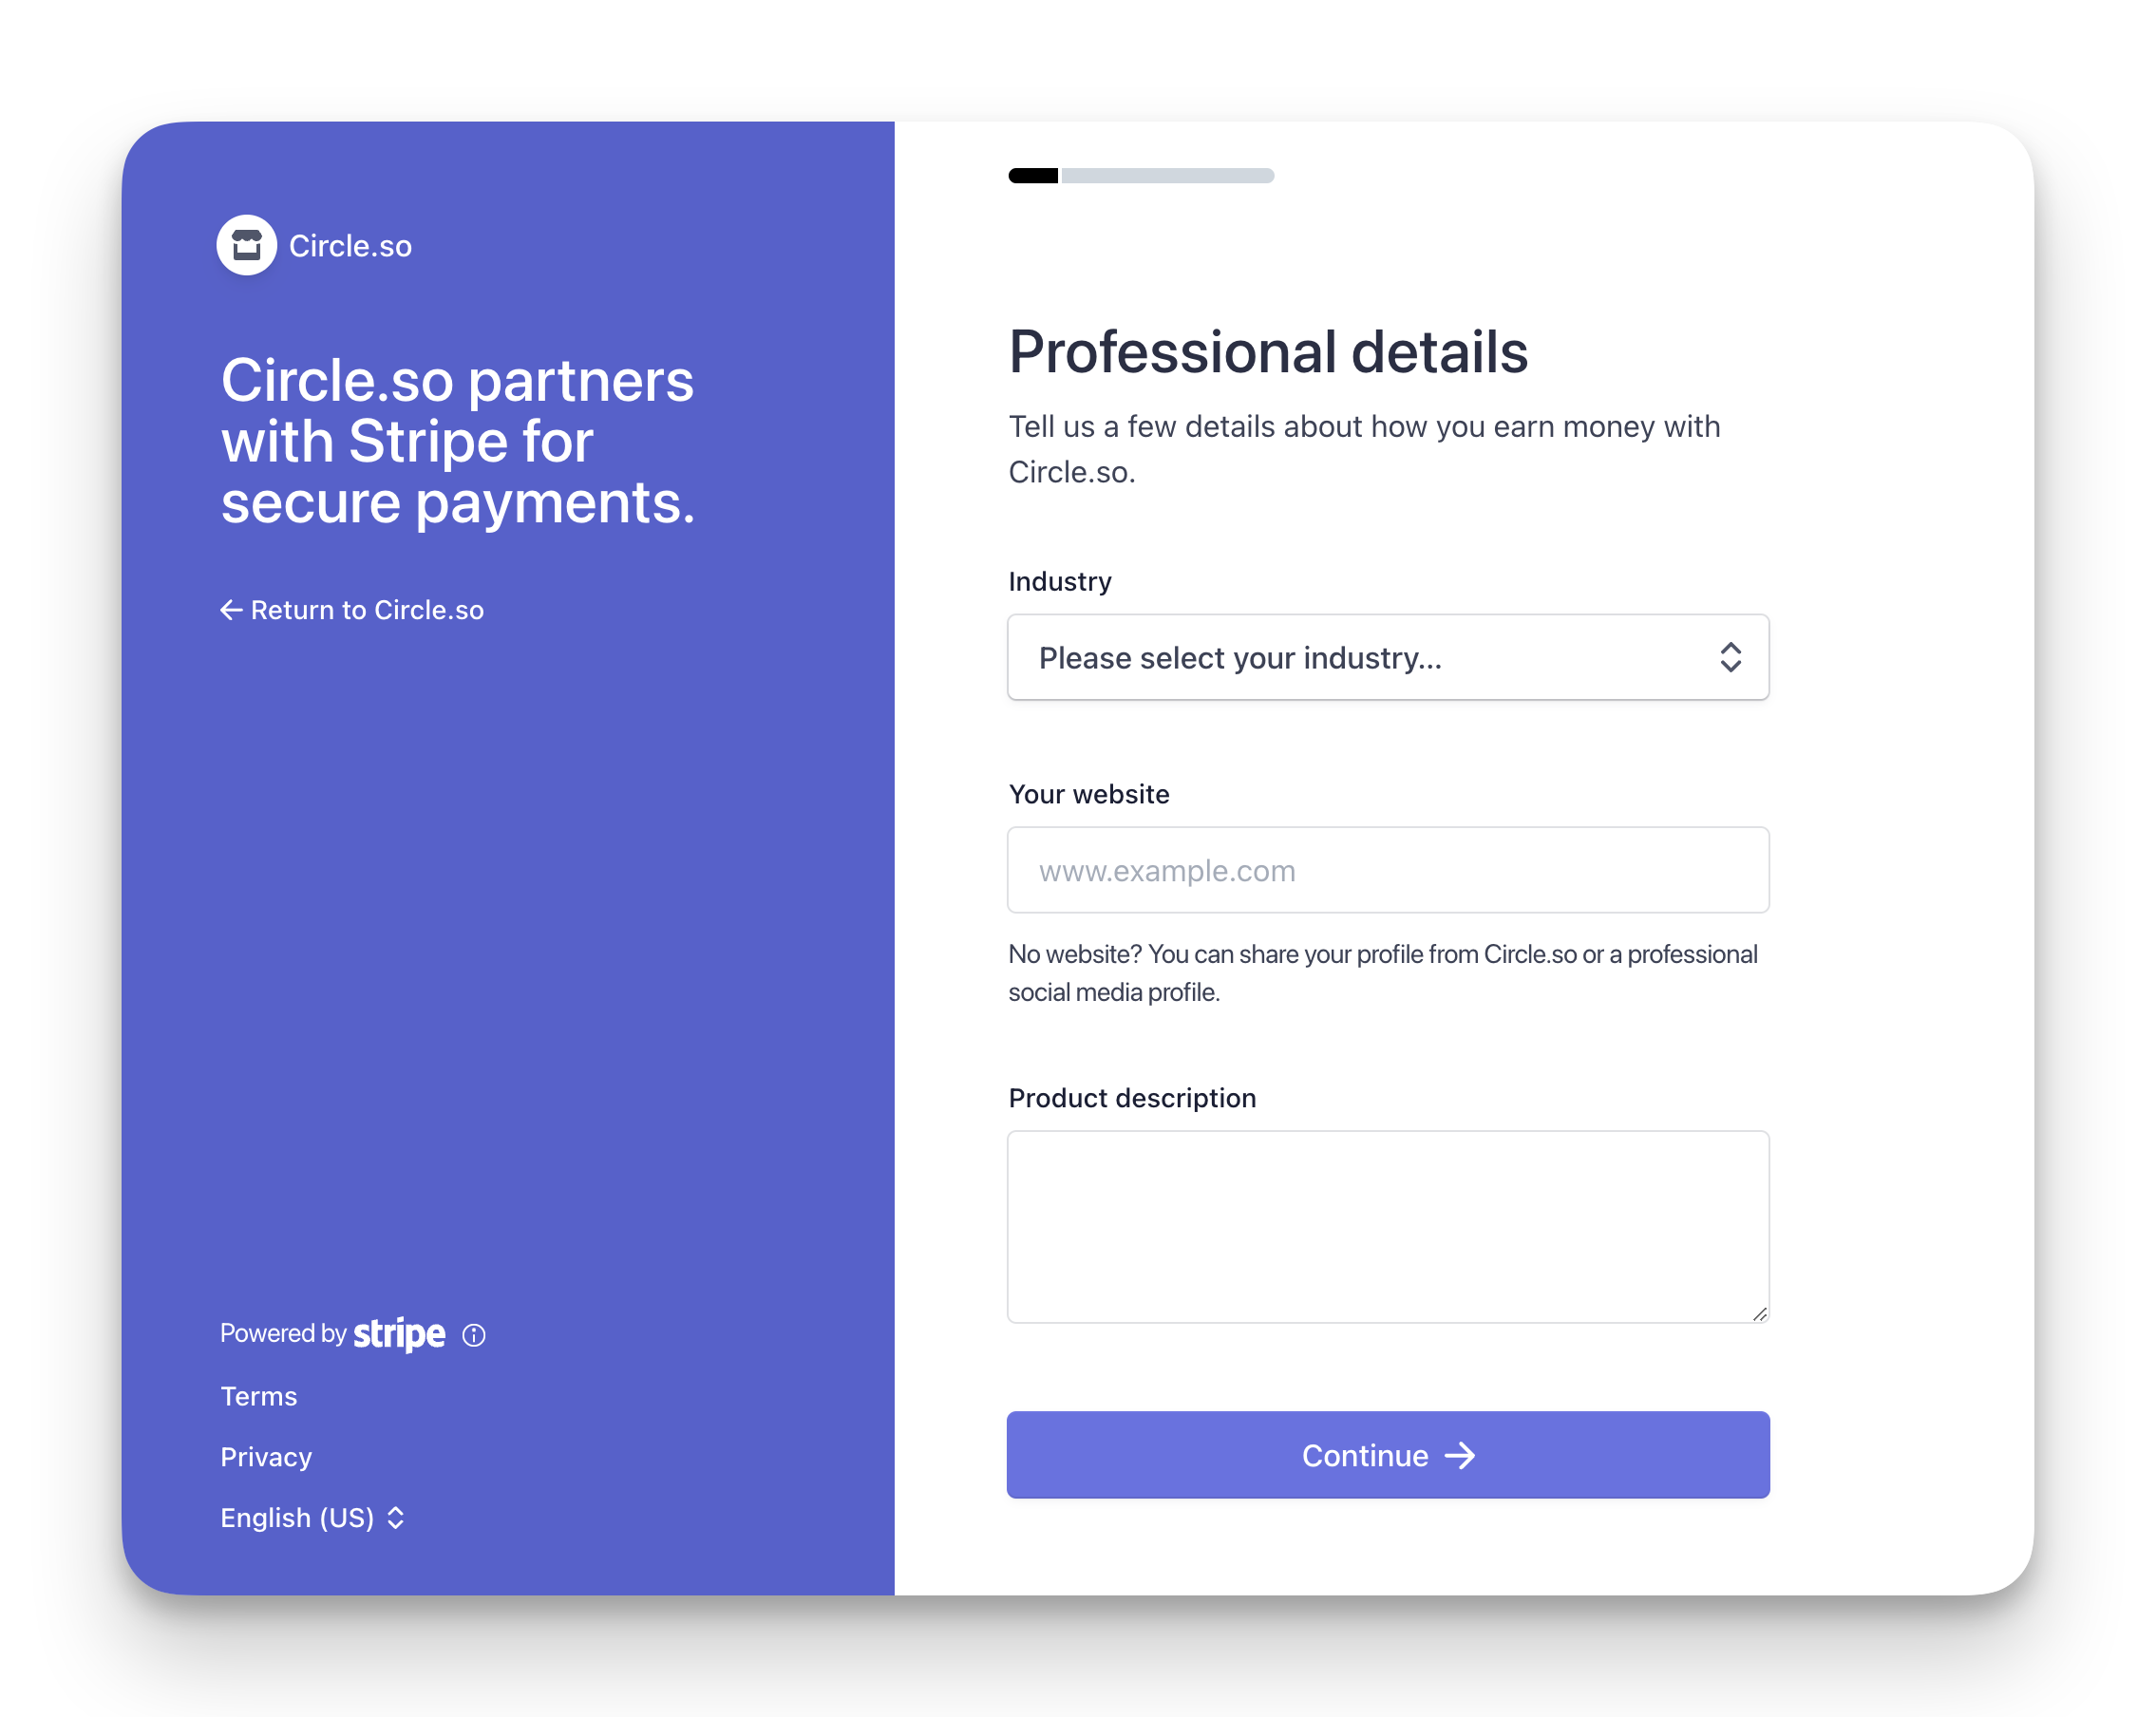
7. Add professional details
Add your industry, website, and description of the products or services you will sell on Circle.
❗Important: If your community is private, we suggest providing a different public URL, such as your website. Otherwise, validation may fail. Alternatively, you can input the URL for your business’s public Twitter or LinkedIn profile.
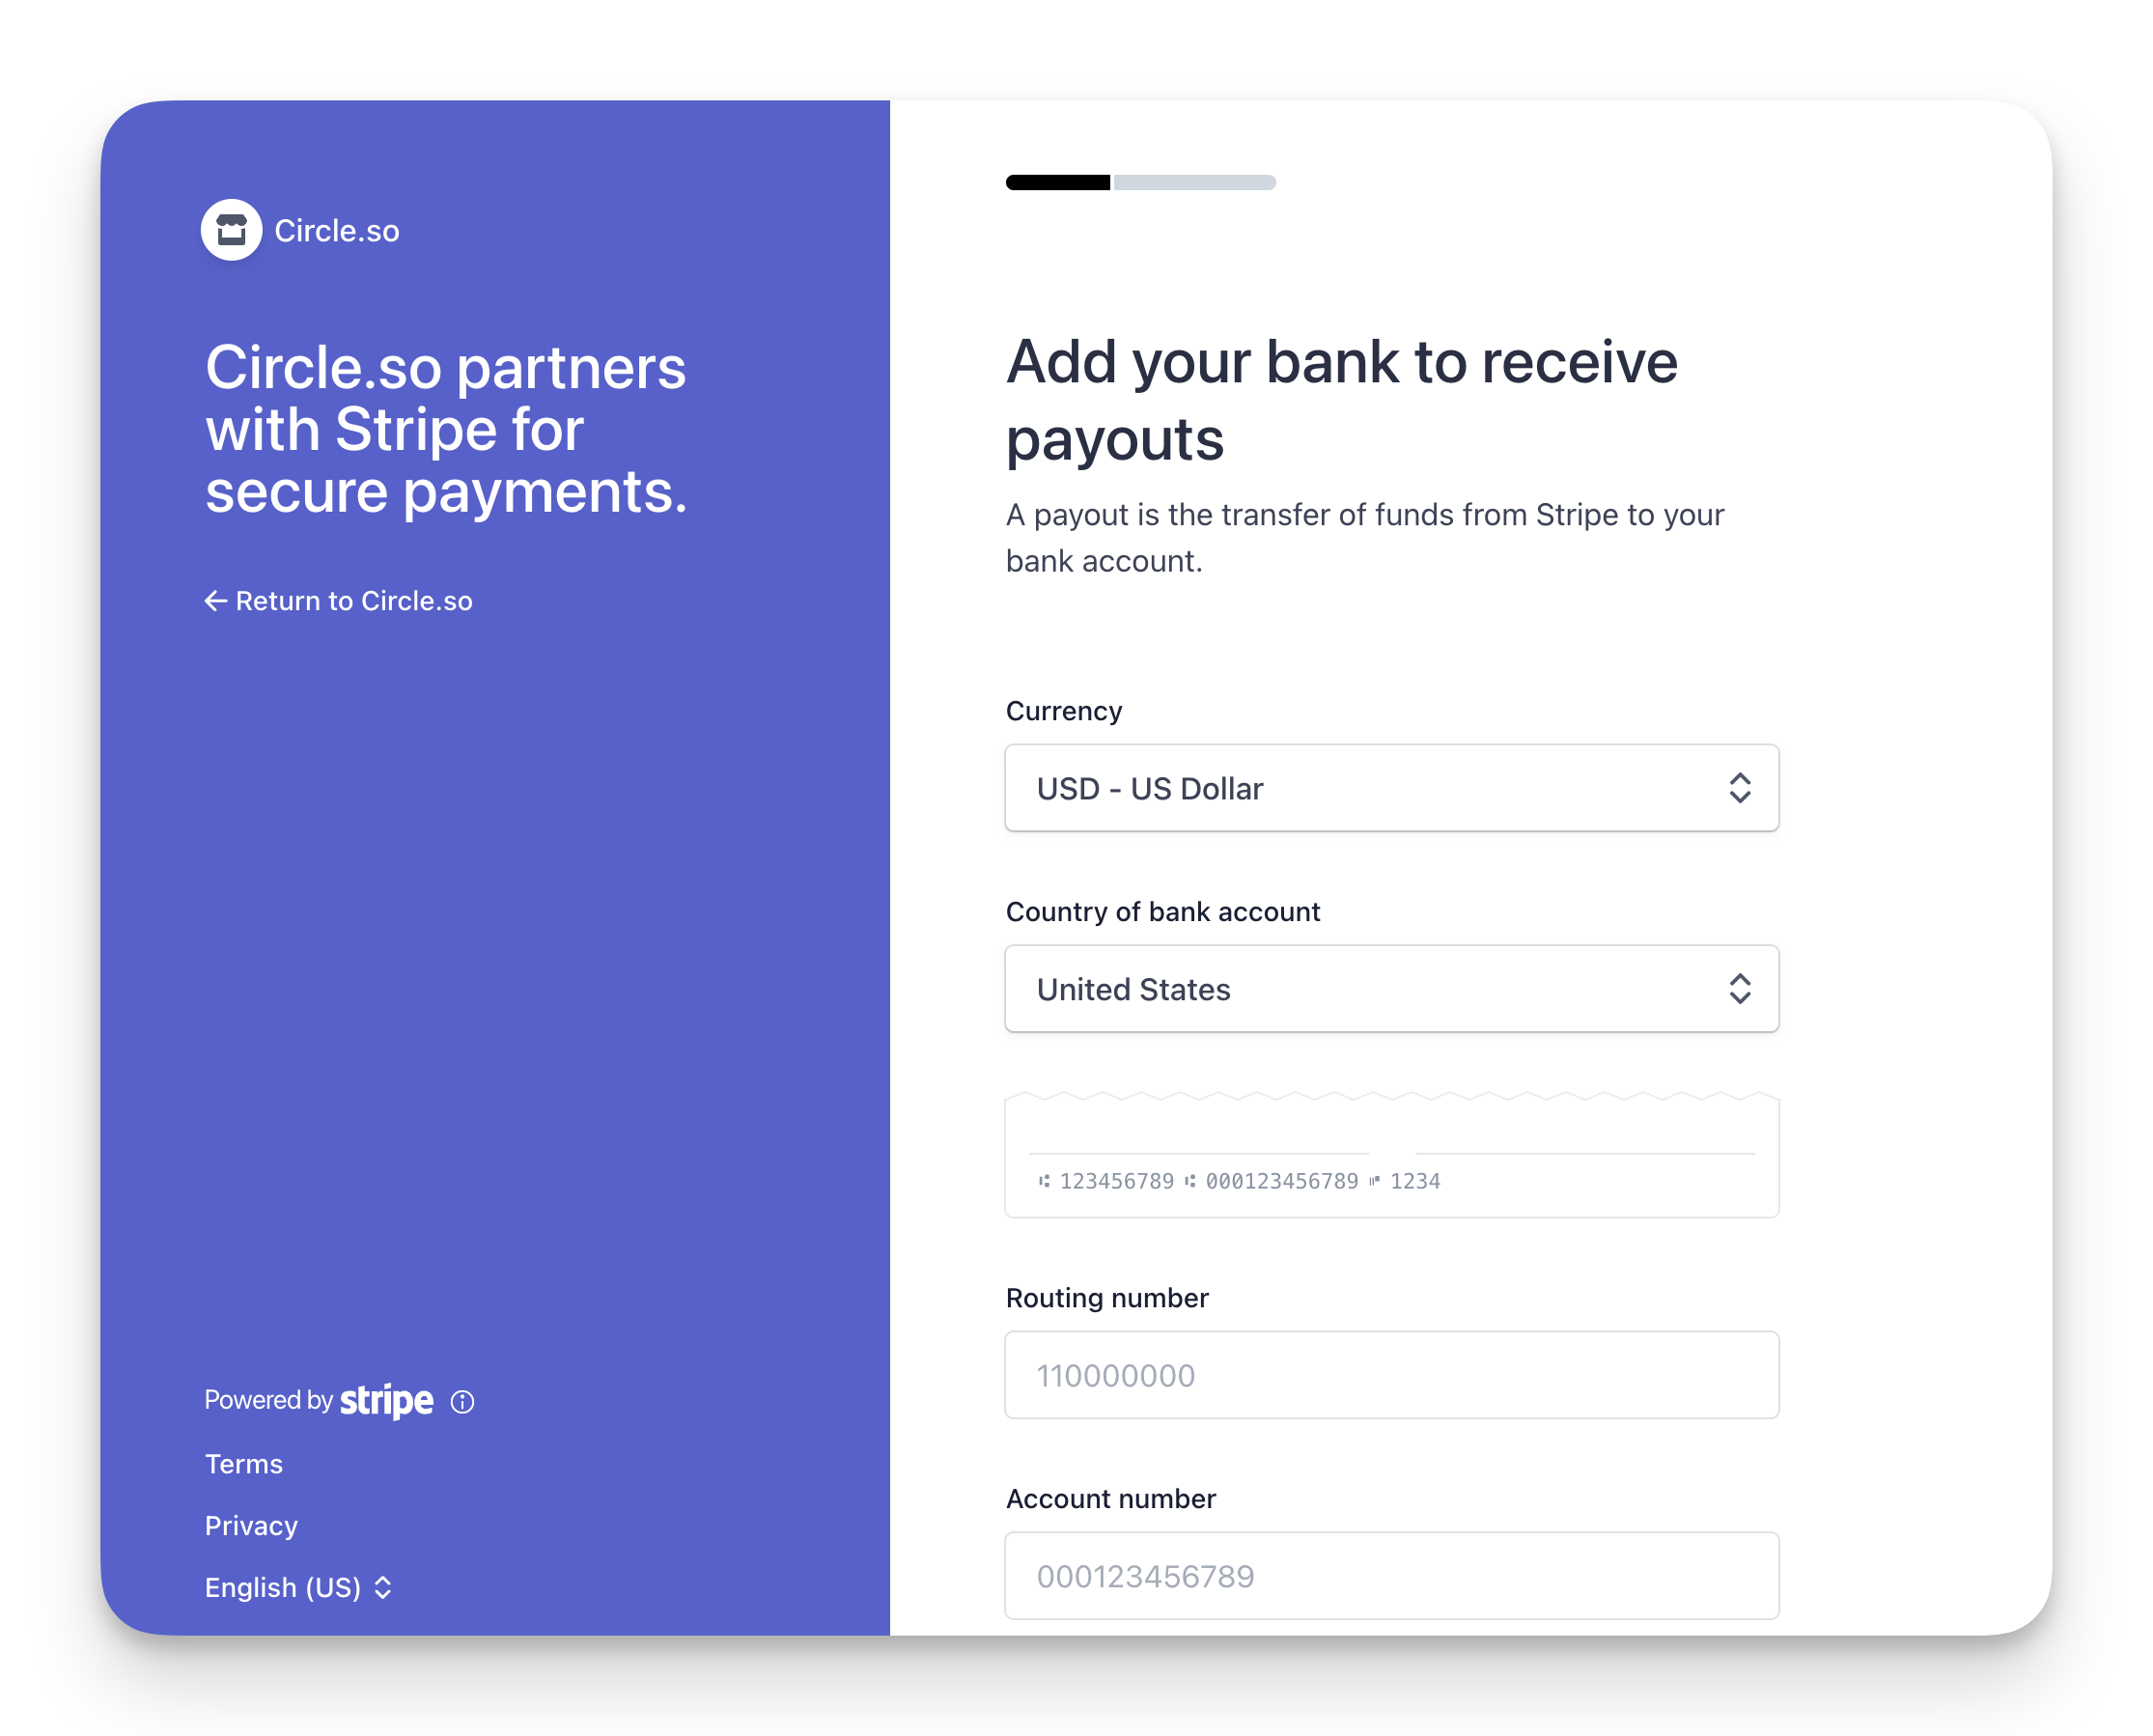
8. Add bank details for payouts
The next step is to add your bank details to set up payouts for your account. Stripe will transfer the funds you receive from the member payments to the bank account you set up in this step.
📚 For more details on payouts, see Receiving Stripe payouts.
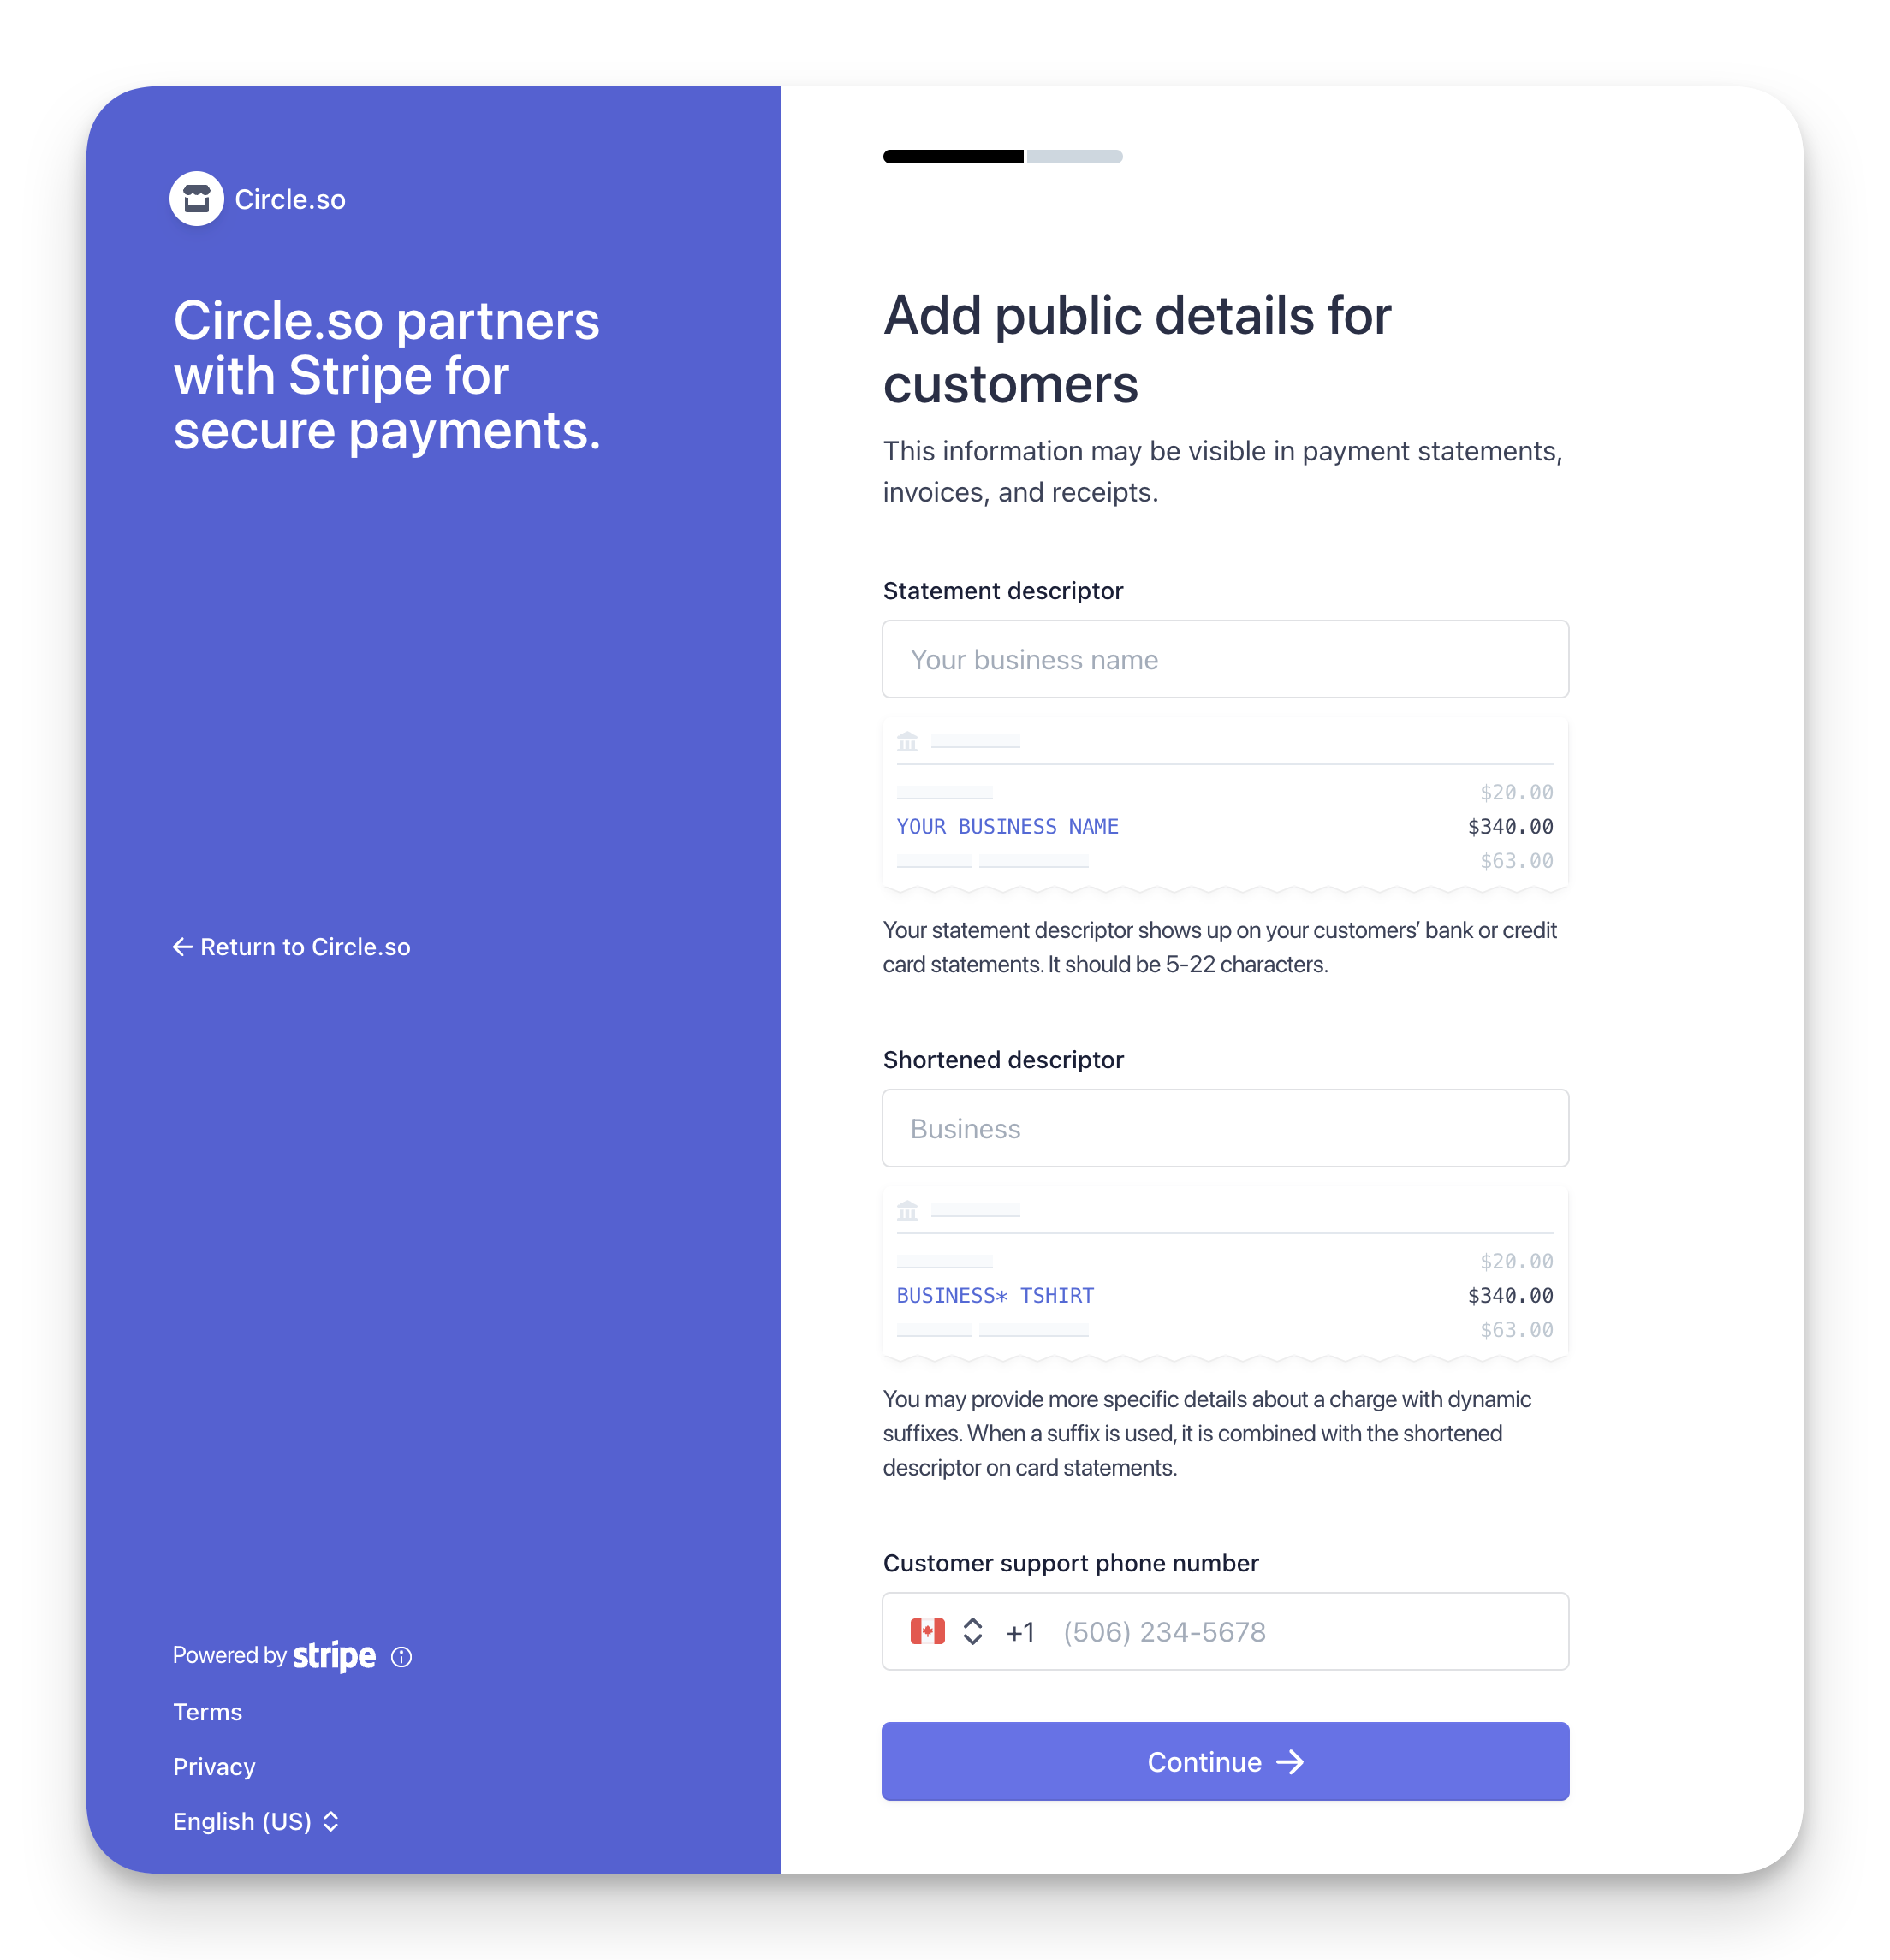
9. Add public details for customers
Add a statement descriptor and customer support contact on this step that will appear on your member’s bank or credit card statements. This helps prevent confusion and chargebacks.
10. Review account details
Double-check all the information you’ve entered. If you need to make changes, click the Edit icon next to the section you want to update.
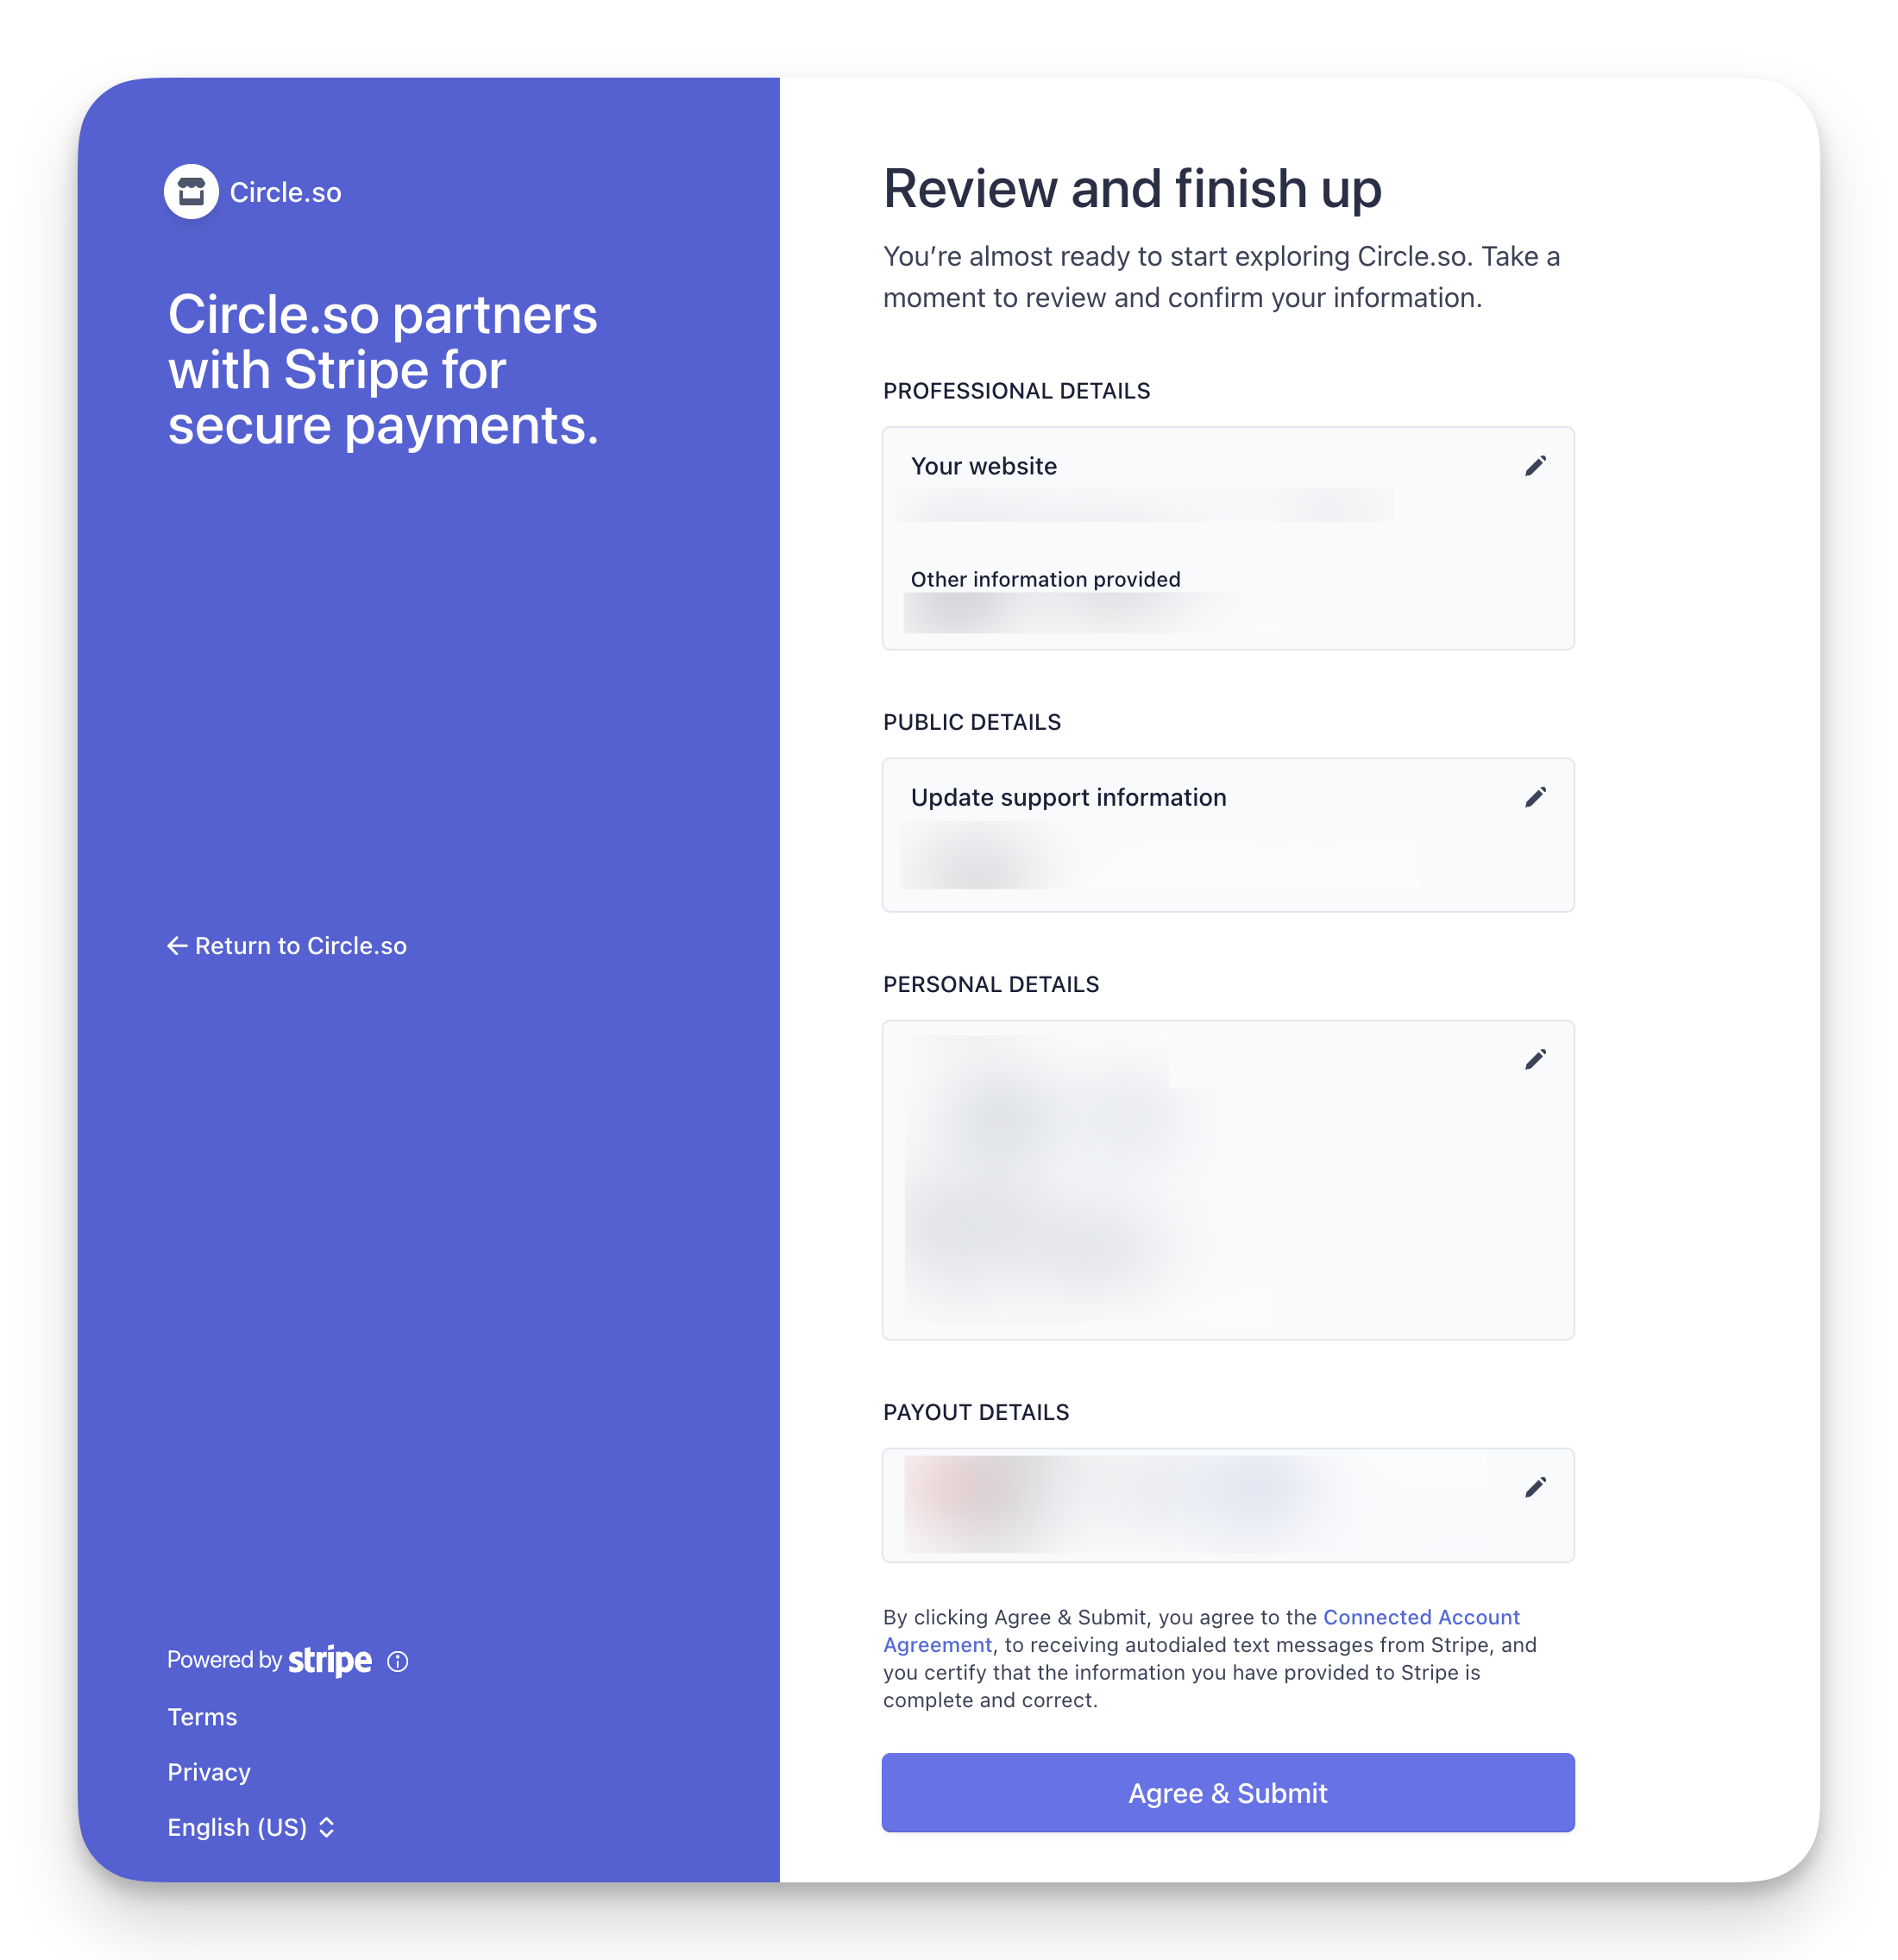
Once reviewed, click Agree & Submit to complete the process. You can now start creating paywalls in your community!! 🎉
After you submit your details
Once you click Agree & Submit, Stripe will verify your account details. The verification usually happens in under 5 minutes, but can take up to 30 minutes.
❗Important: If Stripe needs additional information from you after you submit, you’ll see a banner on the Paywalls page explaining what's required. Click the button in the banner to navigate to the verification page in Stripe and complete the requirements.
Connecting an existing Stripe account
If you already have an account with Stripe for any other purposes that you would like to connect for paywalls, you can easily connect it to Circle!
When connecting your existing Stripe account to Circle, we’ll create a sub-account for you in your Stripe account. All the activity from Circle members will be available exclusively in this sub-account dashboard within Stripe.
The benefit of creating a new sub-account under your existing Stripe account is that you’ll have one Stripe login and can easily switch back and forth between your business dashboards without having to log in and out.

To create a new business under your existing Stripe account, please follow the steps below:
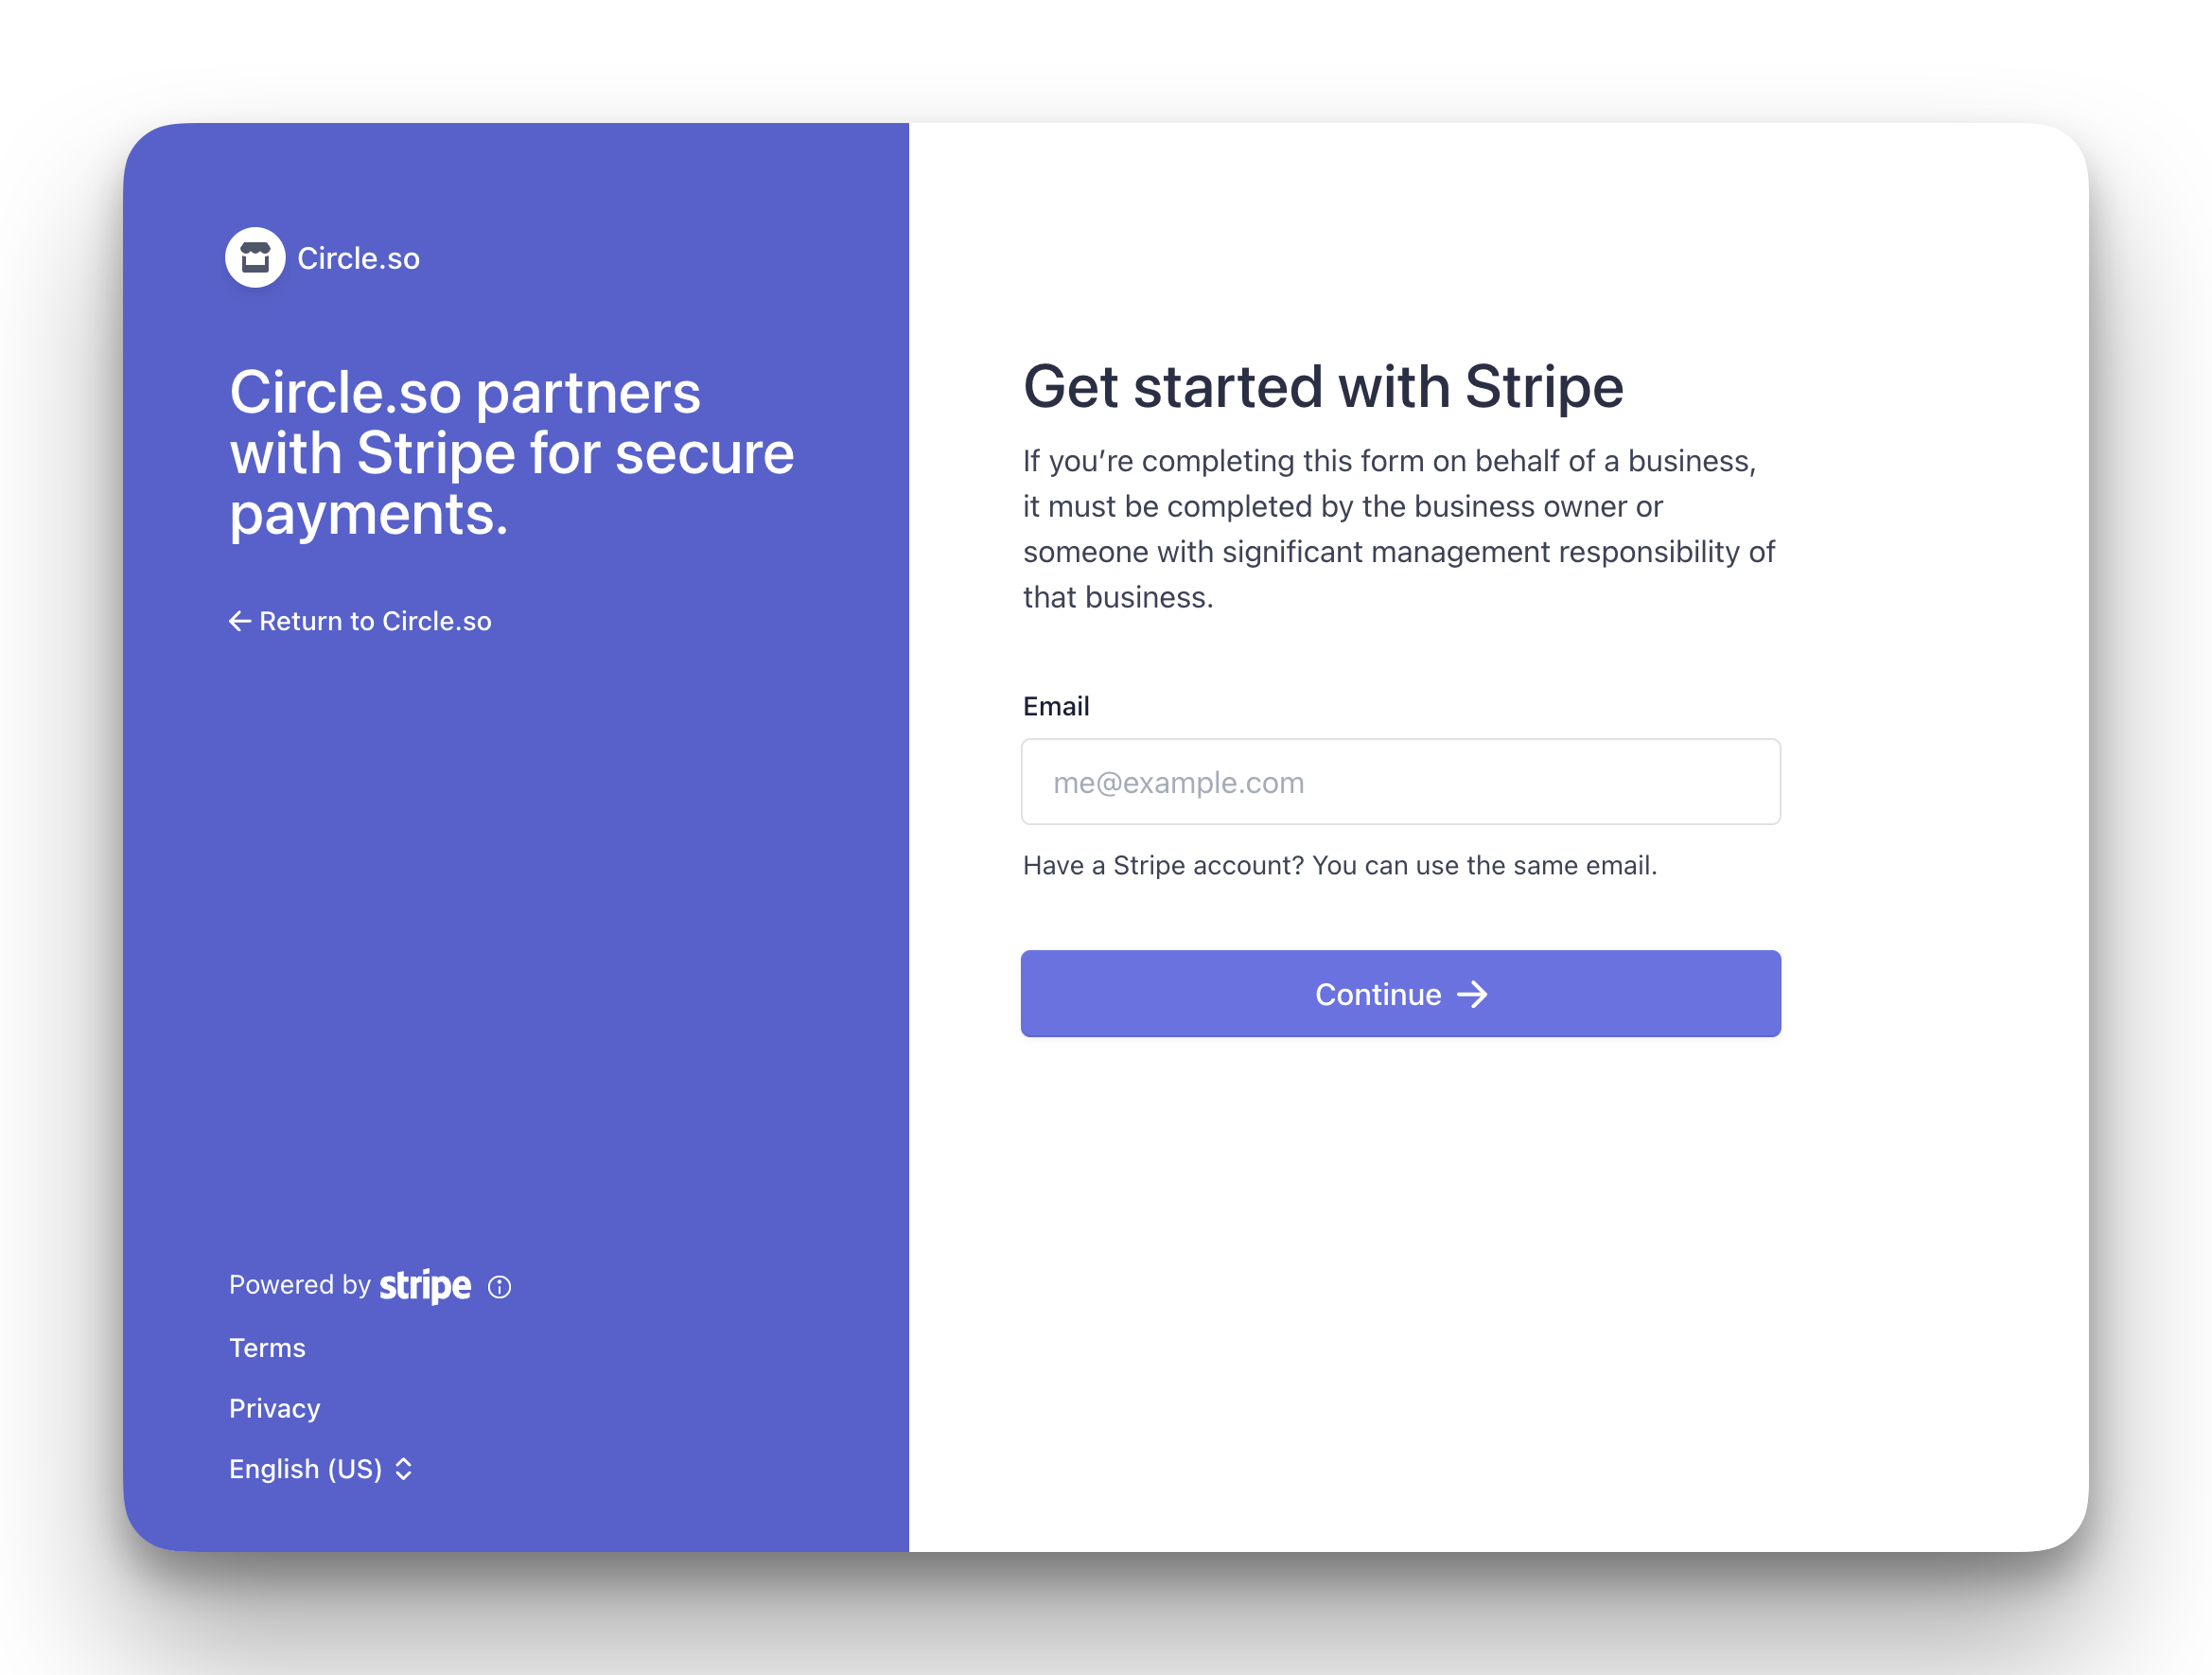
1. Provide your email
If you would like to connect the new business under your existing Stripe account, please enter the email associated with your Stripe account in the first step of the connection process.
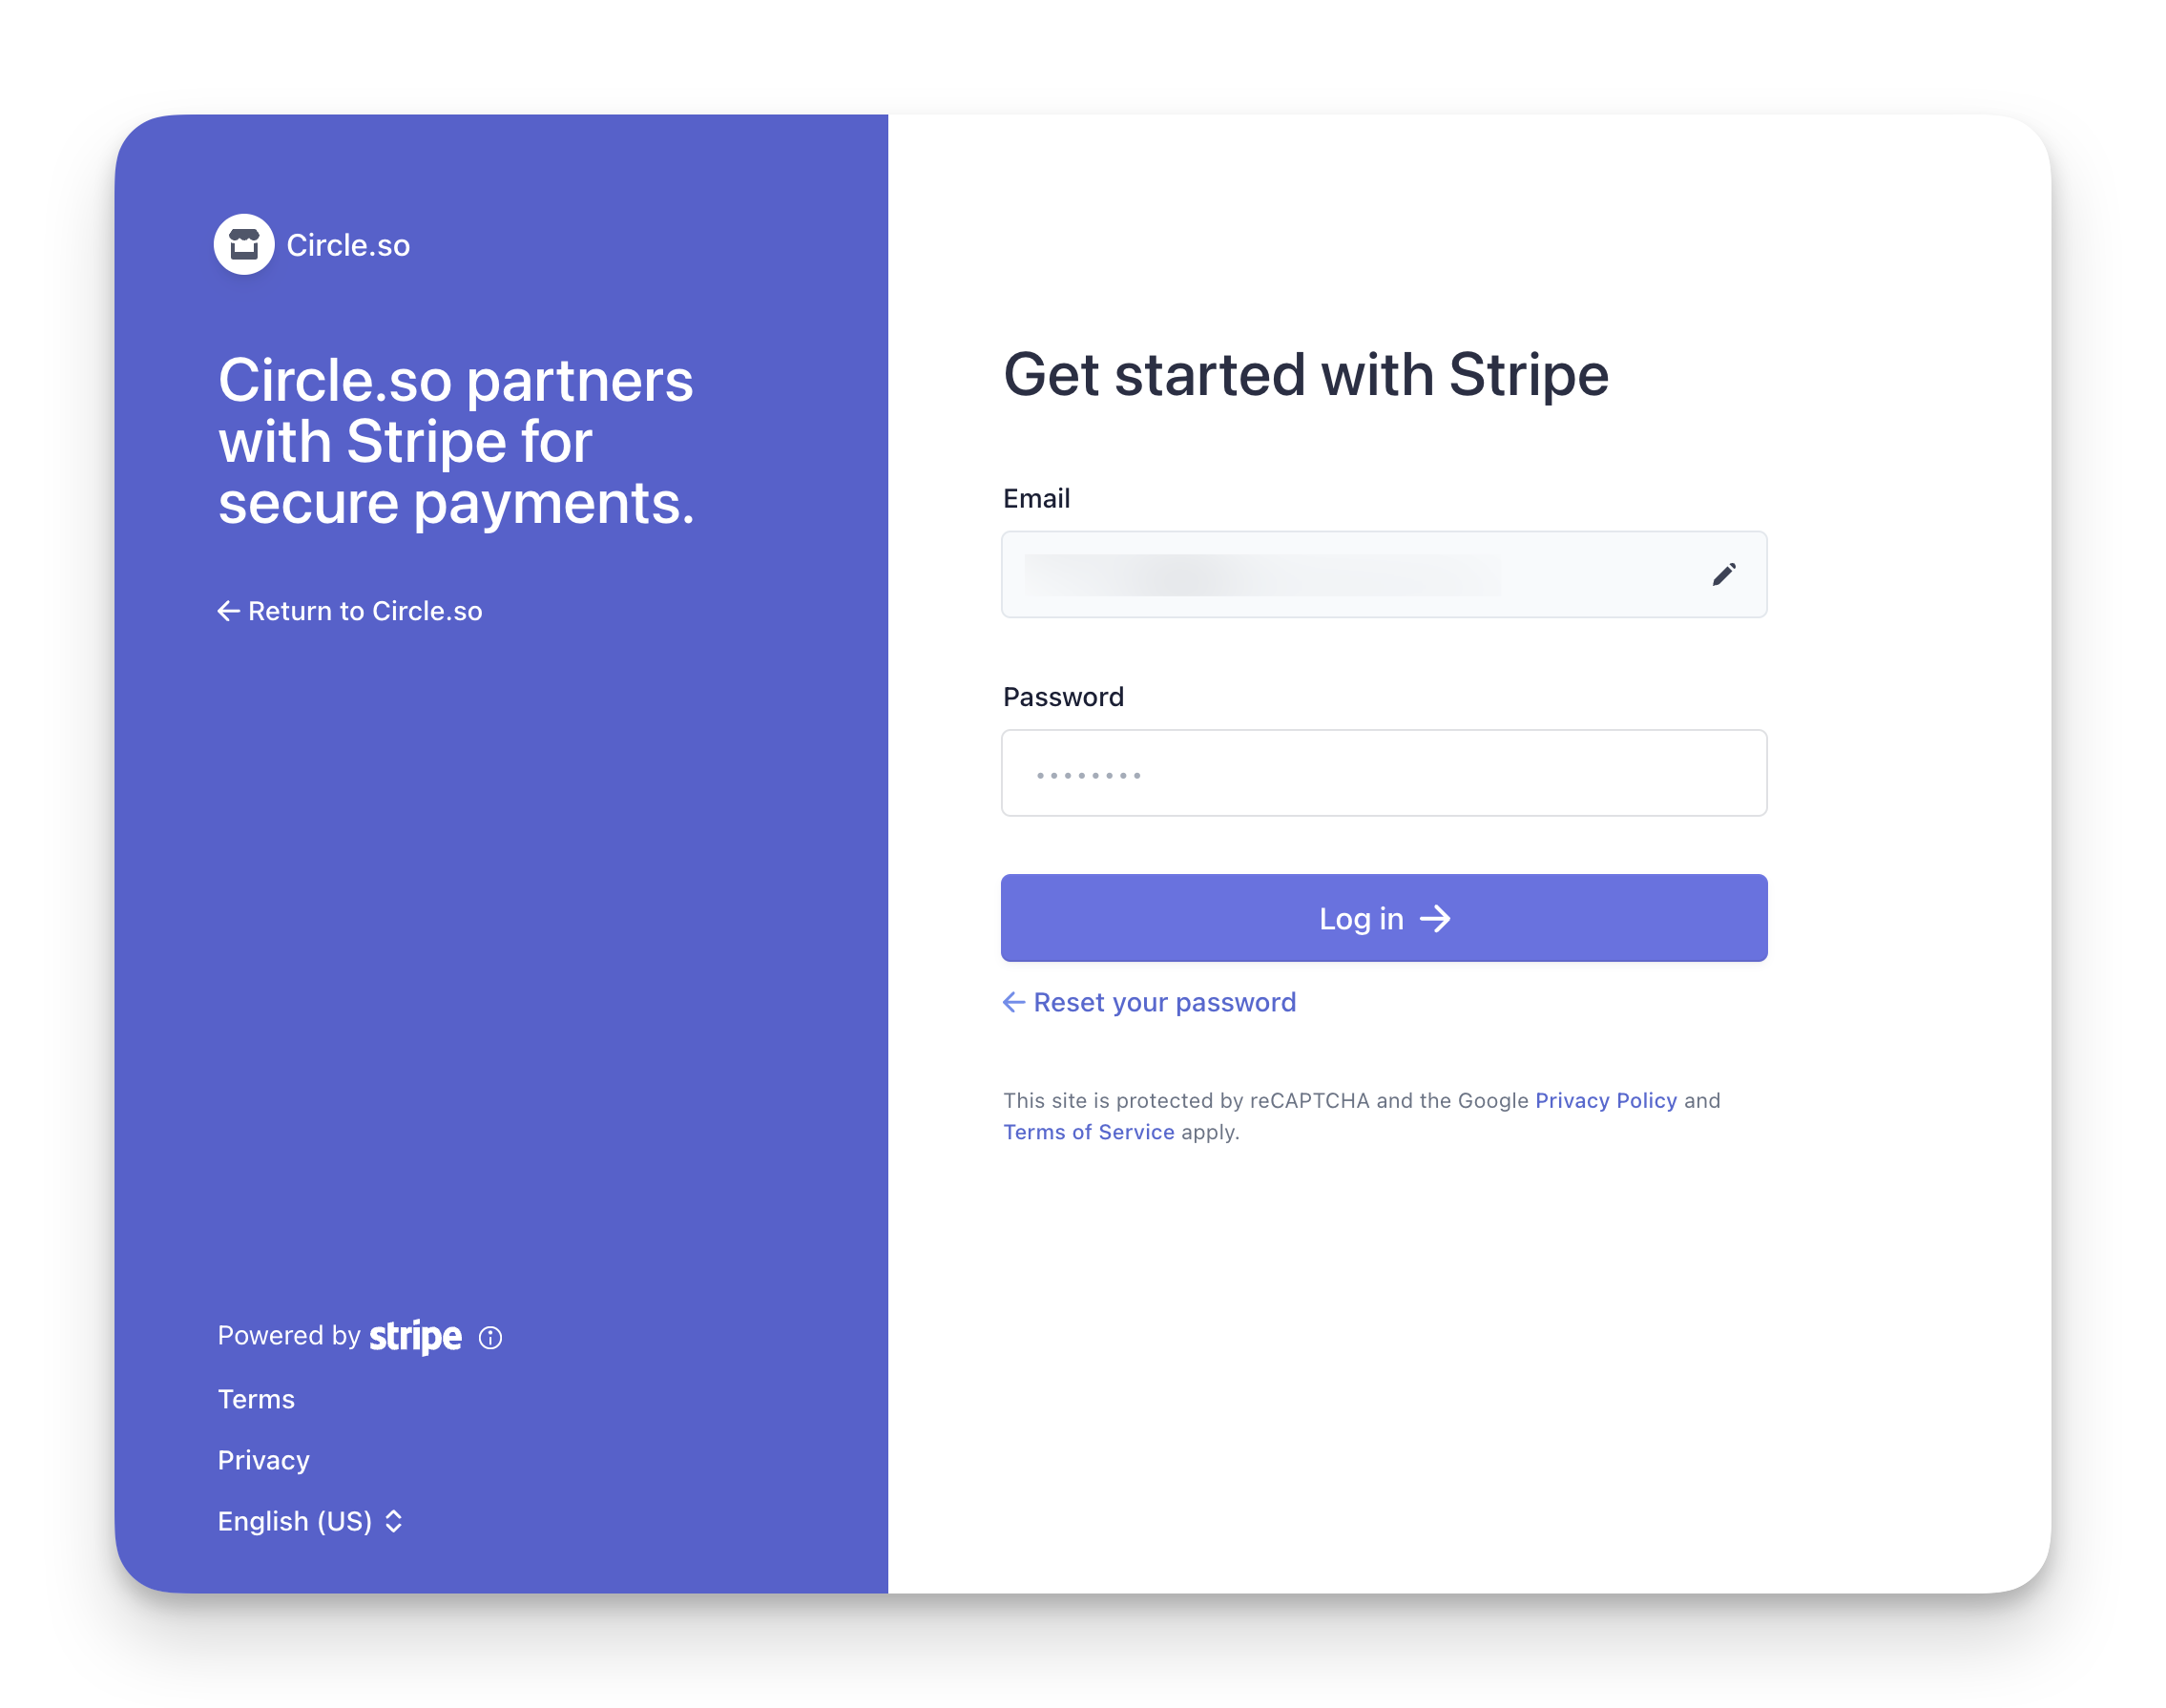
2. Enter your password to log in to your account
Stripe will recognize your account email and prompt you to log in and verify your account with 2-step authentication.
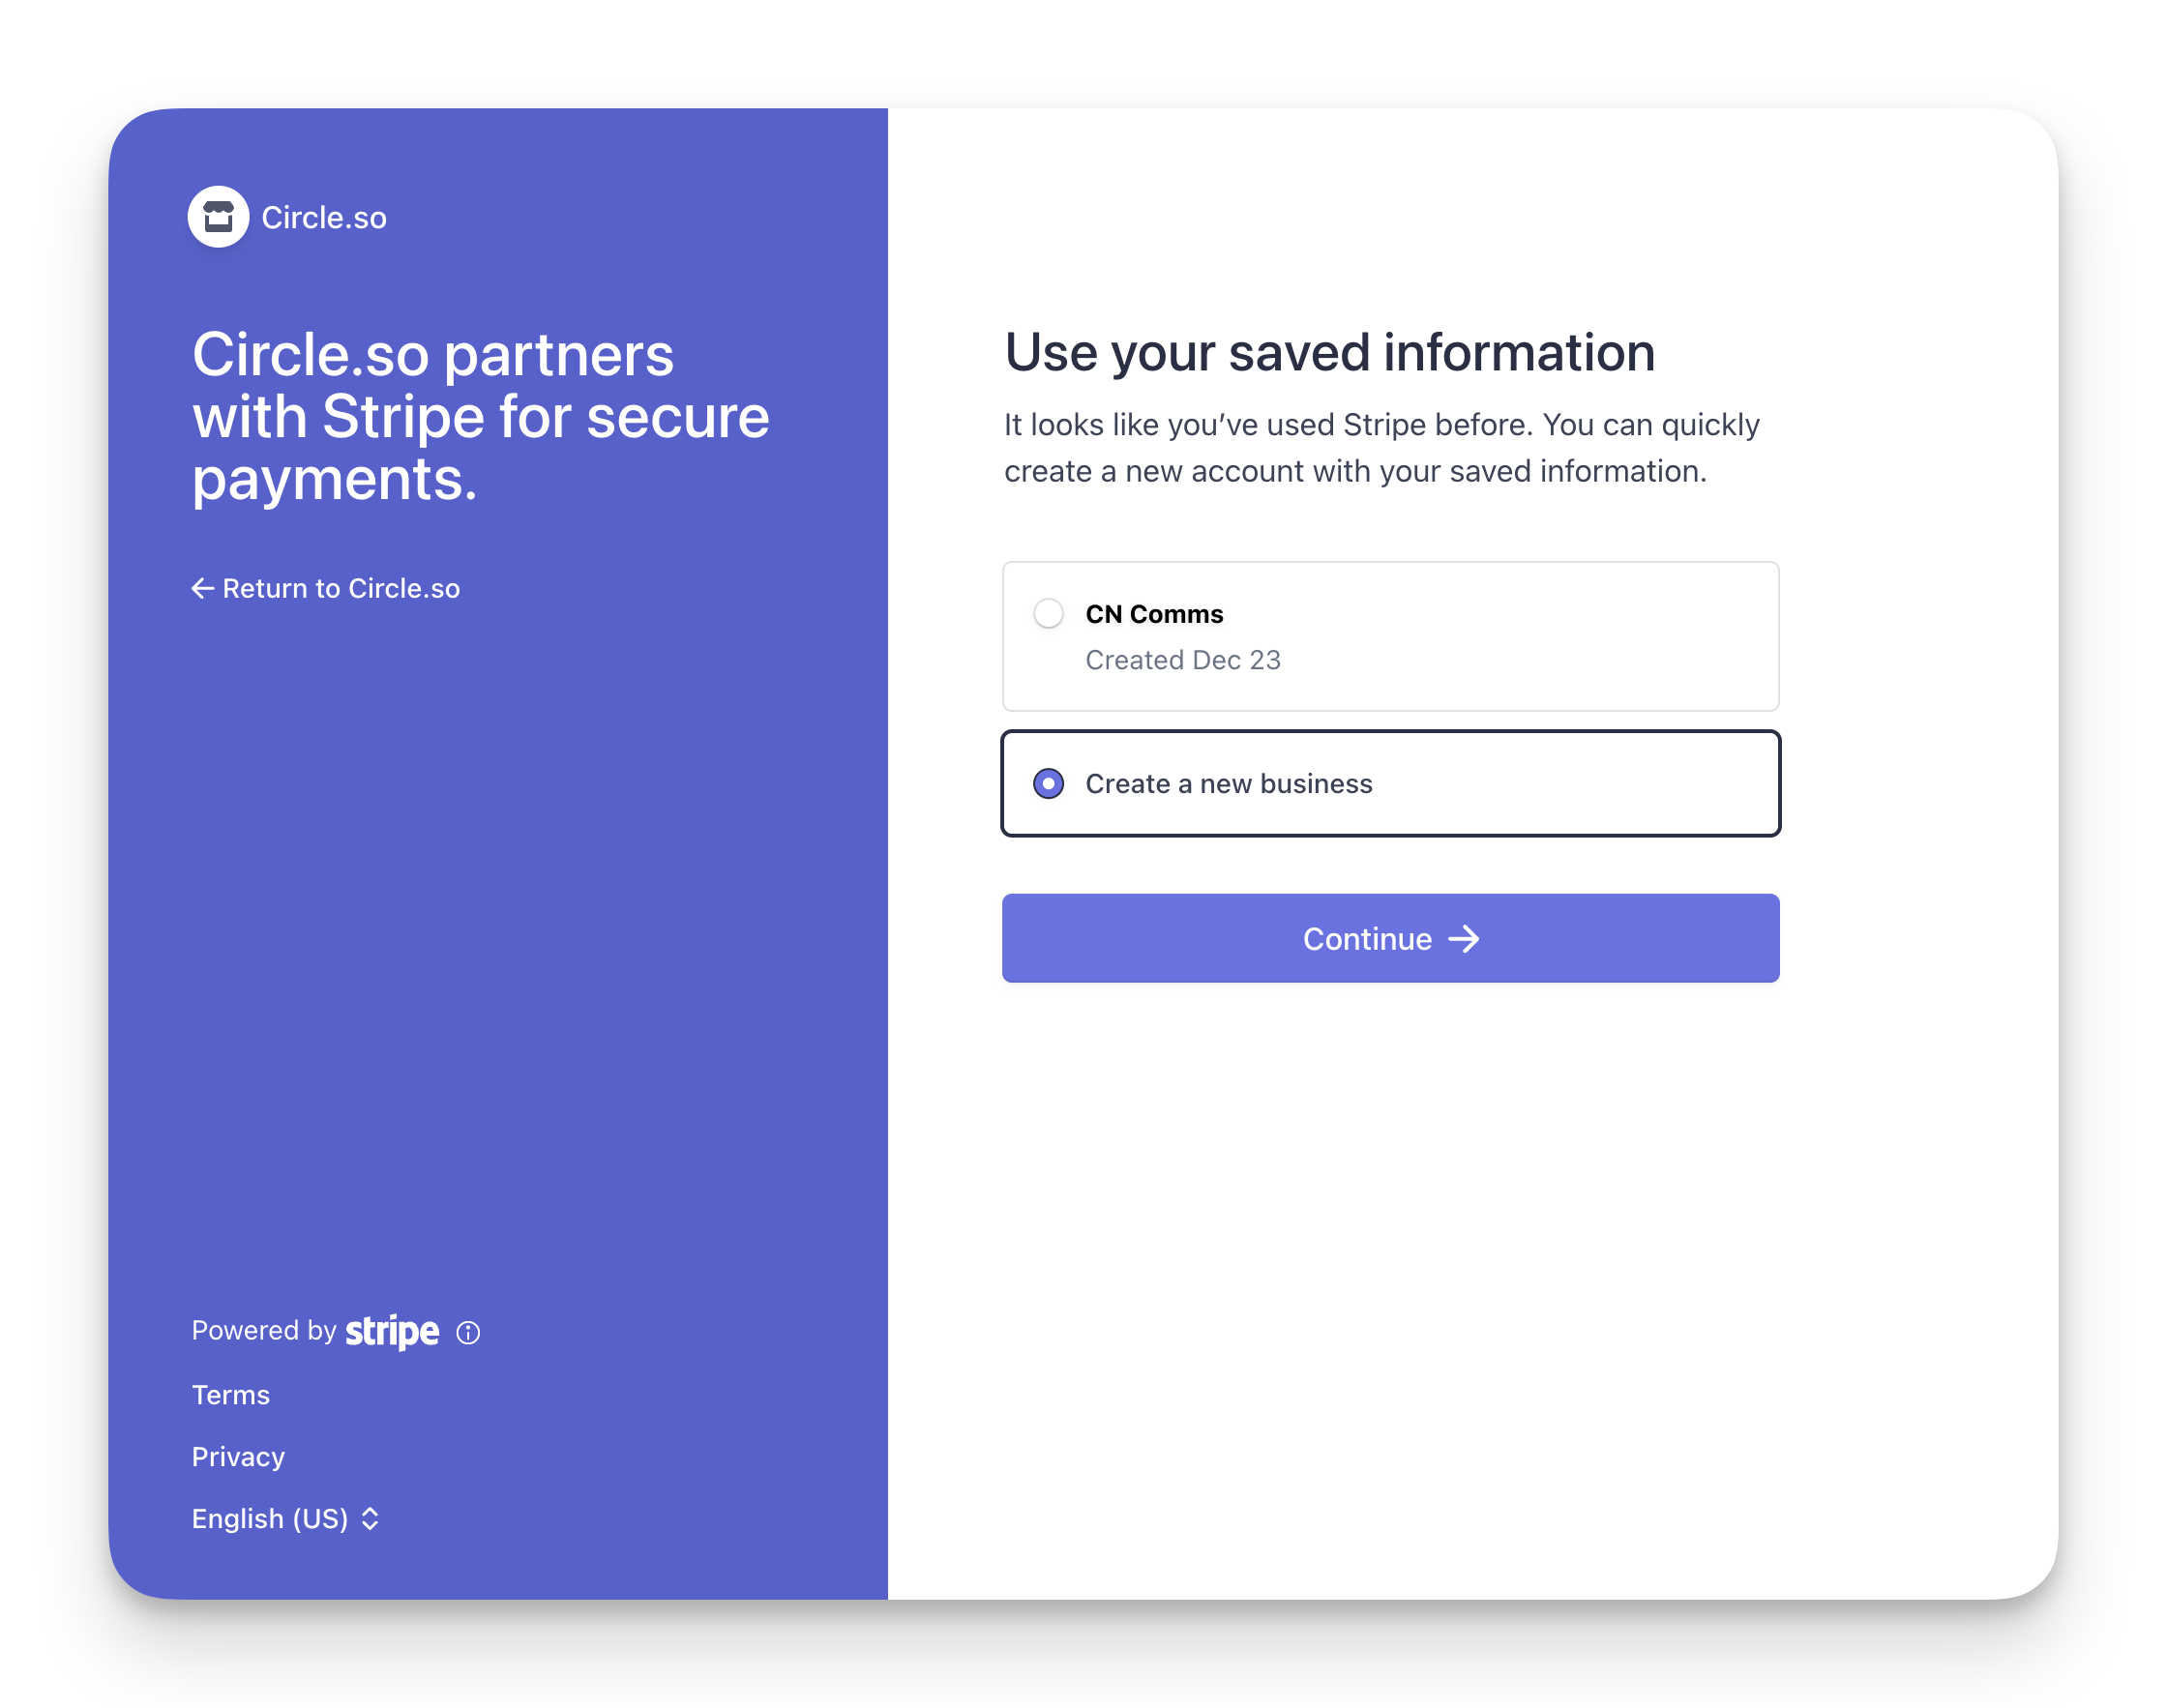
3. Choose how you want to add the business information
After logging in to Stripe, you’ll be asked whether you wish to use saved information from an existing business under your Stripe account or enter fresh details for the account.
From the given options, if you choose:
-
Existing business (name of the business will appear as the option): Stripe will use the saved information from your existing business to create a new business for you. This includes information, such as:
Personal details
Professional details
Bank details
Public details
Create a new business: Stripe will prompt you with steps 4 to 9, as described in the Connecting a new Stripe account section in this guide, to provide all the information for the new business.
💡 Tip: If you chose to use saved info from the existing business, and would like to change any detail for this new business, you can update it on the Review details (step 4) as mentioned below.
4. Review details
Double-check all the information you’ve entered. If you need to make changes, click the Edit icon next to the section you want to update.
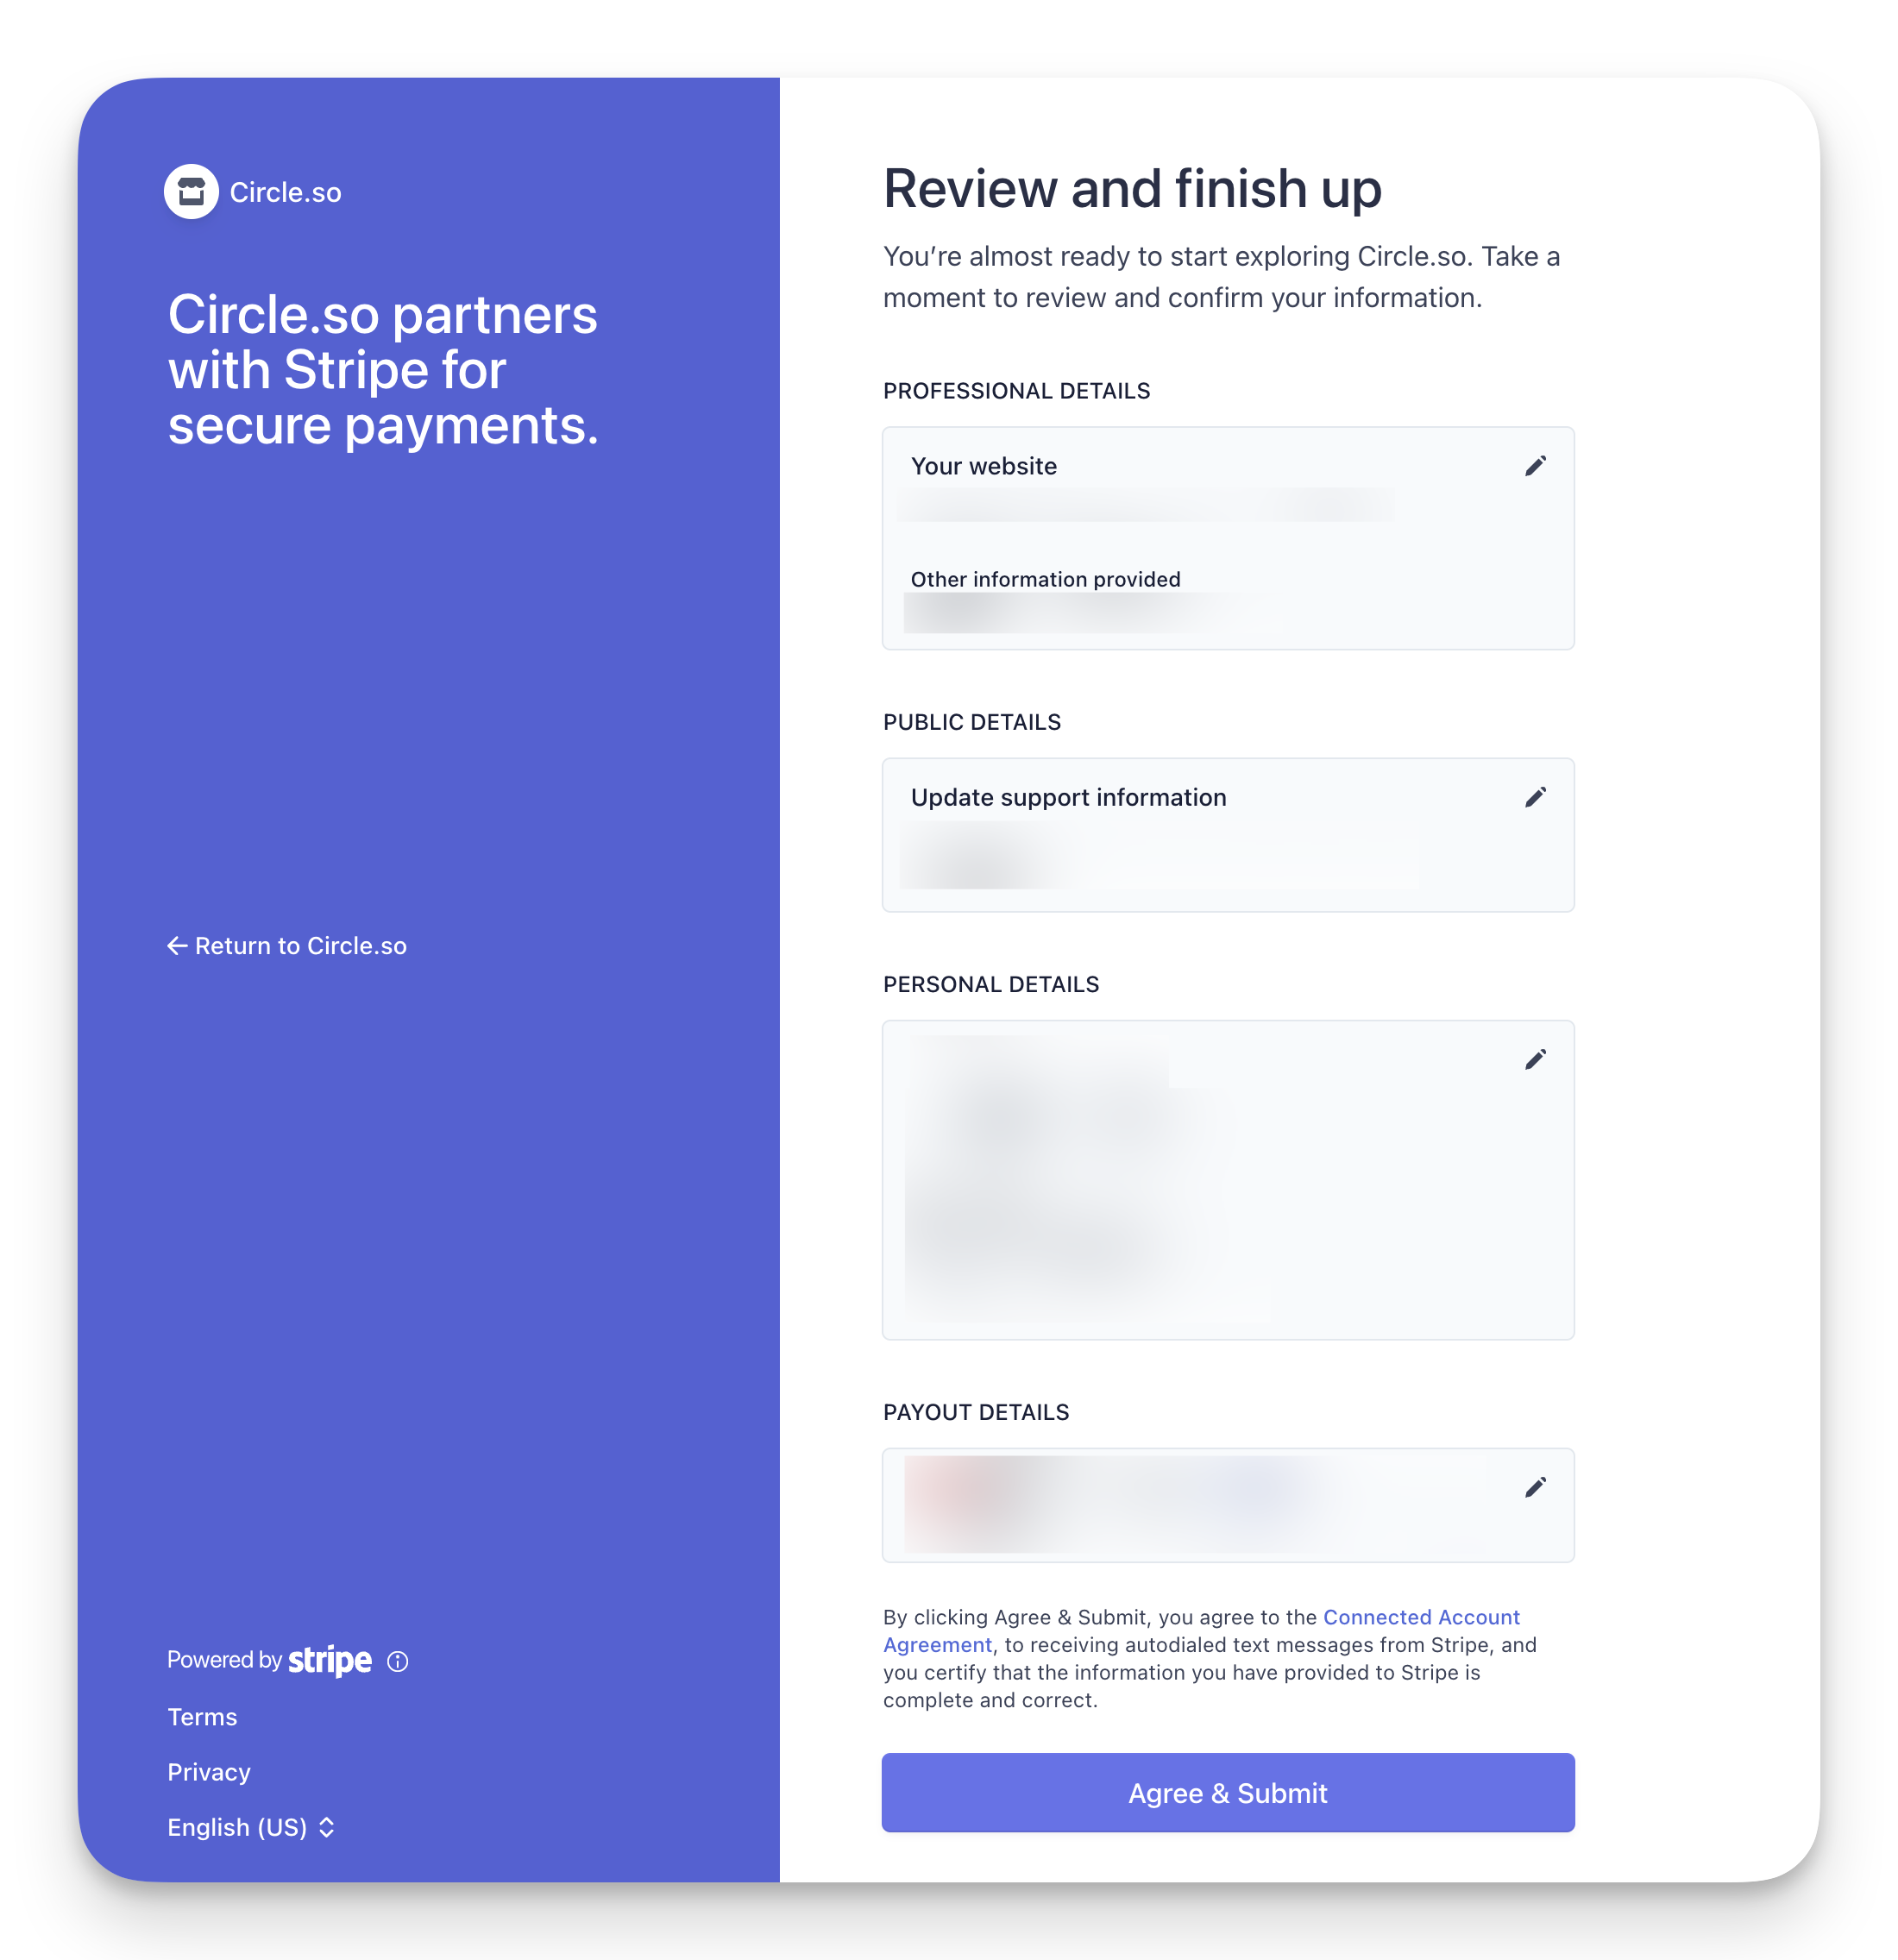
Once reviewed, click Agree & Submit to complete the process. You can now start creating paywalls in your community!! 🎉
Disconnecting a Stripe account
If you need to disconnect the Stripe account linked to Circle paywalls, contact our support team at support@circle.so.
Before we can disconnect your Stripe account, you’ll need to cancel any active member subscriptions or installment plans and issue any refund if desired. Our support team will help disconnect your Stripe account so you can connect a new one.
Ready to set up a paywall?
To get started with paywalls, we highly recommend the following articles: