Manage links on the top navigation bar
Last updated: October, 2026
An intuitive and well-organized top navigation bar not only enhances the user experience but also ensures that members can easily find the key areas within your community.
About links on the top navigation bar
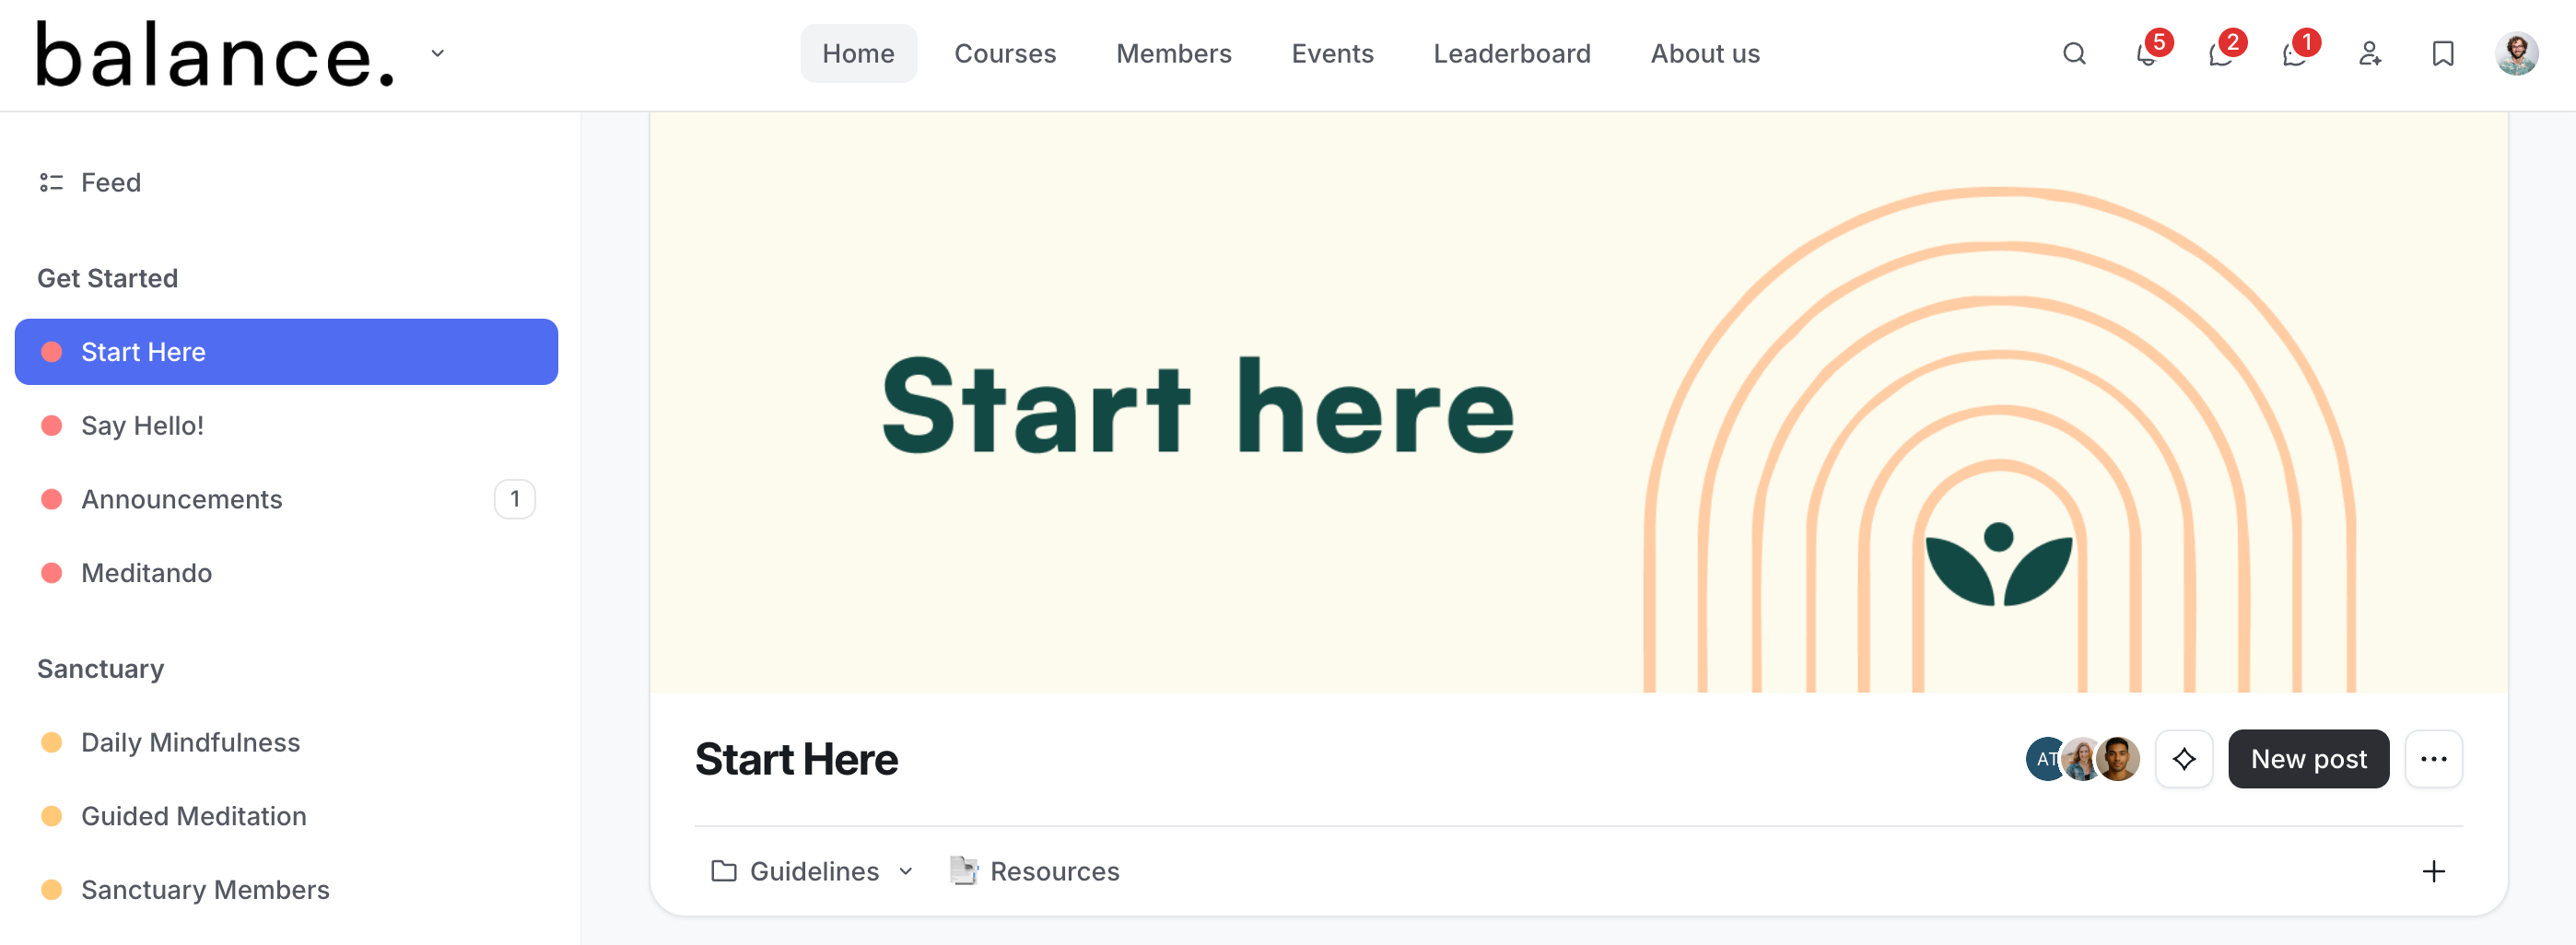
The top navigation bar serves as a central hub, housing links to key areas such as Feed, directories, and web pages. You can customize the navigation bar to meet your community's unique needs, with different settings available depending on whether the link is system-generated or custom.
Link availability
The header navigation settings and custom links are available exclusively for your community on the Circle desktop app and web browsers.
ℹ️ Note: On mobile browsers, these links will appear in the sidebar.
It's important to note that any custom links added to the navigation bar or changes made to the header navigation will not be reflected in the mobile apps. Circle mobile apps only display system navigation tabs. However, you have the option to customize the names of the system tabs and reorder them specifically for mobile apps.
📚 To learn more about customizing navigation tabs for mobile apps, see our guide here.
System navigation links
System links are default, built-in links that provide seamless access to key areas within your community. These links are fundamental to guiding members to core sections such as the feed, spaces, and various directories.
These default system links include:
Home [Your community URL/feed]
Member directory [Your community URL/members]
Course directory [Your community URL/courses]
Event directory [Your community URL/events]
Leaderboard [Your community URL/leaderboard]
When managing these system links, you can customize their names, decide whether they should open in a new tab, and control their visibility. However, you cannot delete system links or modify their URLs.
Understanding link visibility, audience and directory visibility
Understanding the differences among link visibility, audience visibility, and directory visibility is essential for effectively managing your community's navigation and directory visibility on the top navigation bar.
Link visibility on the top navigation bar:
When managing links in the navigation bar, you can control who sees each link. Whether you’re adding a custom link or editing a system link, you’ll be able to choose from three visibility options: enabled (visible to everyone), disabled (hidden from the navigation bar), or admin only (visible only to admins).
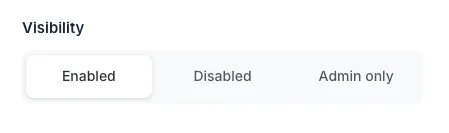
These settings determine whether the link appears in the top navigation bar, but they do not affect the privacy of the underlying content for directories. This distinction is important, as it allows you to hide certain directory links from the navigation bar while still keeping the directories accessible via direct URLs.
Audience:
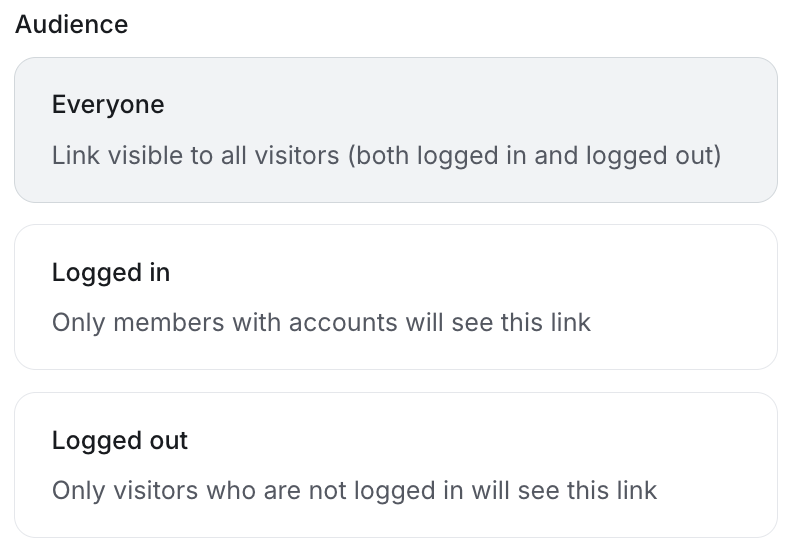
If you have a public community the audience setting controls who can see the link in your navigation bar based on their login status. Choose from three options: Everyone (visible to both logged in members and visitors), Logged in (only visible to members logged in with an account), and Logged out (only visible to visitors when they land on your community).
Directory visibility:
Directory visibility, on the other hand, specifically controls the visibility and accessibility of certain directories. Currently, these are the member and event directories. This setting allows you to make directories public or private, determining whether members can view and access these directories in their accounts.
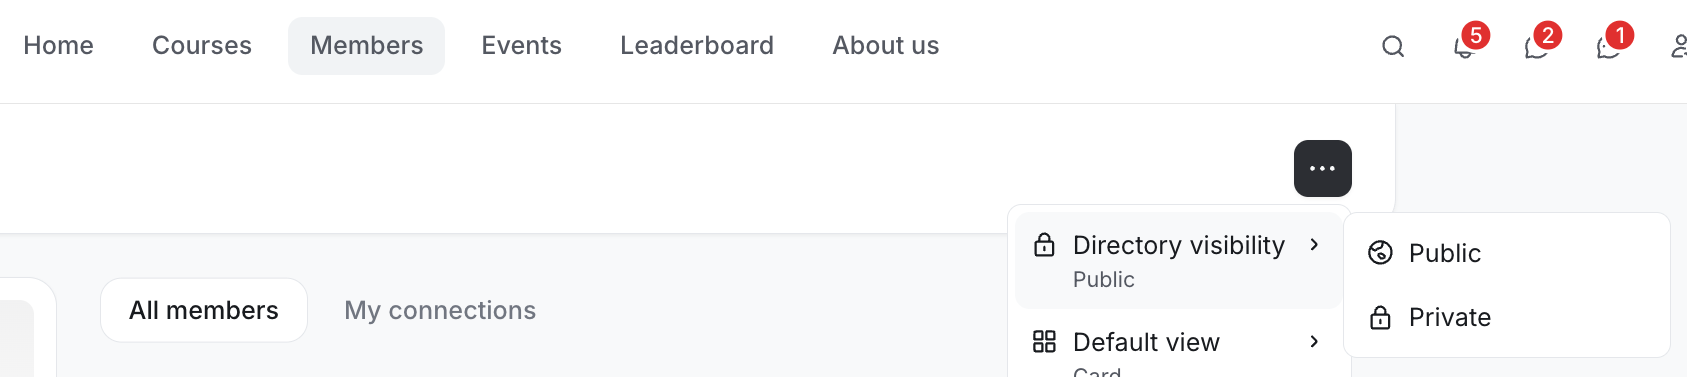
If a directory is public, members can access it through the top navigation bar (depending on link visibility settings) or directly via its URL. If the directory is private, only admins will see the link on the top navigation bar (depending on link visibility settings) and have access to the directory.
Example Scenarios:
-
Suppose you want to make the member directory accessible to all members but prefer not to include its link on the top navigation bar. Instead, you might add the member directory link to a specific space, such as a welcome space or a pinned post in your onboarding area.
To achieve this, you would set the member directory to Public, ensuring all members can access it. Then, in the navigation settings, you would set the link visibility to Disabled or Admin only. This way, the directory remains accessible, but the link does not appear on the navigation bar for members, giving you greater control over the user experience.
-
You have a Pricing page that outlines your membership options and you only want this page to appear in the top navigation bar for visitors who aren’t logged in.
To achieve this, set the link visibility to Enabled and select Logged out under the audience setting. This way, the pricing page will only be available in the top navigation bar to logged out visitors when they land on your community home page.
📚 Learn more about building custom pages in Circle.
Edit links
To get started, click Website in the left sidebar, then select Navigation.
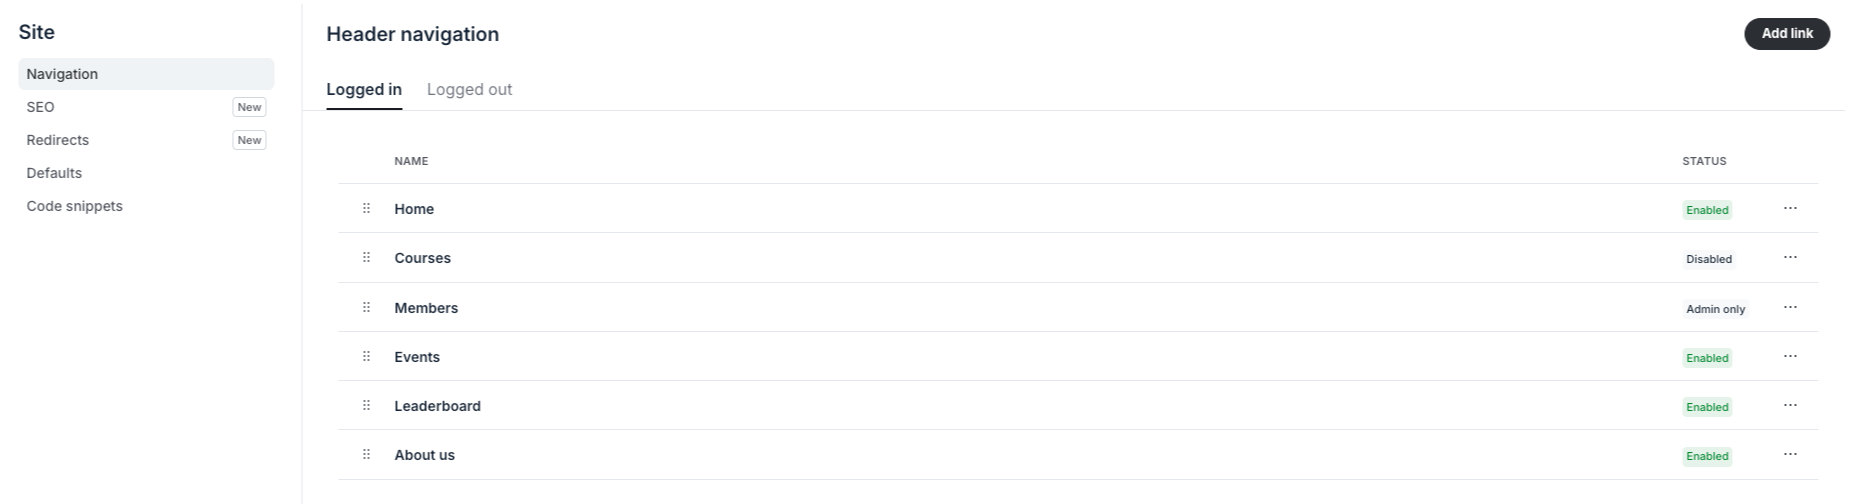
On the navigation settings page, you can see all links with their visibility status indicated. To edit a link, click More actions (three dots) next to the link and select Edit link.
In the edit link dialog, you can update the following:
Name: Change the display name of the link to better reflect its purpose or destination.
URL: For custom links, you can modify the URL to direct members to a different location. System link URLs are fixed and cannot be changed.
Open in new tab: Choose whether the link should open in a new browser tab or in the current one.
Visibility: Adjust the link's visibility settings.
Audience: Choose who can see this navigation link based on their login status.
Once you have made the changes, click Save.
Reorder links
You can prioritize important links by arranging them in the order that best suits your community’s needs. Links at the top of the list will appear first, starting from the left on the top navigation bar. When viewing the community in a smaller browser window, the remaining links can be accessed by clicking More on the top navigation bar.
To rearrange the order of links on the top navigation bar, click and hold the Reorder icon to the left of the link title. While holding the icon, drag and drop the link to your preferred position within the list.