Add or update a member's billing details
Last updated: August, 2026
As an admin, you can update a member’s billing details to ensure their invoices and tax records are accurate. This is useful if a member can’t update their information or if details need to be fixed for compliance and record-keeping.
About billing information updates
You can add or update members’ billing information, whether or not they’ve purchased a paywall. Any updates you make to their billing information will be reflected in their future invoices.
ℹ️ Note: To manage members’ billing details, log in using the desktop app, a web browser, or a mobile browser. This feature is not available in the mobile apps.
Here are some things to know about billing updates:
-
Business name and address: You can update the business name and address for members at any time, even if Stripe Tax isn’t enabled.
💡 Tip: If the business name is provided, the business name will show as the customer name, instead of the member’s full name in your Stripe dashboard. Their full name will still appear in the description section of their customer profile.
-
Tax ID: This field is only available if your community has Stripe Tax set up and tax collection is enabled.
ℹ️ Note: If your community is connected through our Brazil platform account and uses BRL as the paywall currency, users with a Brazilian billing address must provide a valid CPF or CNPJ tax ID. This requirement applies both at checkout and when updating billing details in their profile, even if Stripe Tax is not set up for your Brazilian community.
For all other countries, providing a tax ID is optional.
-
Members’ ability to add and update billing information: Once a member has purchased a paywall, they can edit their own business name, address, and tax ID from their profile.
📚 To guide your members through the steps to make changes to their billing address, you can share Update your billing details.
Update billing information for a member
Click Audience in the left sidebar, then select Audience.
On the Manage audience page, navigate to the preferred tab and use the filters to search for a member.
Click the member's name to open the edit account page. Alternatively, hover over the member entry, click the More actions (three dots), and select Edit.
Navigate to the Billing page.
Select Billing address in the Payment details section.
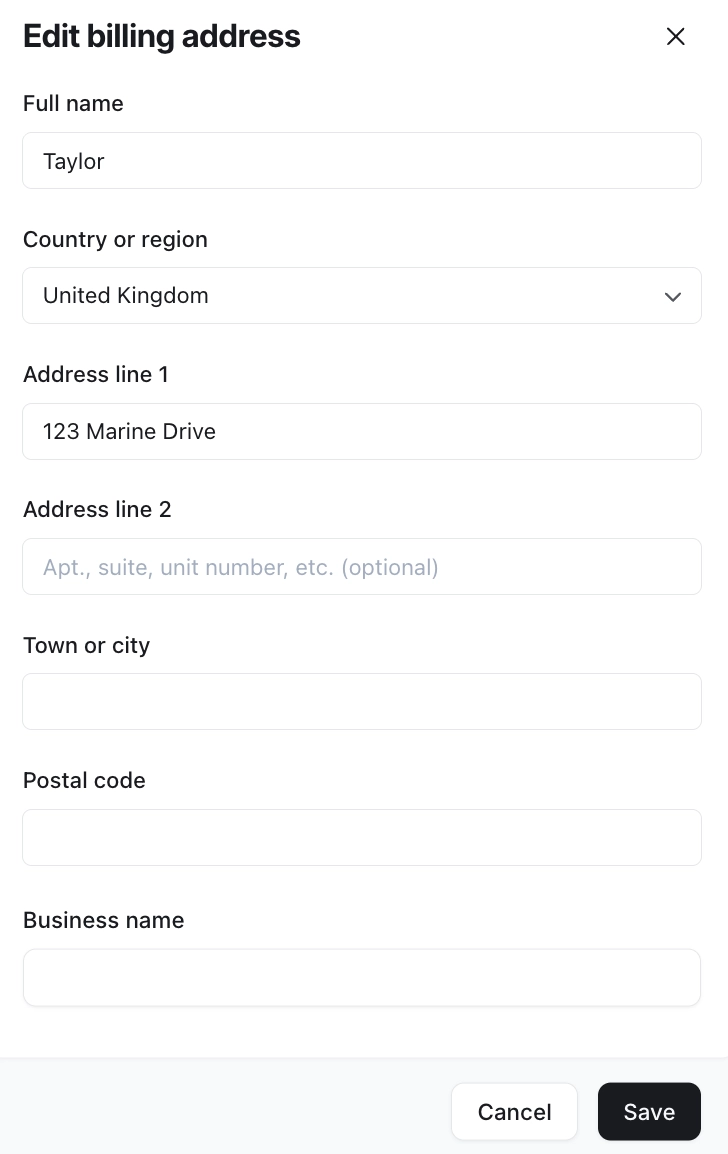
Enter or update the member’s information.
Click Save.
You can add or update the following fields:
Full name: Enter the member’s full name for billing.
Address: If they haven’t already added the address, select the country and then enter their street address in Address line 1. Additional fields, such as city, state, and postal code, will appear once you enter this.
Business name: You can add a member’s business name. When provided, this appears on their invoice instead of their full name.
-
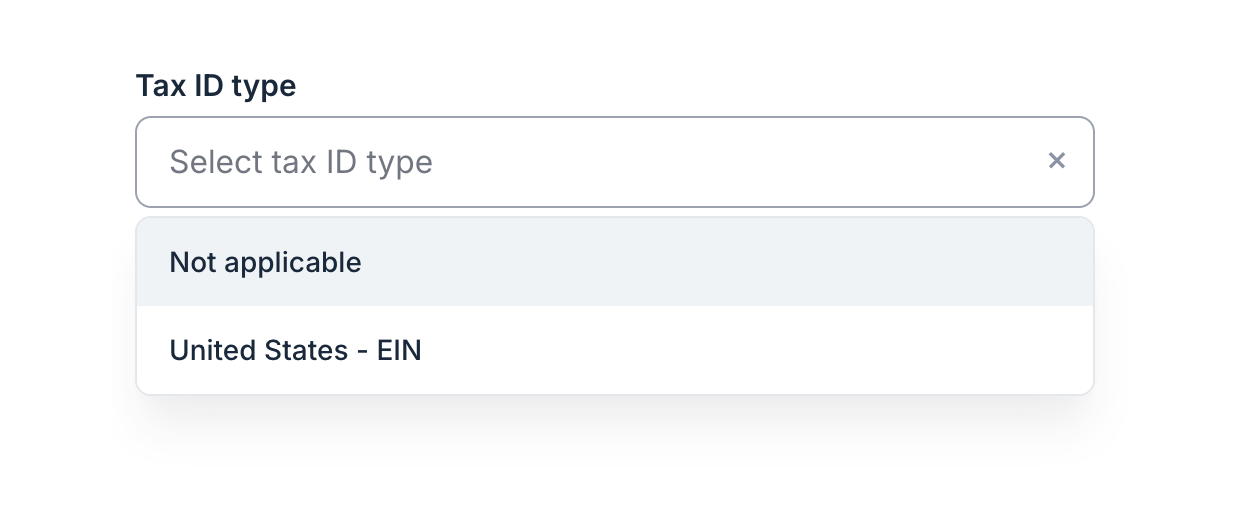
Tax ID: If tax collection is enabled, this field will appear. Click the dropdown menu to select the type of tax ID, then enter the ID number.
-
💡 Tip: If you don’t want to add a tax ID or want to remove the existing ID, choose Not applicable from the dropdown menu. For a Brazilian address, the “Not applicable” option will not appear; you’ll need to provide either a CNPJ or CPF ID.
-