Update your billing details
🟡 Member-focused article | Last updated: October, 2026
Once you have purchased a paywall membership for your community, you can manage your billing details directly from your account. Keeping these details up to date ensures your invoices are accurate and, if applicable, your tax information is correct.
About billing information
Depending on your community’s configuration, you may have been asked to enter your address (and optionally your tax ID) when purchasing your membership.
ℹ️ Note: To manage your billing details, log in from the Circle desktop app, a web browser, or a mobile browser. These options are not available in mobile apps.
If you weren’t asked during checkout, you can add this information after your membership purchase. You can update the following details:
Your full name
Address
Business name
Tax ID (If your community is collecting taxes)
Access and update billing information
To access your billing settings:
Click your profile photo in the community header and select Billing.
Navigate to the Payment details section on your billing page.
Click Add or Update next to the payment method.
Click Save.
You can add or update the following fields:
Full name: Your legal name. This appears on invoices unless you add a business name.
Address: If you haven’t already added the address, select your country and then enter your street address in Address line 1. Additional fields, such as city, state, and postal code, will appear once you enter this.
Business name: You can optionally add your business name here. If added, this name will appear on the invoice instead of your name.
-
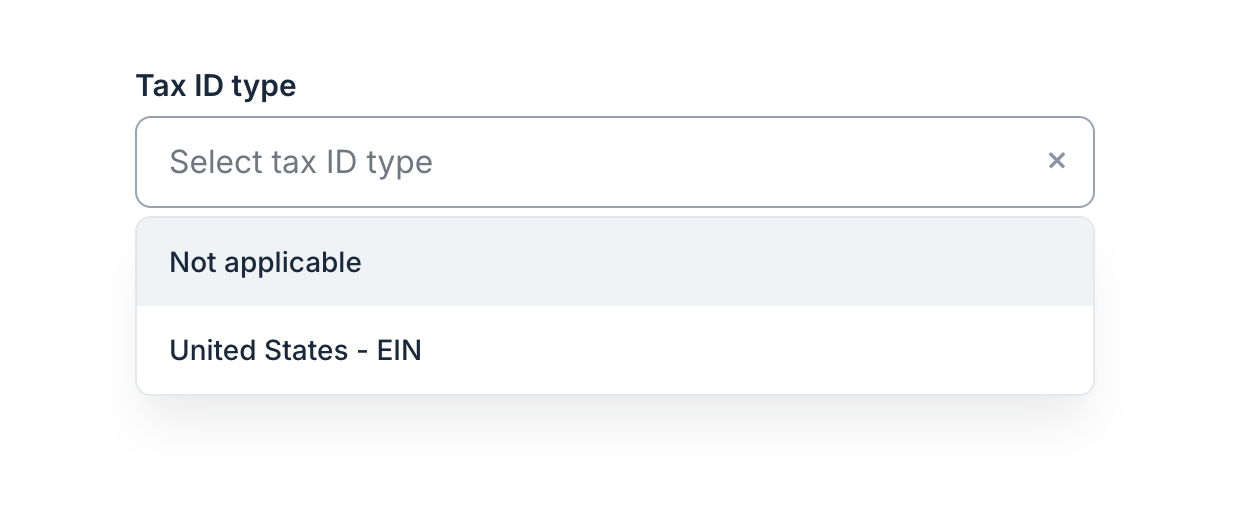
Tax ID: If this field is available for your membership billing, you can select the ID type from the dropdown menu and then enter the tax ID. Depending on your location or community’s configurations, you may be required to provide the tax ID.
💡 Tip: In case the tax ID is optional for your address, you can choose the Not applicable option from the dropdown menu to skip adding the ID. For a Brazilian address, the “Not applicable” option will not appear; you’ll need to provide either a CNPJ or CPF ID.