Set up email workflows
Last updated: October, 2026
The “send an email” action lets you automatically send personalized marketing emails to your audience through workflows.
About the email action
Workflows allow you to perform various actions based on triggers or audience rules. By combining filters, time delays, and email actions, you can create reliable email sequences that deliver timely communication and keep your community engaged.
Who can access and manage email actions
The “send an email” action is available in all workflow types for the communities subscribed to Email Hub.
Admins can set up and manage workflows at any time using the desktop app or a web browser.
Common use cases
Here are a few common ways to use it:
Welcome subscribers: Automatically reach out when someone subscribes through a form. For instance, set up an automation workflow to add tags to their profile and, after a time delay, send a personalized email with a thank-you message and helpful links.
Create onboarding journeys: Guide new members through a step-by-step onboarding experience. When a member joins, trigger a series of emails, including an introduction, event invitations, and follow-ups, spaced out over days or weeks, to help them settle in smoothly.
Follow up with event attendees: After an event, set up a bulk-action workflow to send thank-you emails, share relevant resources, or invite attendees to future events. You can also add tags or use them for exclusive event spaces to drive further engagement.
Re-engage inactive members: Schedule a recurring bulk action workflow to reach out to members who haven’t logged in recently using the Last logged in audience rule. Send them personalized emails with updates, invitations to upcoming events, or request feedback, keeping them informed and encouraging them to re-engage with the community.
Set up an email action
To get started:
Click Workflows in the left sidebar, then select Workflows.
Create a workflow.
In the workflow editor, set up a trigger (automation) or audience rules (bulk action or scheduled).
Create a new action by clicking the ➕ icon where you want to add it in the workflow.
In the Action card, select the Send an email action.
(Optional) Add filter conditions if you want the email to send only to a specific audience that matches the criteria.
-
In the Inputs section, enter the email details:
Internal name: Provide an internal name to help you identify this email in your workflow.
Subject line: Add a subject line that reflects the purpose of your email.
-
Preview text (optional): Enter custom preview text to appear alongside the subject. If left blank, the first few words of the email content will appear as preview text.
💡 Tip: To add a dynamic variable in the subject or preview text, type curly brackets {{ or click the Add variable {…} icon in the field, then select a variable from the list.
-
To compose the email content, click Start writing and choose how you want to begin:
Start from scratch: You’ll be asked to pick between the Visual builder (drag-and-drop editor) or the Text builder (a minimal text-based editor).
Select a template: Use one of your templates created in either builder, then update it to fit your current email. You can filter templates by type using the Type dropdown menu.
-
When your email is ready, click Save and exit at the top right to return to the workflow editor.
💡 Tip: In the Email content section, you’ll now see a preview of the content. You can click Edit next to the section to update the content anytime.
In the right sidebar, click Continue to save the action setup.
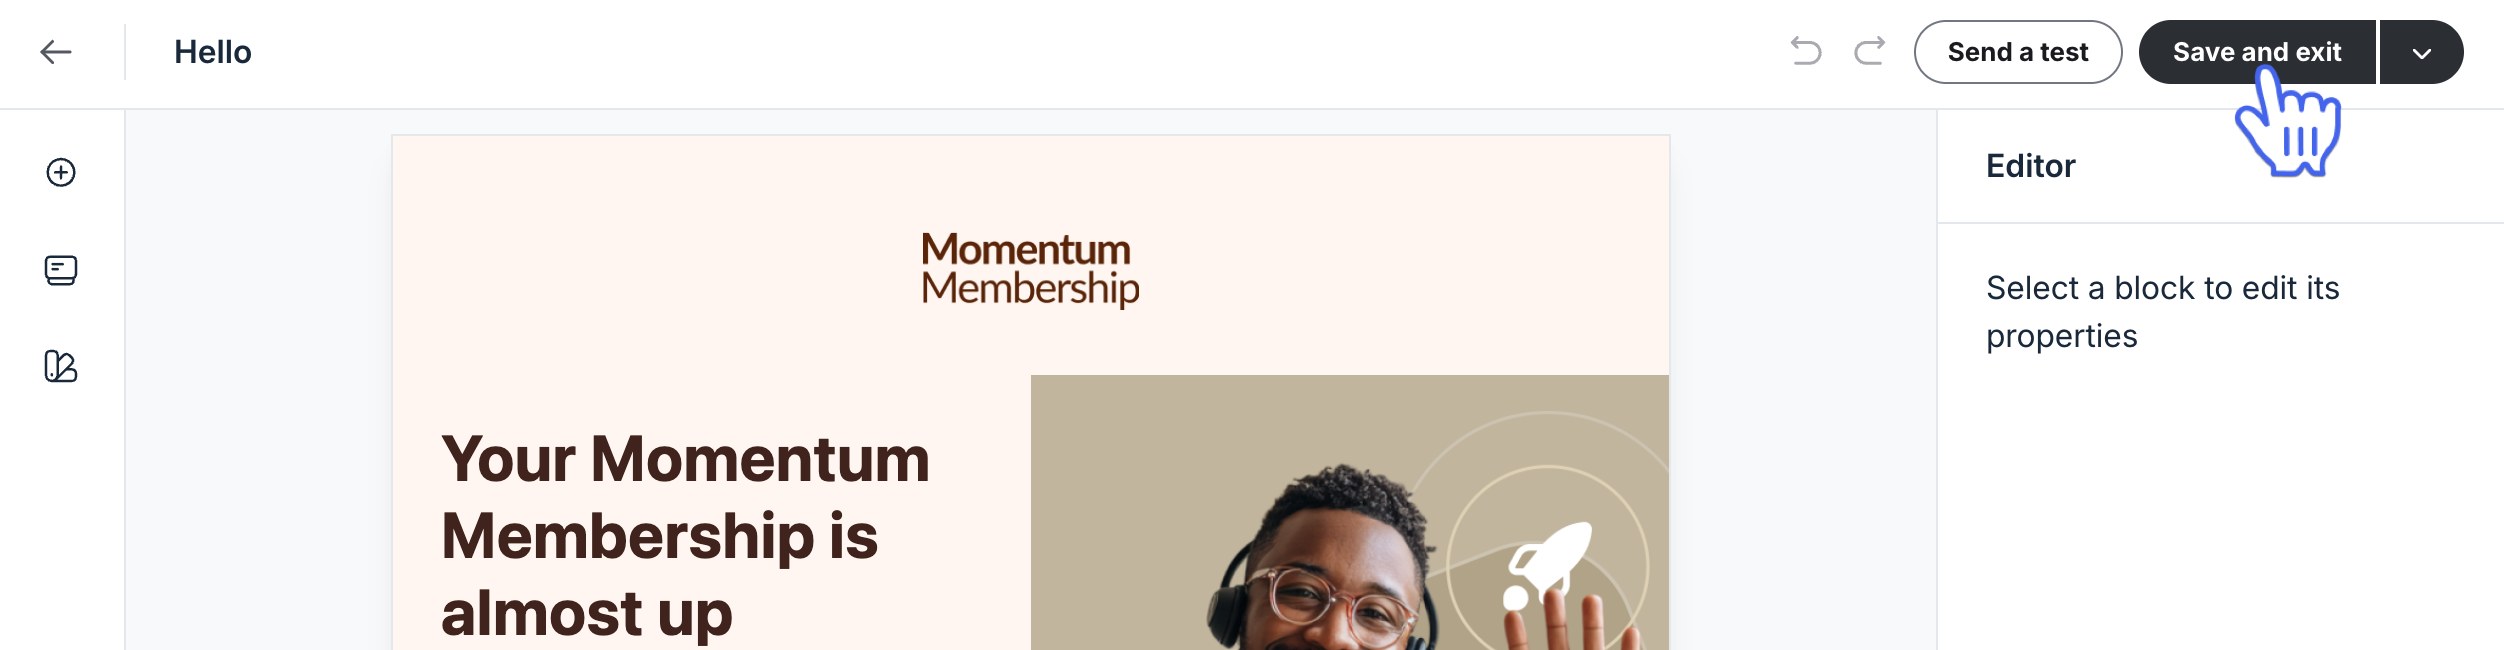
You are all set! Once you have configured everything, activate, run, or schedule the workflow. Just like any other workflow, you’ll be able to edit your workflow afterwards to make any changes.
📚 To learn more about setting up workflows, check out our step-by-step guides:
Send a test email before finalizing the workflow
Before activating your workflow, you can send yourself a test email to make sure everything looks right.
In the action setup (right sidebar within workflow editor) or the email builder, click Send a test.
Confirm the action. The test email will be sent to the email address associated with your admin account.
Testing helps you preview formatting, links, and personalization before sending it to your audience.
Access email analytics
Tracking the performance of emails sent through workflows is essential for optimizing your campaigns.
To access the email analytics for a workflow:
Click Workflows in the left sidebar, then select Workflows.
On the Workflows page, navigate to the relevant tabs and locate the workflow.
Click the workflow title or More actions (three dots) next to the workflow, then select View.
-
Look for the Send an email action card to see a quick summary of key metrics.
-
To access the detailed report, click the action card. In the right sidebar, go to the Performance section and click Show full report.
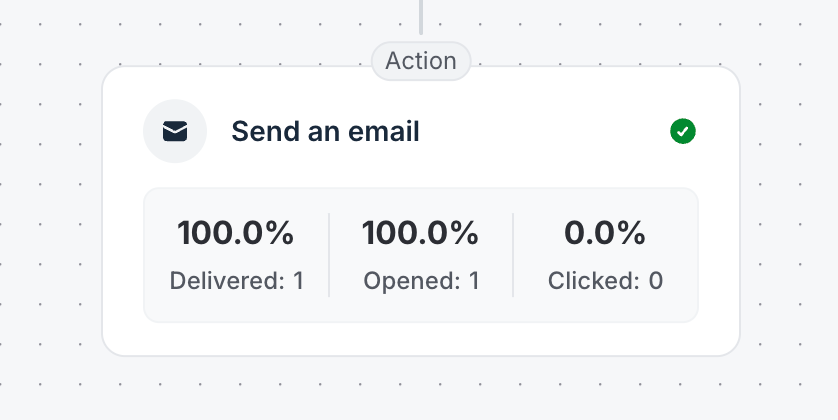
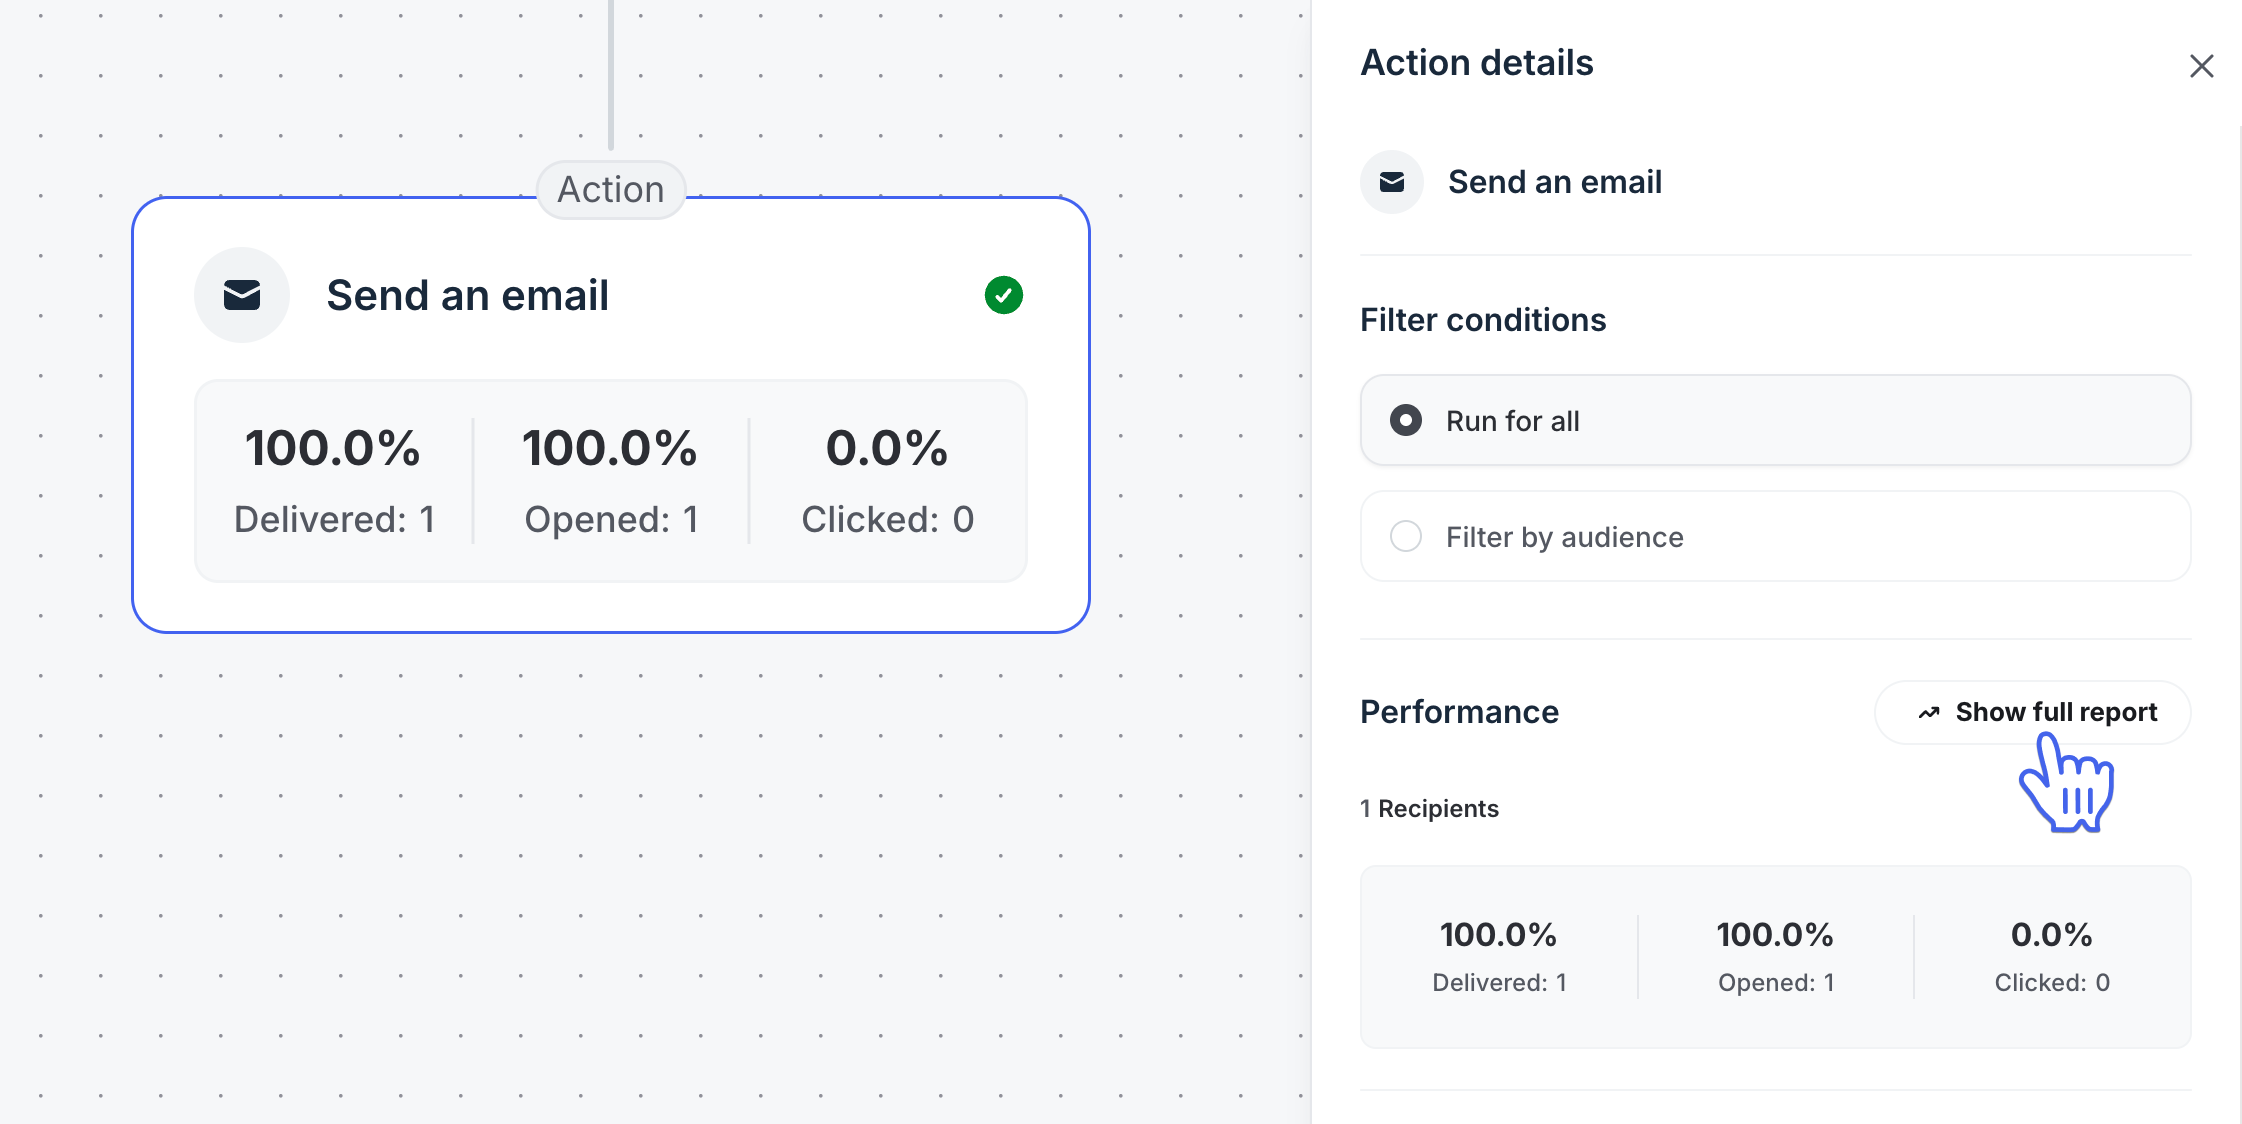
This detailed report includes metrics such as delivery rates, click-through rates, and unsubscribe rates. You can also view detailed engagement metrics for recipients, as well as links & files.
📚 To learn more about email analytics, check out our guide here.