The pre-join screen: what to expect before joining a live session
Last updated: October, 2026
The pre-join screen helps you get ready before joining a live session. This article explains where it’s available, who can access it, and what you can review or configure before entering a live session.
About the pre-join screen
Before entering a live stream or live room, everyone sees a pre-join screen.
Depending on your role, this screen may show session details only, or it may also allow you to check your camera, test your microphone, and configure settings.
Who can preview and configure video and audio
Before entering a session, only certain roles can preview and adjust audio and video settings:
Live streams: Host and co-hosts. Admins joining a live stream will also see these options, allowing them to join as a host or participant.
Live rooms: Hosts and participants.
Where the pre-join screen is available
The pre-join screen appears when joining from:
Desktop app or web browser
Mobile app (including branded apps)
What you see on the pre-join screen
What appears on the pre-join screen depends on your role and the type of live session you’re joining.
When joining as a host, co-host, or live room participant
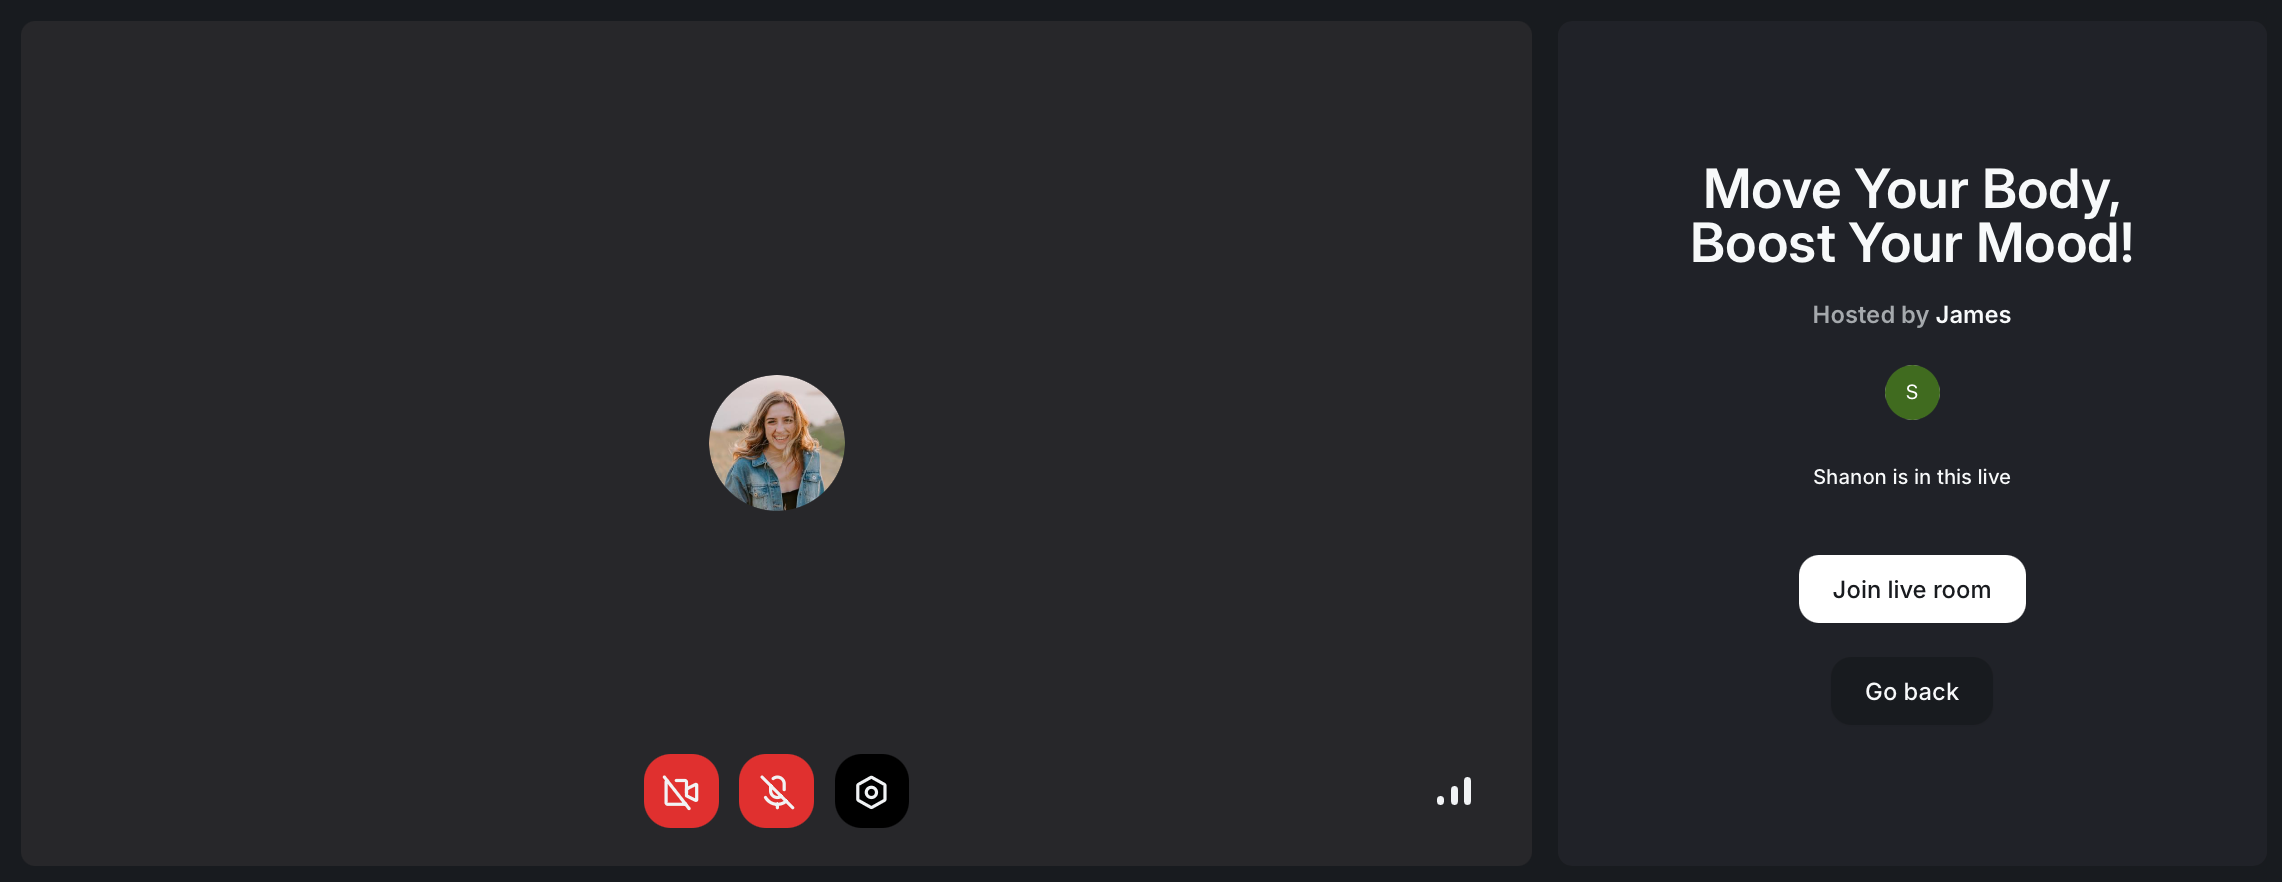
The preview screen includes:
Live session details, including title, host, and the option to share a link (depending on the link sharing setting).
A control bar to toggle your mic and camera, and access device settings.
A camera preview (if your camera is enabled).
A connection quality indicator on the control bar.
-
For live streams, the option to join as a co-host or participant (when invited as a co-host).
When joining a live stream as a participant or visitor
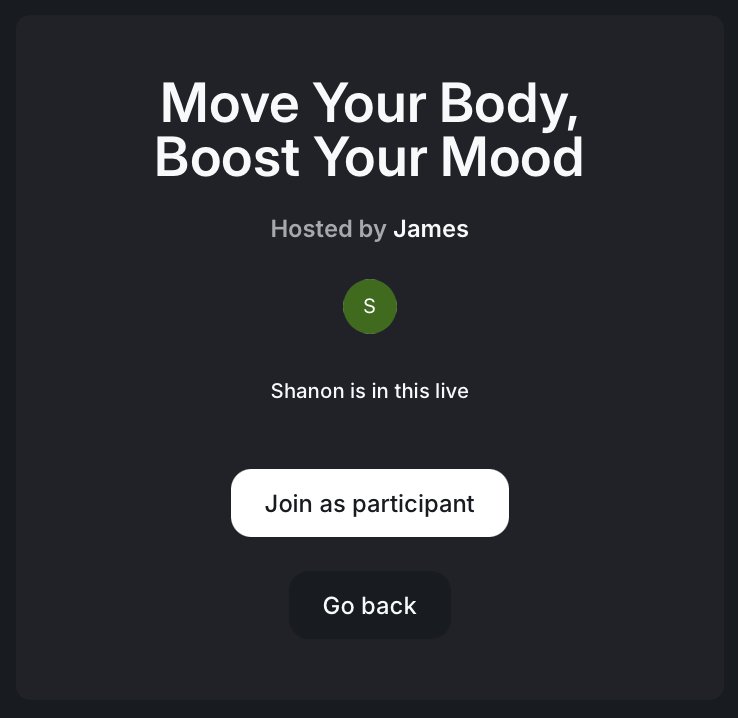
The preview screen includes:
Live session details, including title, host, and the option to share a link (depending on the link sharing setting).
A Join session button, such as Join as participant.
-
For visitors: This is where they enter their name and join as guests. Visitors who already have an account can also sign in directly from this screen and join as a participant instead.
Adjust your video
Once you turn the camera on, the preview screen will display your video. It helps you check your framing, lighting, and background before anyone else sees you.
Click the Device settings icon on the control bar to adjust your video settings:
Choose your preferred camera input. If you are joining from the mobile app, you can choose between the front and back cameras.
Blur your background.
Enable Mirror my video if you prefer to see yourself the way you would in a mirror.
Test and set up your audio
Good audio is essential in any live session. The preview screen offers a straightforward way to test your microphone and confirm that your voice is being captured clearly.
When you toggle the mic and speak:
The microphone icon in the control bar fills with green to indicate that your mic is detecting your voice.
A visual border around your video will light up when it detects your voice, replicating what others will see on your speaker tile during the session.
These visual indicators make it easy to confirm your audio is working even before entering the session.
Click the Device settings icon on the control bar to adjust your audio settings, such as:
Choose the mic you want to use.
Select the speaker output. You can also test the output to ensure it is working.
Select a noise reduction option that fits your environment. This helps remove unwanted sounds.
Check your connection quality
A stable internet connection is vital for a smooth live session experience. To help you assess this, a connection quality indicator appears in the lower-right corner of the preview block.
Hovering over the indicator displays the quality description. On the mobile app, tap the icon to see the description.
If the indicator shows a weak connection, try:
Moving closer to your router.
Using a wired connection.
Closing apps that use heavy bandwidth.