Manage audio and video settings in live sessions
Last updated: October, 2026
You can manage your audio and video settings before and during a live session to make sure you’re seen and heard clearly.
About audio and video settings
Audio and video settings let you adjust your camera, microphone, speakers, and noise reduction, and preview your video and test your audio.
Depending on the device you are using, these settings are available on the pre-join screen and in the live session.
Who can use audio and video settings
This article applies to both live streams and live rooms for the following roles:
Live streams: Host and co-hosts. It is also available to the admin joining the live stream on the pre-join screen, as they can choose to join as a host.
Live rooms: Host and all participants
Where audio and video settings are available
Audio and video settings are available across all supported platforms, including:
Desktop app
Web browser
-
Mobile app (including branded apps)
In mobile apps, full device settings are available only on the pre-join screen. Once you enter the live session, you can only toggle your microphone and camera using the control bar icons. To change other settings, such as switching devices or adjusting noise reduction, you’ll need to leave the session and update your settings on the pre-join screen when joining again.
Access audio and video settings
To open the Audio & Video settings panel, click the Device settings icon on the control bar.

Camera settings
Camera settings let you choose your camera and control how your video appears during a live session.
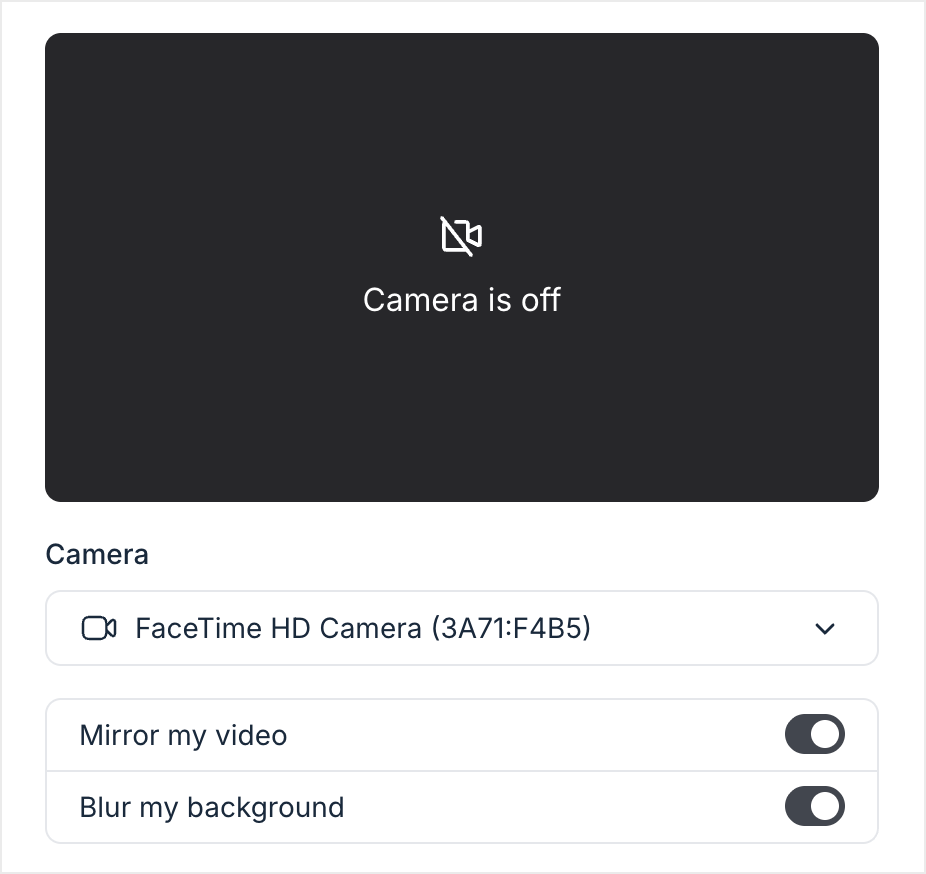
Camera preview
At the top of the settings panel, you’ll see a video preview area. This shows how your camera feed appears in the session.
If your camera is turned off, the preview displays a message indicating that the camera is currently off. Once enabled, the preview updates in real time, allowing you to confirm your framing, lighting, and background.
Camera device selection
This dropdown lets you choose which camera you want to use. For example, a built-in webcam or an external camera.
To choose a device, click the dropdown menu and select one. If no camera is detected, you’ll see a message indicating that no camera is available in place of the dropdown. This usually means the camera is disconnected or blocked by system permissions.
In mobile apps, this dropdown lets you switch between the front and back cameras.
Mirror my video
When Mirror my video is enabled, your video appears flipped horizontally in your own view, similar to looking in a mirror.
You can turn this toggle on or off at any time, depending on what feels most natural while speaking or presenting.
Blur my background
The Blur my background option softens your surroundings while keeping you in focus. This helps reduce visual distractions and is useful when joining from a shared or busy space.
Audio settings
Use audio settings to manage your audio input, output, and noise reduction preferences.
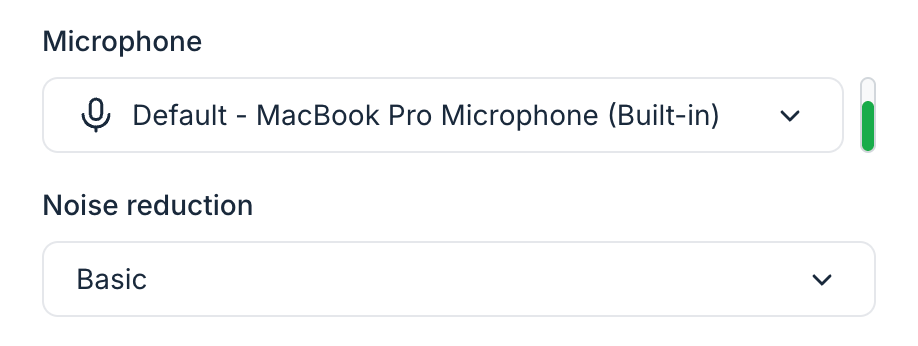
Microphone device selection
The Microphone dropdown menu lets you choose which microphone to use during the session.
If multiple microphones are available, such as a headset and a built-in microphone, you can switch between them using the dropdown menu.
Next to the microphone selector, a vertical level indicator responds when you speak, helping you confirm that your voice is being picked up.
If no microphone is detected, you’ll see a message indicating that no microphone is available, which may be caused by permission settings.
Noise reduction
Noise reduction improves audio clarity by minimizing background sounds like typing, fans, or ambient noise.
You can select a noise reduction level from the dropdown menu based on your environment and preference.
Speaker output
The Speaker section controls where you hear audio from the live session.
You can choose your preferred audio output device, such as headphones, speakers, or an external monitor, from the dropdown menu.
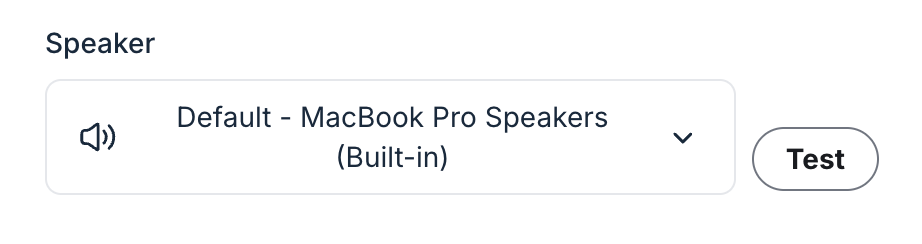
Test speaker
The Test button next to speaker selection plays a short sound through the selected speaker so you can confirm audio is working as expected. If you don’t hear the test sound, try selecting a different speaker or checking your system volume and connections.