Set up a banner for your course directory
Last updated: July, 2026
A well-designed banner with an eye-catching image can make your course directory more engaging and informative. It helps highlight key details, promote important announcements, and guide members toward a specific action using a clear call-to-action button.
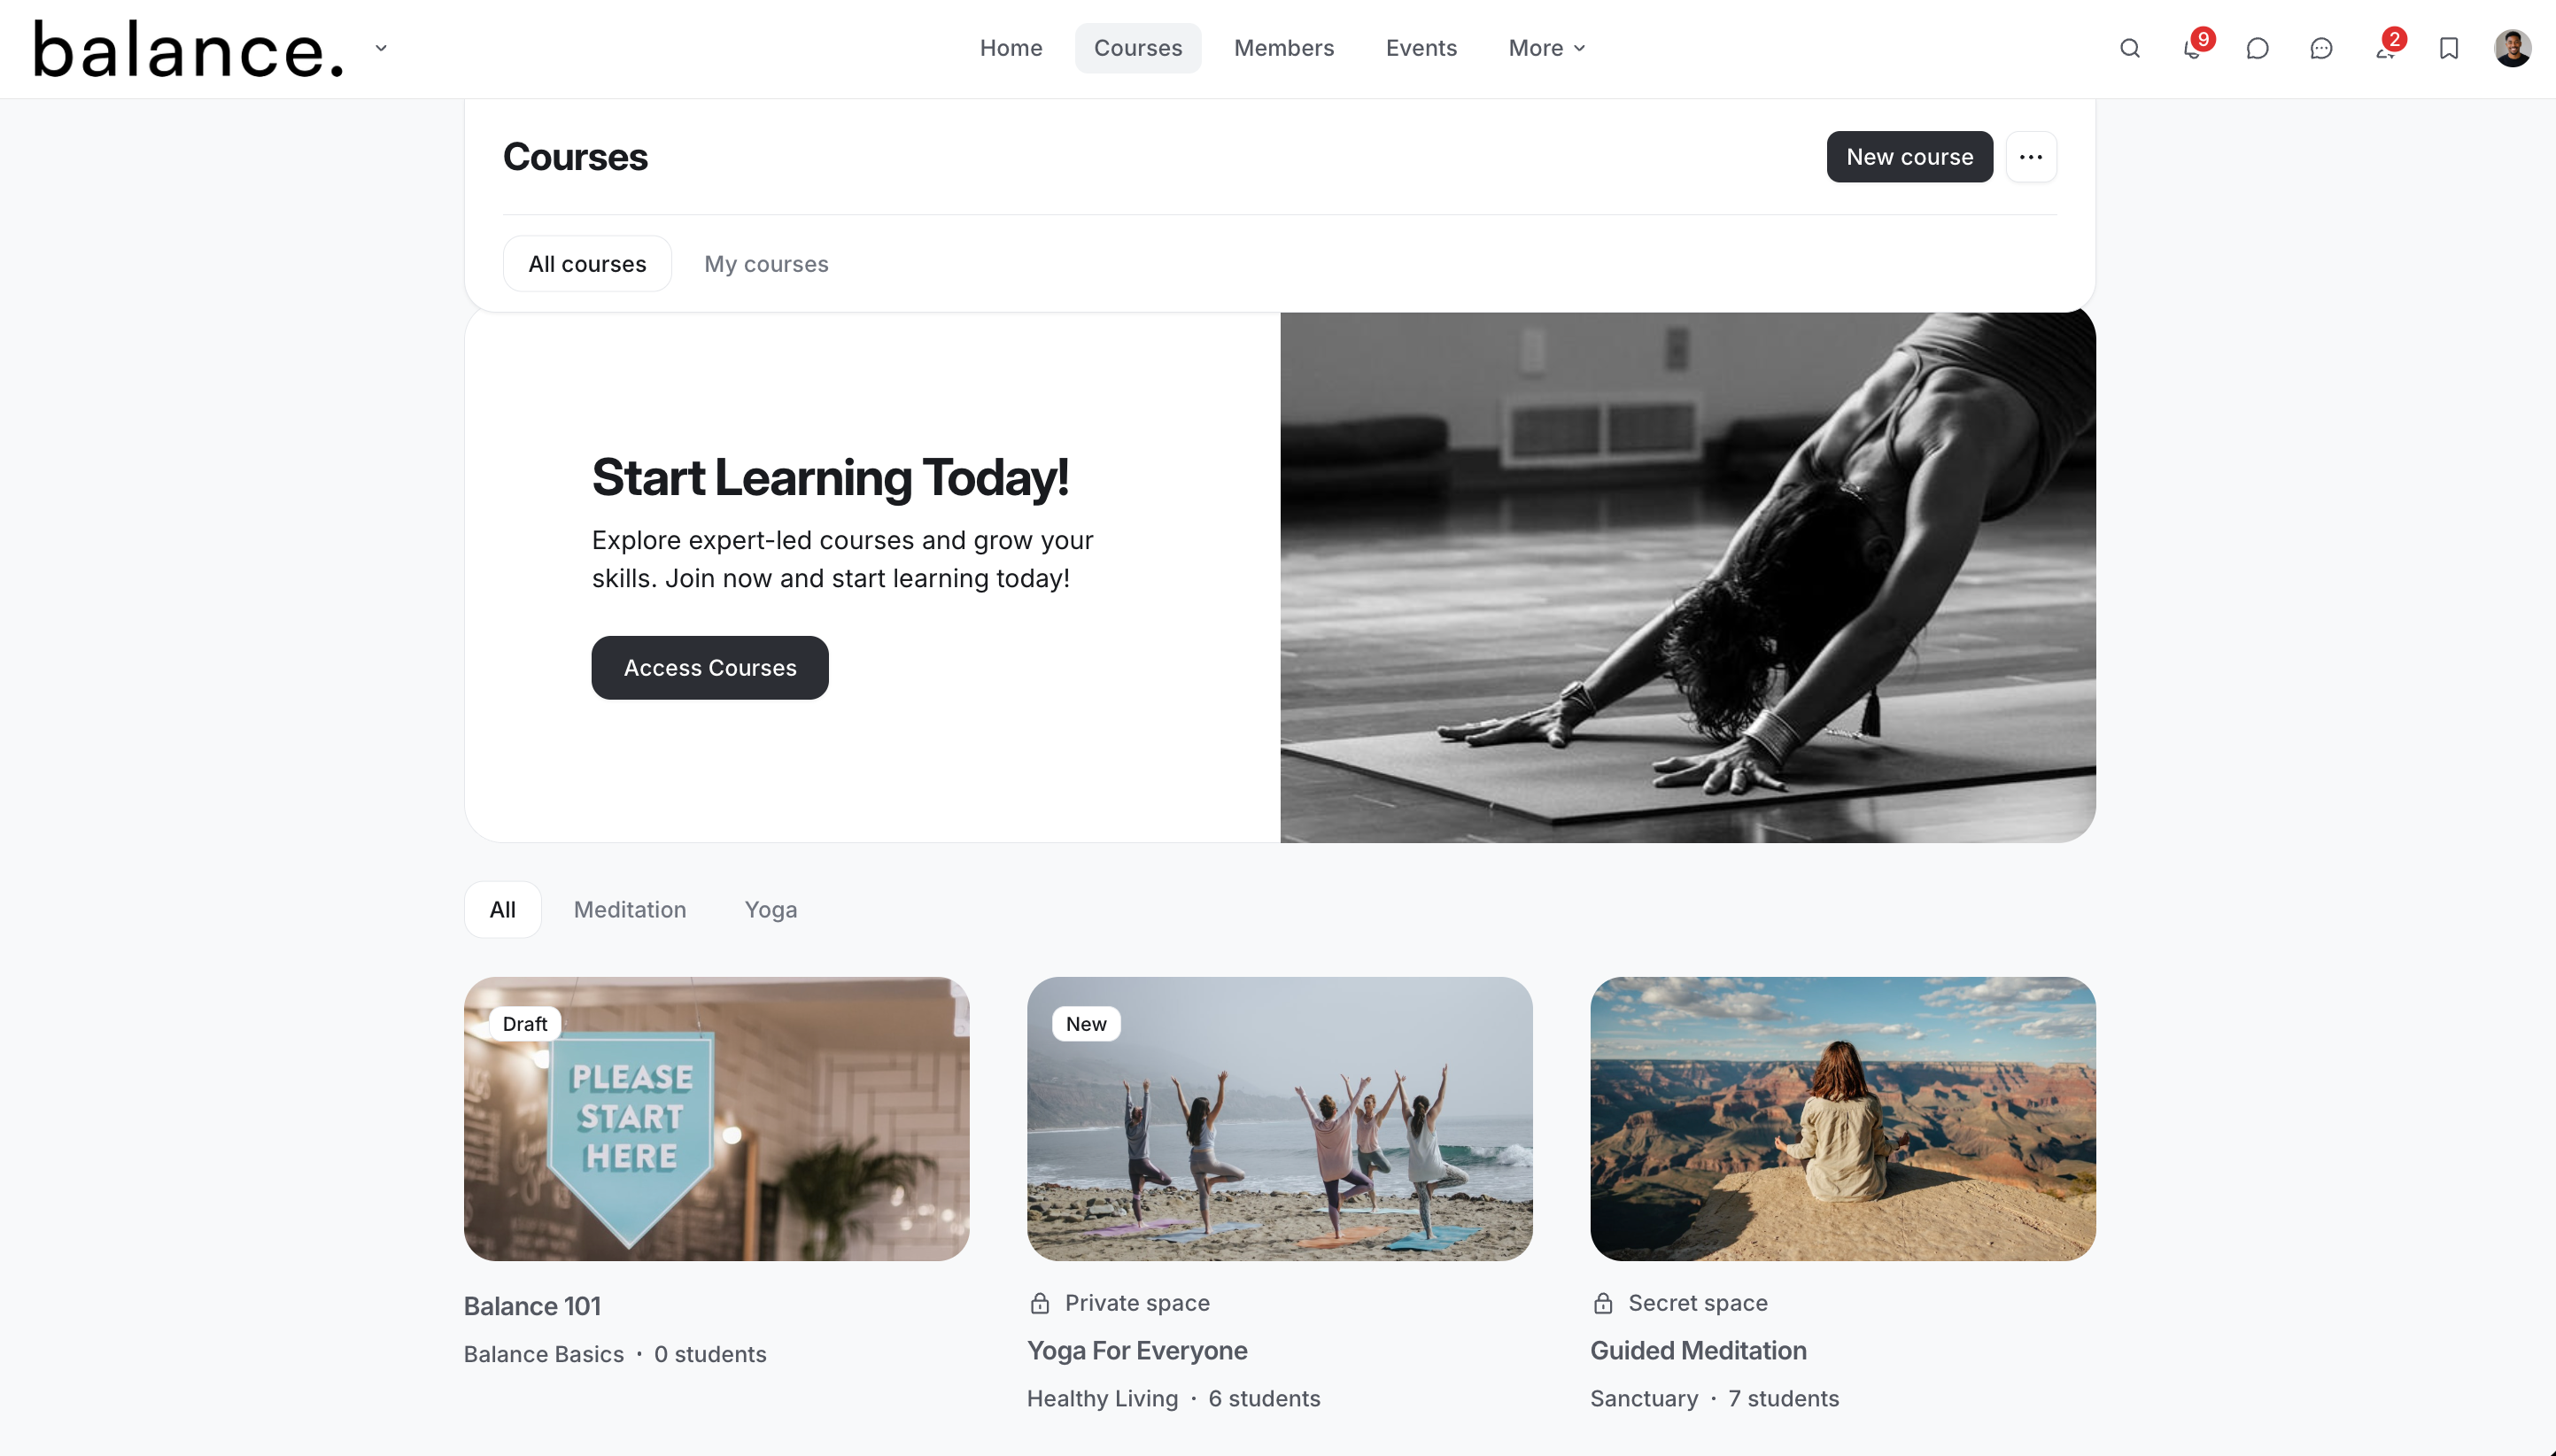
Setting up a banner
To get started, follow these steps:
-
Navigate to the directory on the desktop by clicking the Courses tab on the top navigation bar. If you've customized the name of the course directory link, the updated name will appear on the navigation bar instead.
❗️Important: The top navigation bar may not be visible when using Circle AI. To access it, click your community name in the top-left corner of the Circle AI workspace and select Back to community. This takes you back to the community view, where you can access the top navigation bar and course directory.
Click the More actions (three dots) icon located in the right corner of the directory navigation bar and select Banner.
-
Enable and customize the banner:
You can set up banners for both logged-in and logged-out members to create a tailored experience.
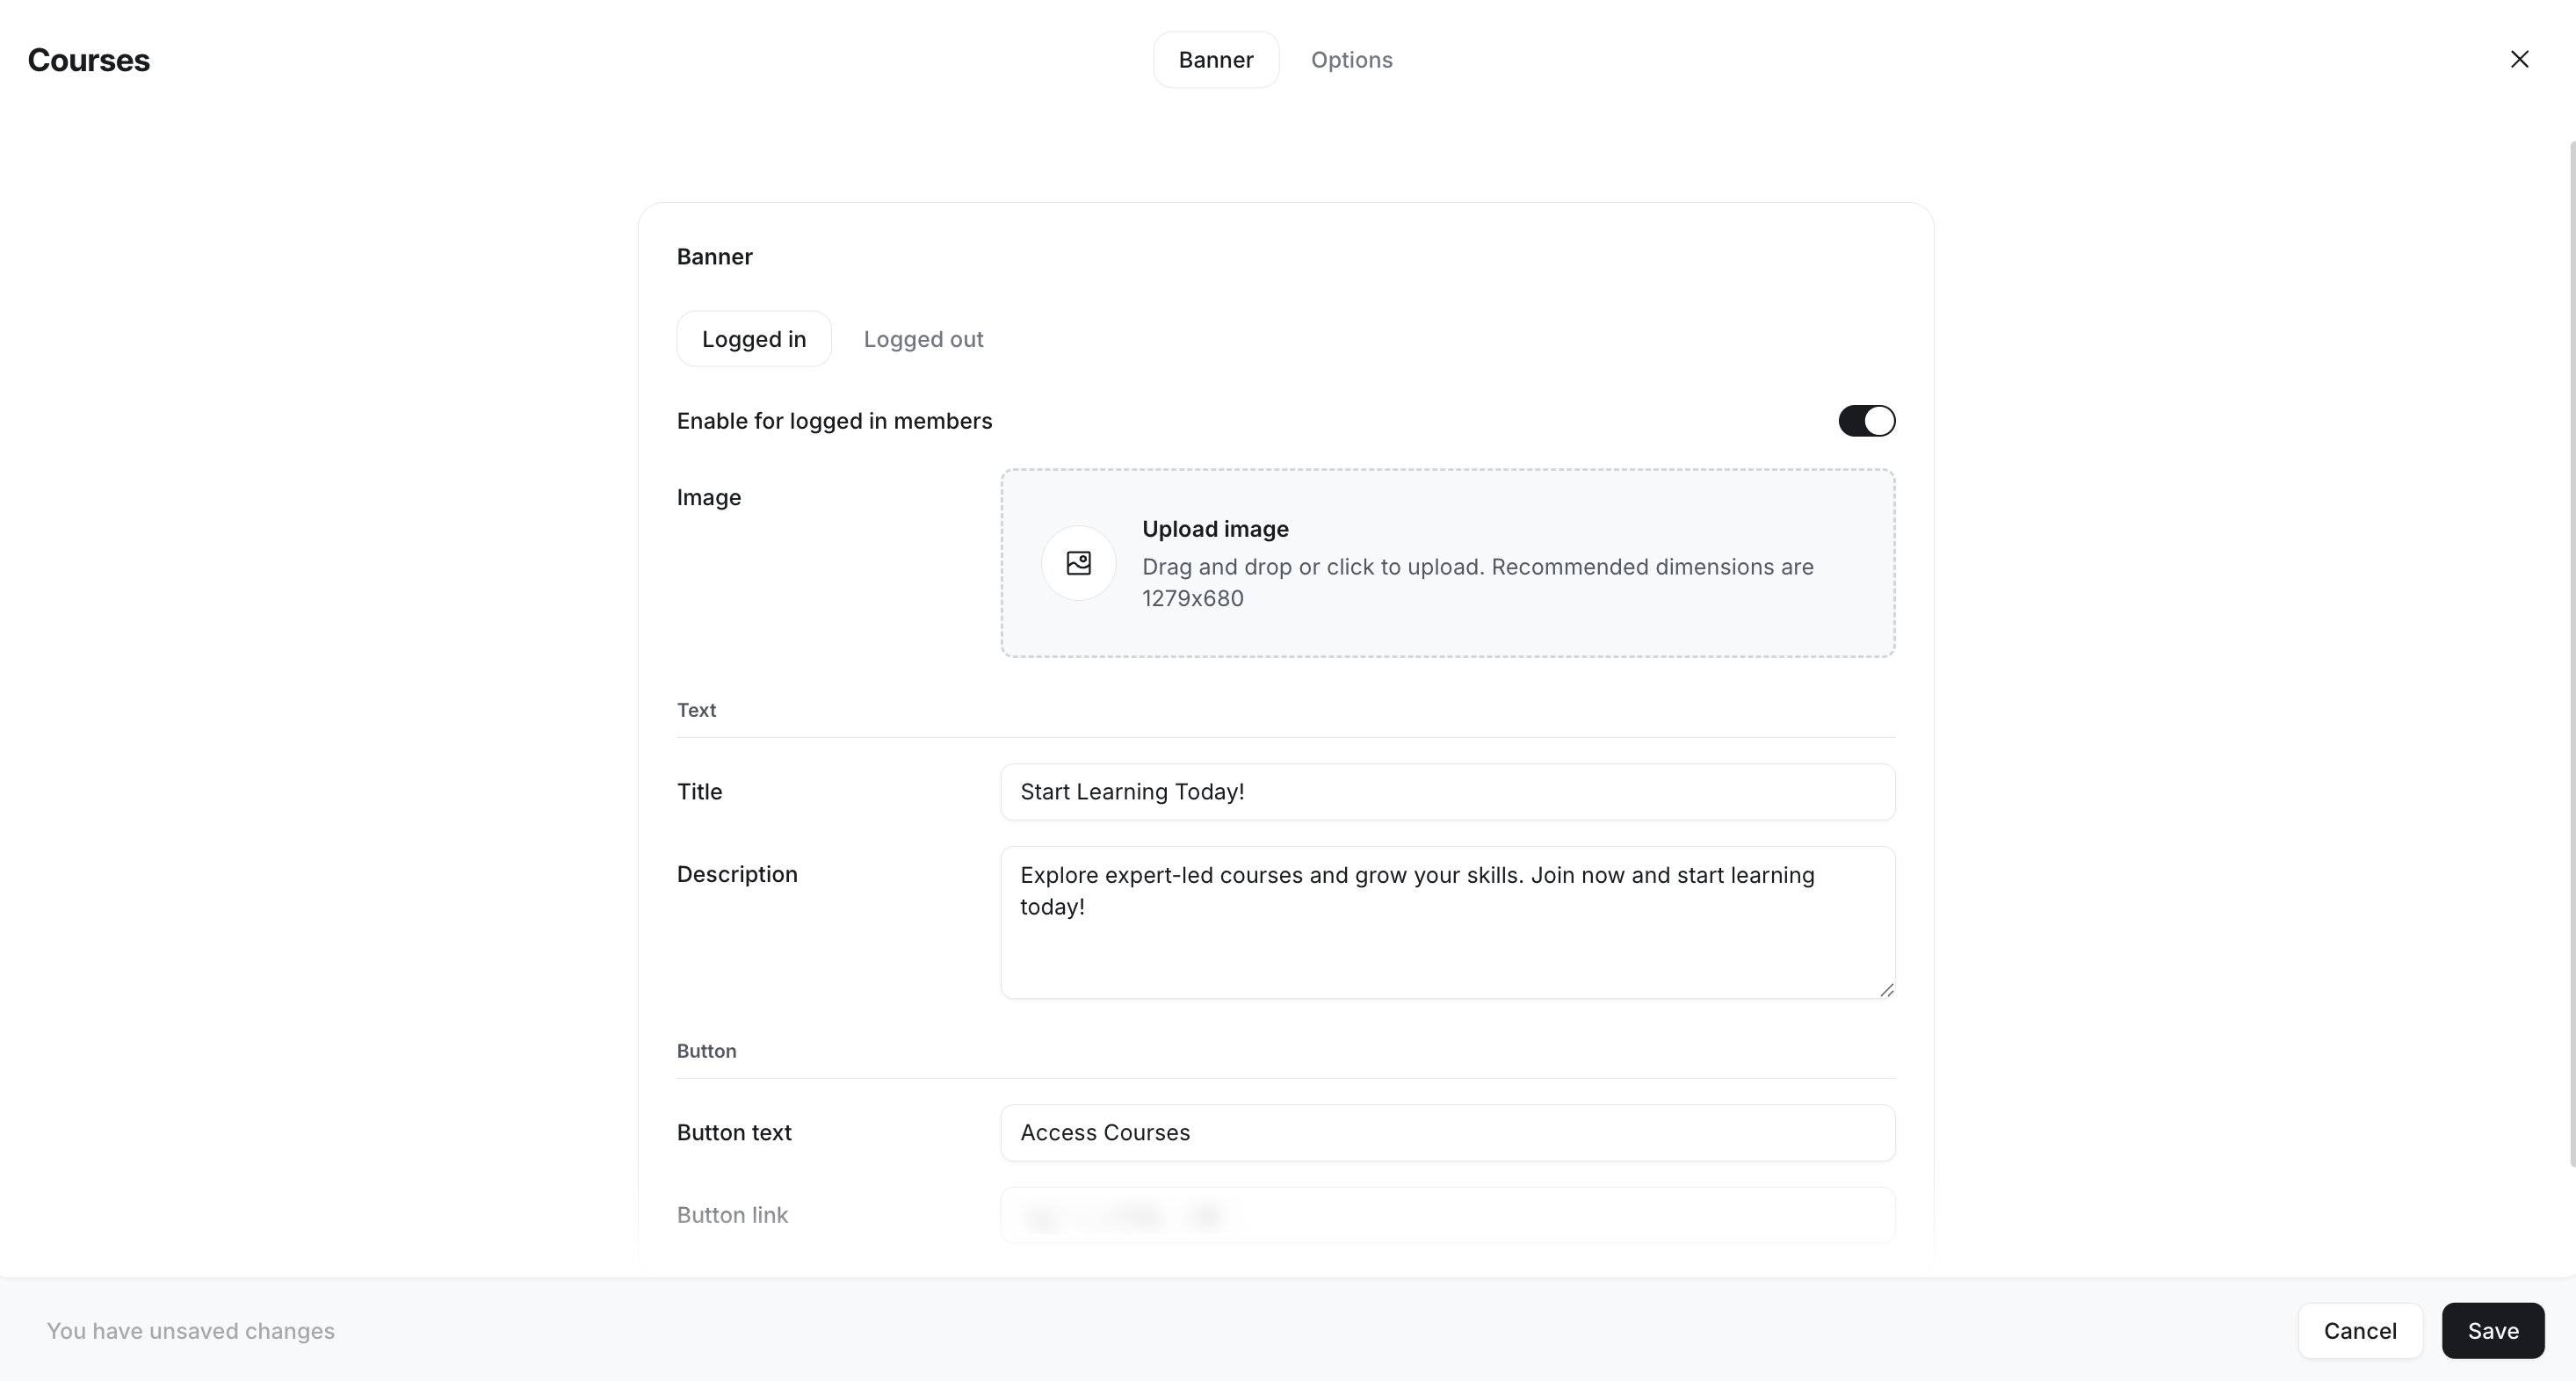
Navigate to the Logged in or Logged out tab and toggle the switch on to start setting up the banner sections.
Image
The banner image appears on the right side to complement your banner text. Supported file formats include JPG, PNG, and GIF, with recommended dimensions of 1279x680 px.
To upload an image:
-
Click Upload and choose a file from your desktop.
-
Adjust the image for the best fit:
Click and drag to position the image within the designated area. This helps ensure the most important elements of the image are visible and not cropped when displayed.
-
Use the slider at the bottom of the dialog to zoom in or out.
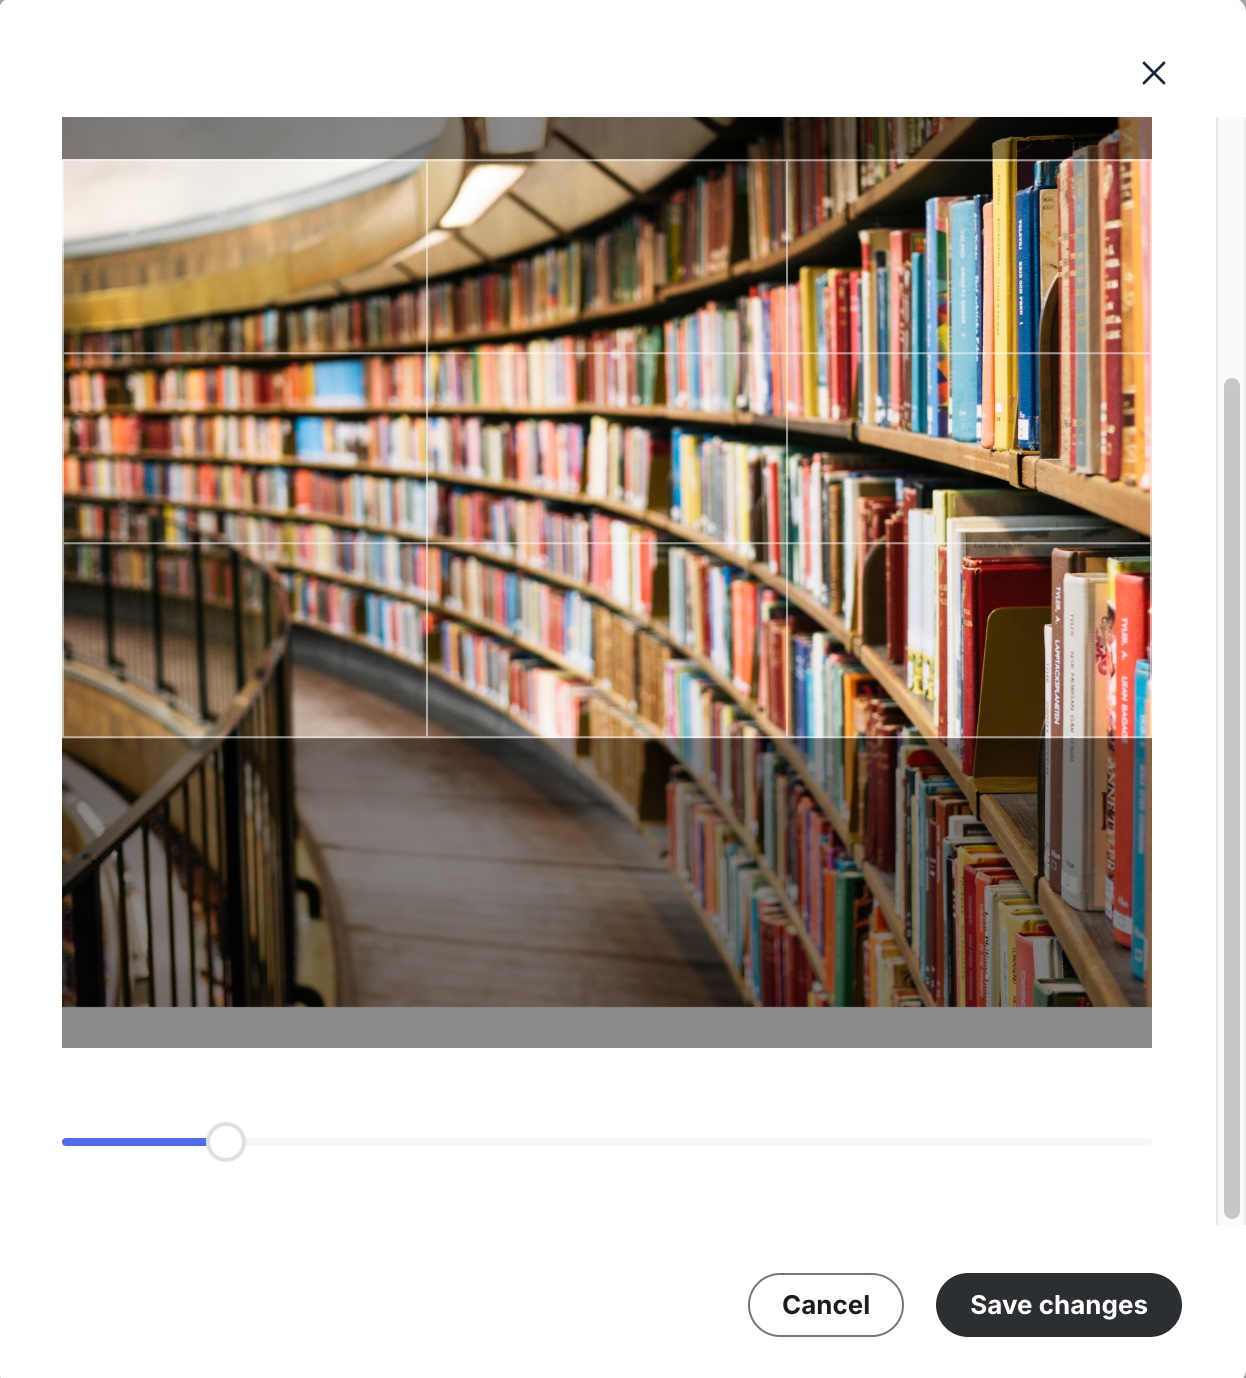
Click Save changes to apply your adjustments.
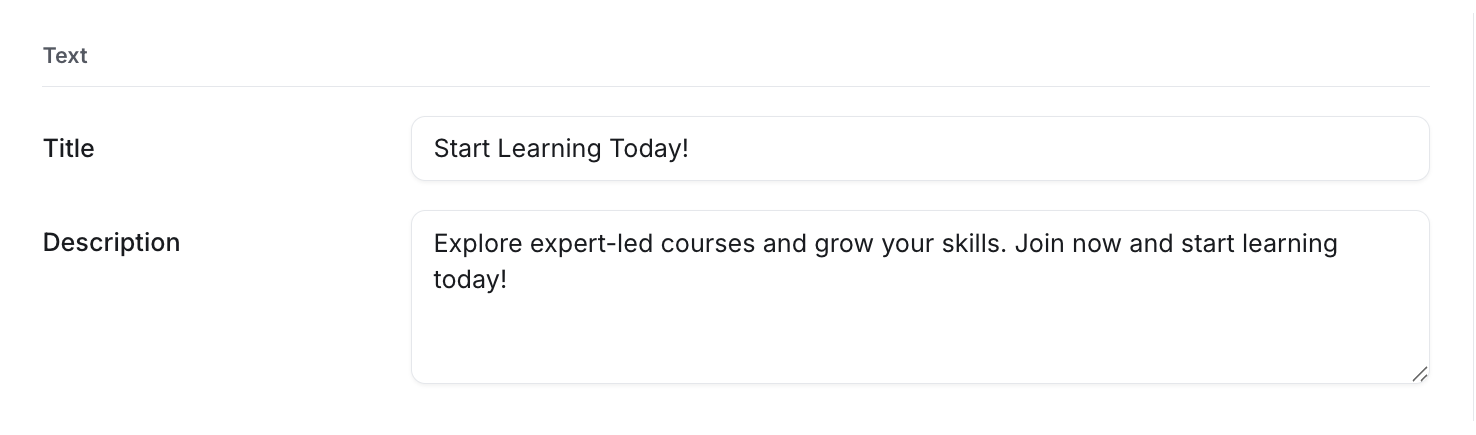
Text
The text section appears on the left side of the banner in a white background by default and includes:
Title: Enter a short and engaging title that effectively conveys the purpose of the banner.
Description: Craft a brief, engaging message that complements the title. Use it to highlight key benefits or offerings to capture user interest.
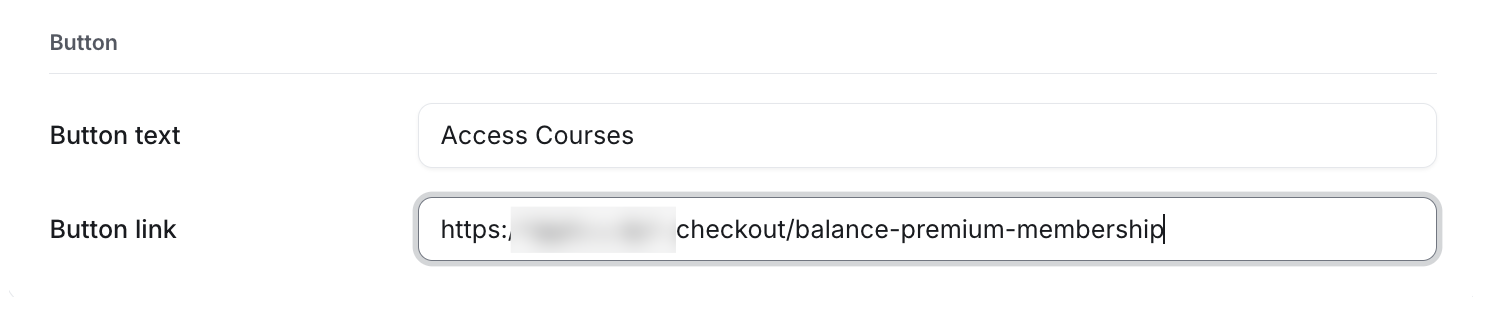
Button
The button serves as a call to action, appearing below the banner text.
Button text: Choose clear, action-driven text for the button, such as "Start learning," or "Join." Ensure it aligns with the banner’s purpose and encourages users to take action.
Custom URL: Enter a link that directs users to the most relevant area. This could be a specific featured course, sign-up link, or paywall checkout URL. Ensure the link is functional and provides an engaging user experience.
Saving and updating the banner
Once you've configured the banner, click Save changes. You can update the banner for both logged-in and logged-out members at any time by following these same steps.