Video settings: Thumbnails, downloads, and transcripts
Last updated: October, 2026
Video settings let you control how your uploaded videos and recordings appear and how members interact with them. You can add a thumbnail to make a video stand out, allow or restrict downloads, and enable transcripts for better accessibility. This article walks you through each option step by step.
Accessing video settings
Only admins can manage thumbnails, download restrictions, and transcripts through the video settings on the desktop app, web browser, or mobile browser.
As an admin, you can do this either from the video itself or from the media manager. See detailed steps for accessing video settings.
💡 Tip: Video customization options are available only for videos you’ve uploaded and live recordings in your community. If you’ve embedded a video from another platform (such as YouTube or Vimeo), you’ll need to manage the settings directly on that platform.
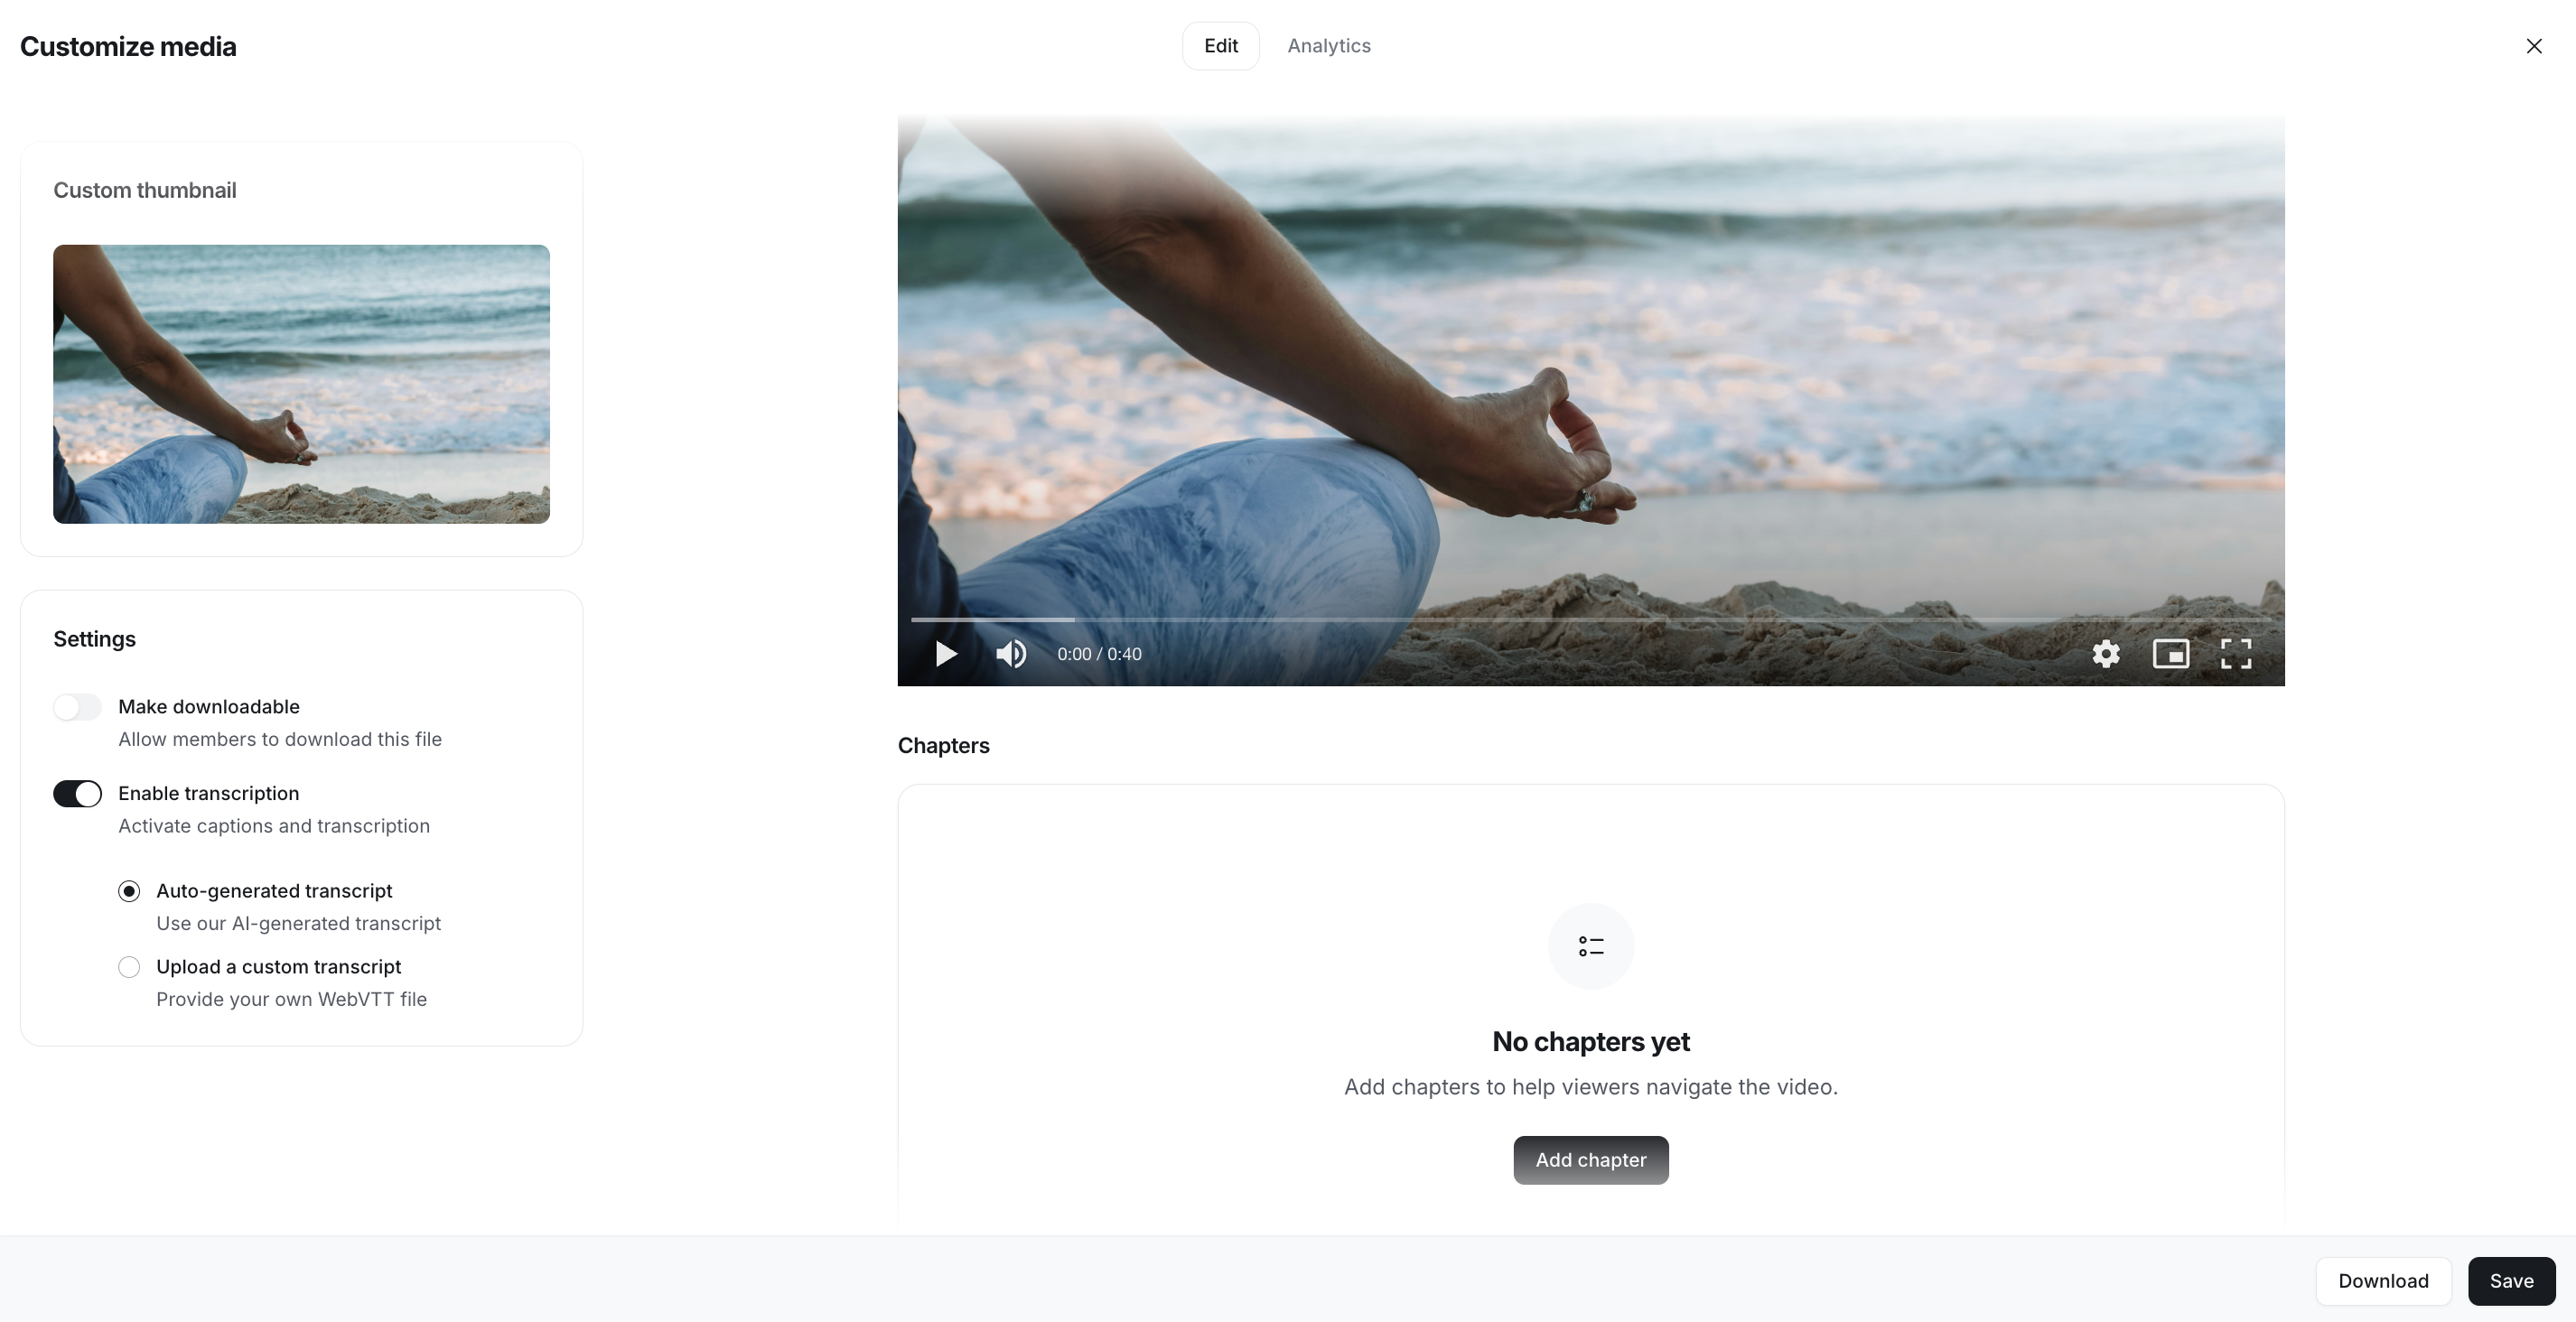
Saving changes
After making updates, such as changing a thumbnail or adjusting transcript options, click Save in the botton-right corner. Changes won’t apply until you save them.
Add custom thumbnail
A thumbnail is the preview image shown before the video starts. By adding a custom thumbnail, you can offer a sneak peek into your video's content, significantly increasing the likelihood of attracting viewers.
Add a thumbnail
In the Custom thumbnail section, click Upload an image.
-
In the Choose image dialog, choose one of the following:
Upload an image from your device. We recommended a thumbnail image size of 1280 x 720 px with a 16:9 aspect ratio. You can upload the image in JPG, PNG, or GIF format.
Unsplash: Choose an image from the Unsplash library.
-
Adjust the image:
Use the slider at the bottom of the dialog to zoom in or out on the image.
-
Click and drag the image to align and fit it within your chosen picture ratio.
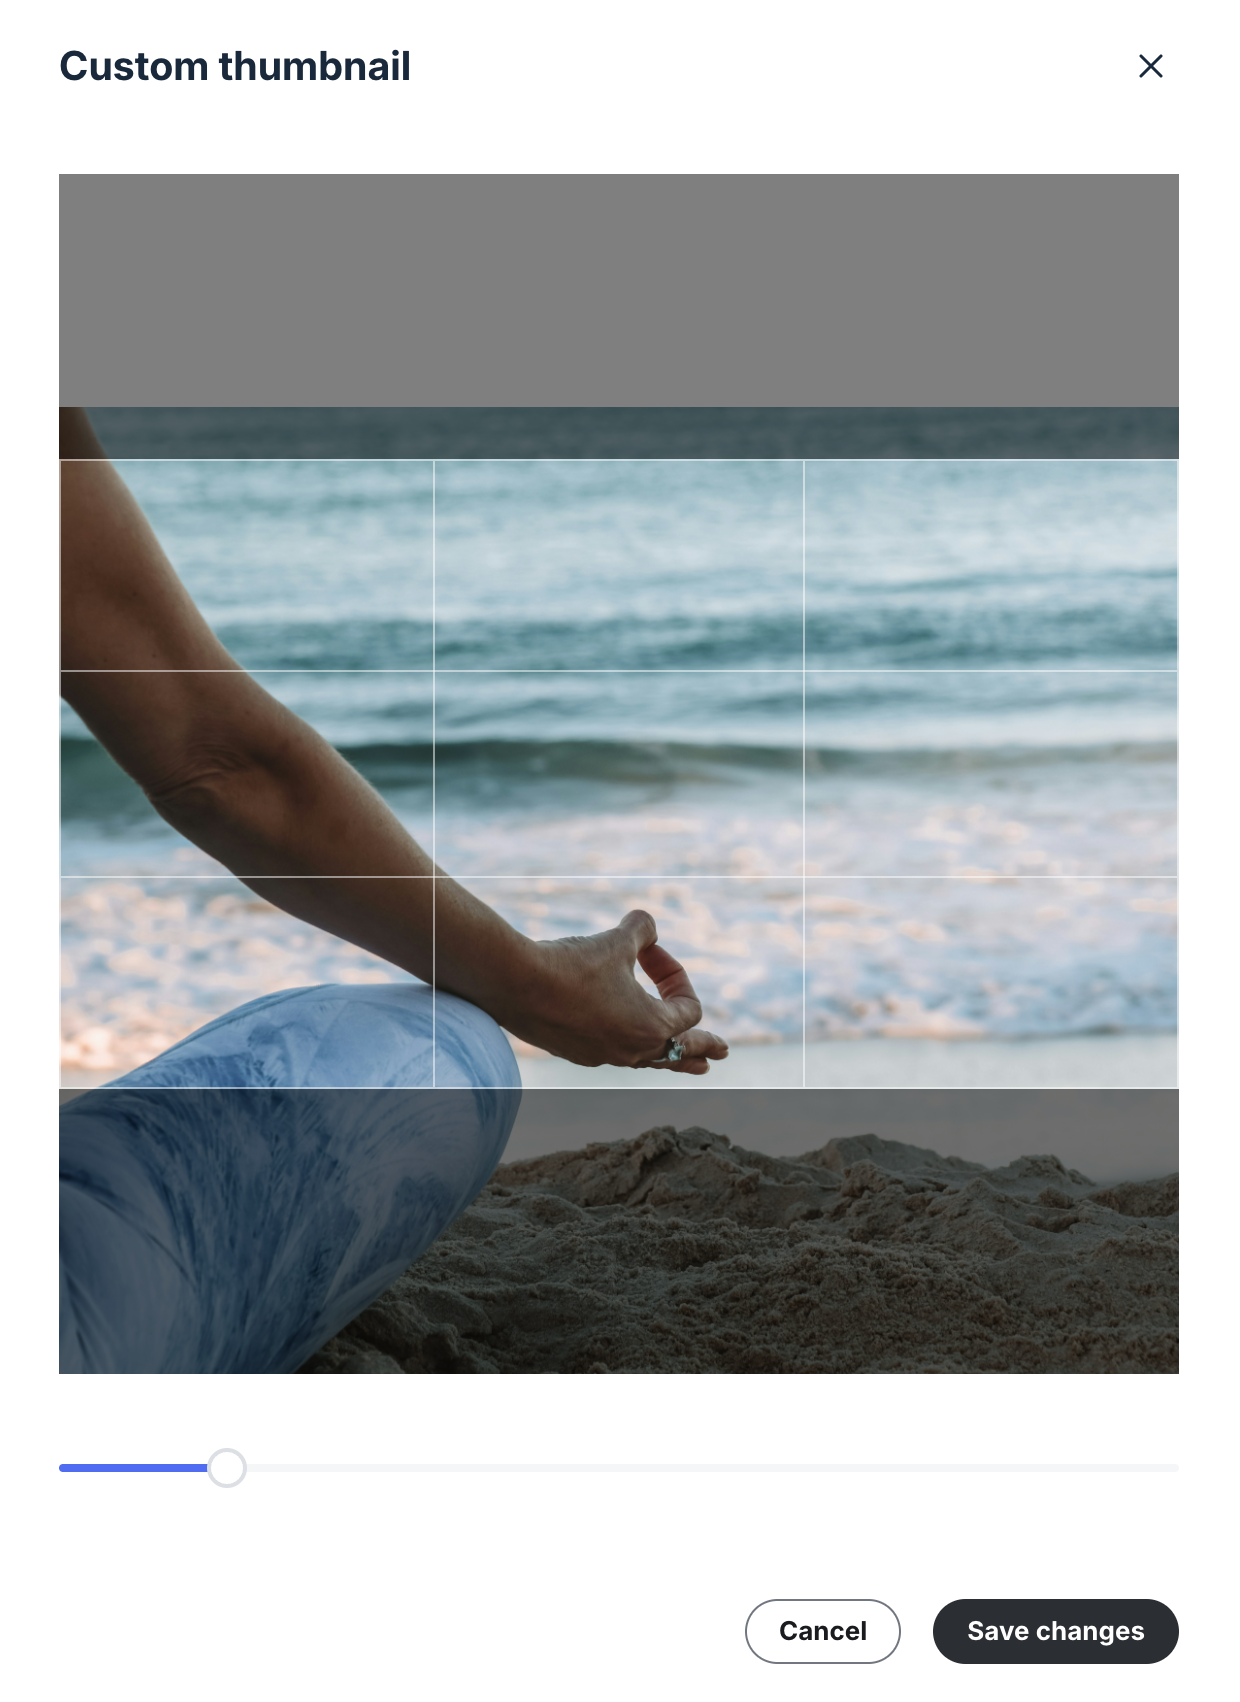
Click Save changes to finalize the upload.
You are all set!
Replace or remove a thumbnail
If you have already added a custom thumbnail, you can change the image or remove it entirely from the video. To do so, hover over the thumbnail and select the respective option.
Make the video downloadable
You can control whether members can download a video. In the Settings section, toggle Make downloadable on or off.
ℹ️ Note: By default, videos uploaded by members are not downloadable. If you want to allow downloads, you’ll need to enable the Make downloadable toggle in the video settings.
How it works on different platforms
Let’s review how enabling or disabling this setting works across supported platforms.
Desktop app and browsers
When enabled: All members and admins see a Download icon in the video control bar.
When disabled: The download icon is hidden for everyone, including admins. However, admins can still download the file from the video editor (Customize video) or from the media manager preview.
Circle iOS app
When enabled: Members and admins can save the video using the Share icon at the top left of the player.
When disabled: Only admins see the Share option and can download from there. Members will not see the option.
ℹ️ Note: The behavior mentioned above for iOS applies only to lessons, quizzes, posts, and comments within posts and events. For other areas, users, including admins, cannot download the video from the app.
Circle Android app and branded apps
When enabled: Only admins can download the video by editing the post or comment. Members do not see a download option.
When disabled: No one, including admins, can download the video.
ℹ️ Note: The behavior mentioned above for Android and branded apps applies only to posts, and comments within posts and events. For other areas, users, including admins cannot download the video from the app.
Enable transcription
As an admin, you can decide whether a video should display a transcript and closed captions.
To allow transcription, in the Settings section, toggle on the Enable transcription option. Then you can choose from the following options: Automated transcript or custom transcript.
Auto-generated transcript
If automated transcriptions are enabled in Community AI settings, you can select this option. When selected:
The transcript will be generated automatically when the spoken language in the video matches your chosen automated transcription language.
Closed captions are added automatically as well.
💡 Tip: If you want to edit the automated transcript, download the WebVTT file and open it in a text editor. Once you’ve made changes, you can upload it back as a custom transcript (see below).
Download the automated transcript:
You can download it as a WebVTT (.vtt) file:
Under the Automated transcript option, click Download .vtt.
The file will save to your device.
Upload a custom transcript
If you already have a transcript, you can upload it manually. This option is available on all community plans and does not require Community AI. If you have a custom transcript in any other file format, please convert it to .vtt format first.
To upload a custom WebVTT file of the transcript:
Select the Upload a custom transcript option and click Upload .vtt file.
Choose a file from your device.
Once the file is uploaded, the file name will appear in the custom transcript option.
If you want to remove or replace it, simply click the X icon next to the custom file attachment and upload it again.